Art Doll Making Videos

Making a Brambling 🌲 | How to Sculpt a Fantasy Creature Head

Bramblings are fey creatures that wander the forest floor looking for mischief to get up to or something good to eat. They can helpful to a lost wanderer or a nightmare to those that break some esoteric woodling taboo. The brambling has been living in my sketchbook for some time and I'm glad to see it finally come to life. I see them as a species rather than any one individual creature and being somewhat wild and unpredictable.


Watch a brambling get crafted here:

 
BramblingCrop.jpg


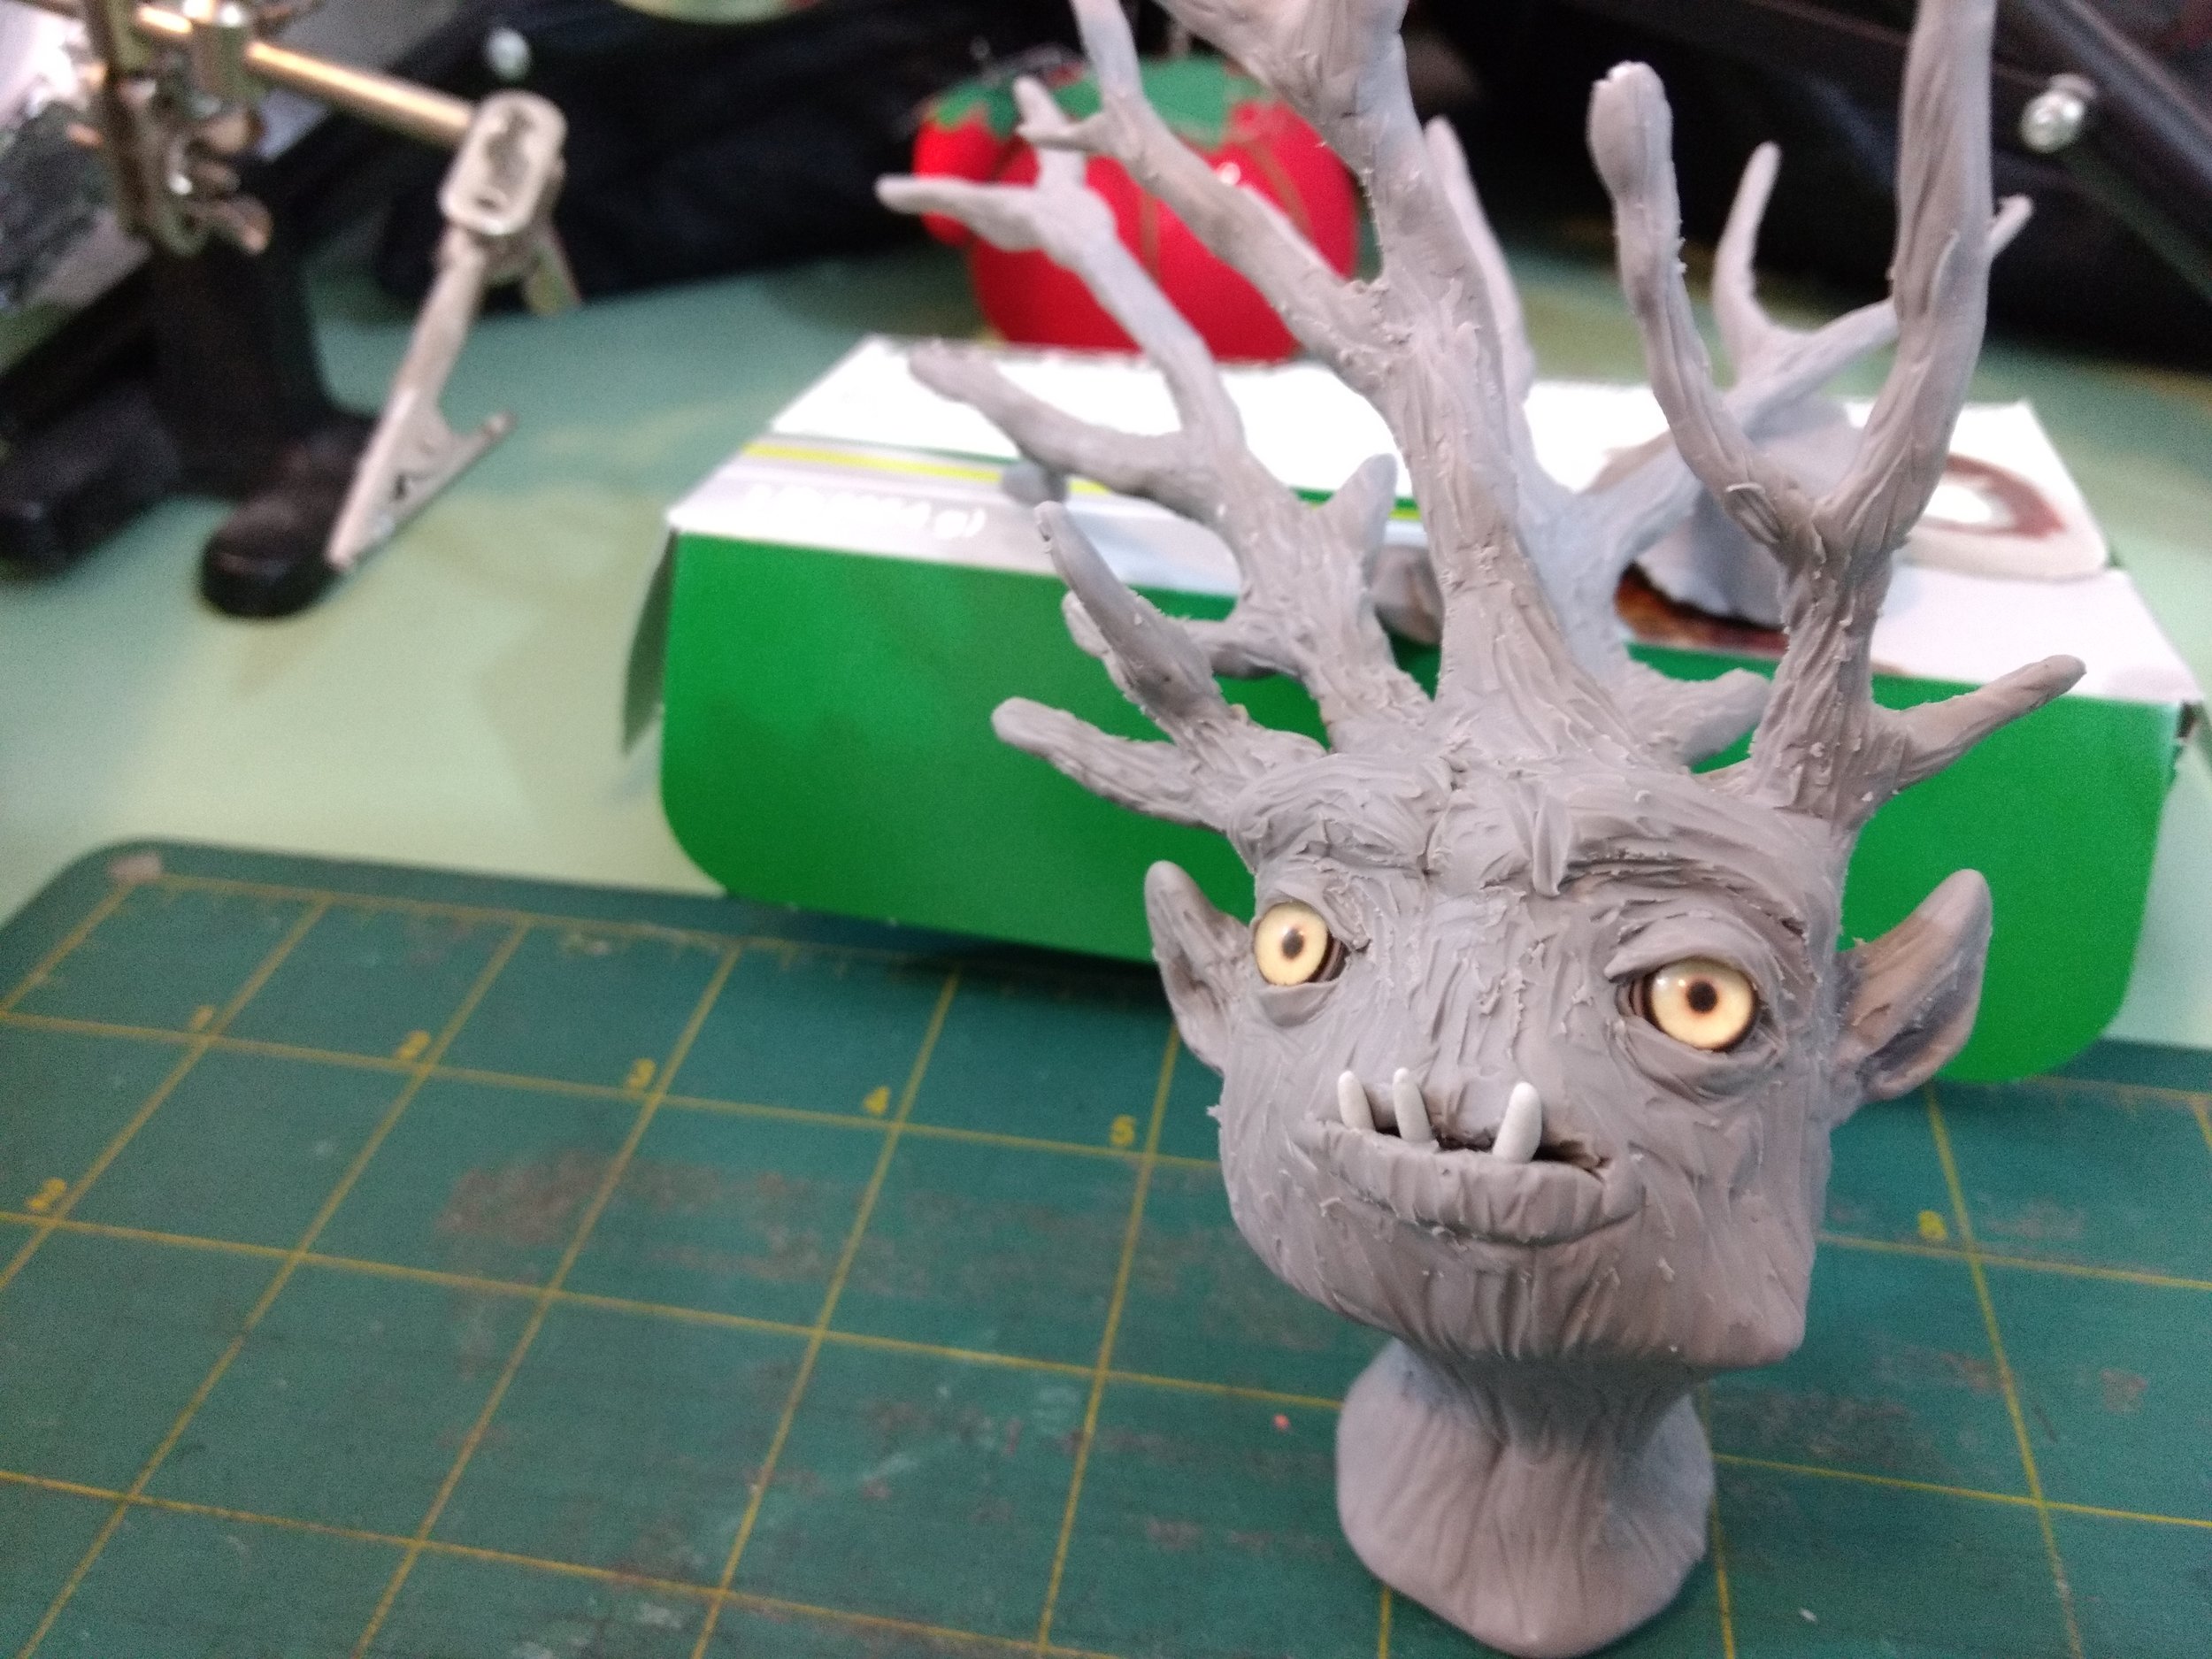
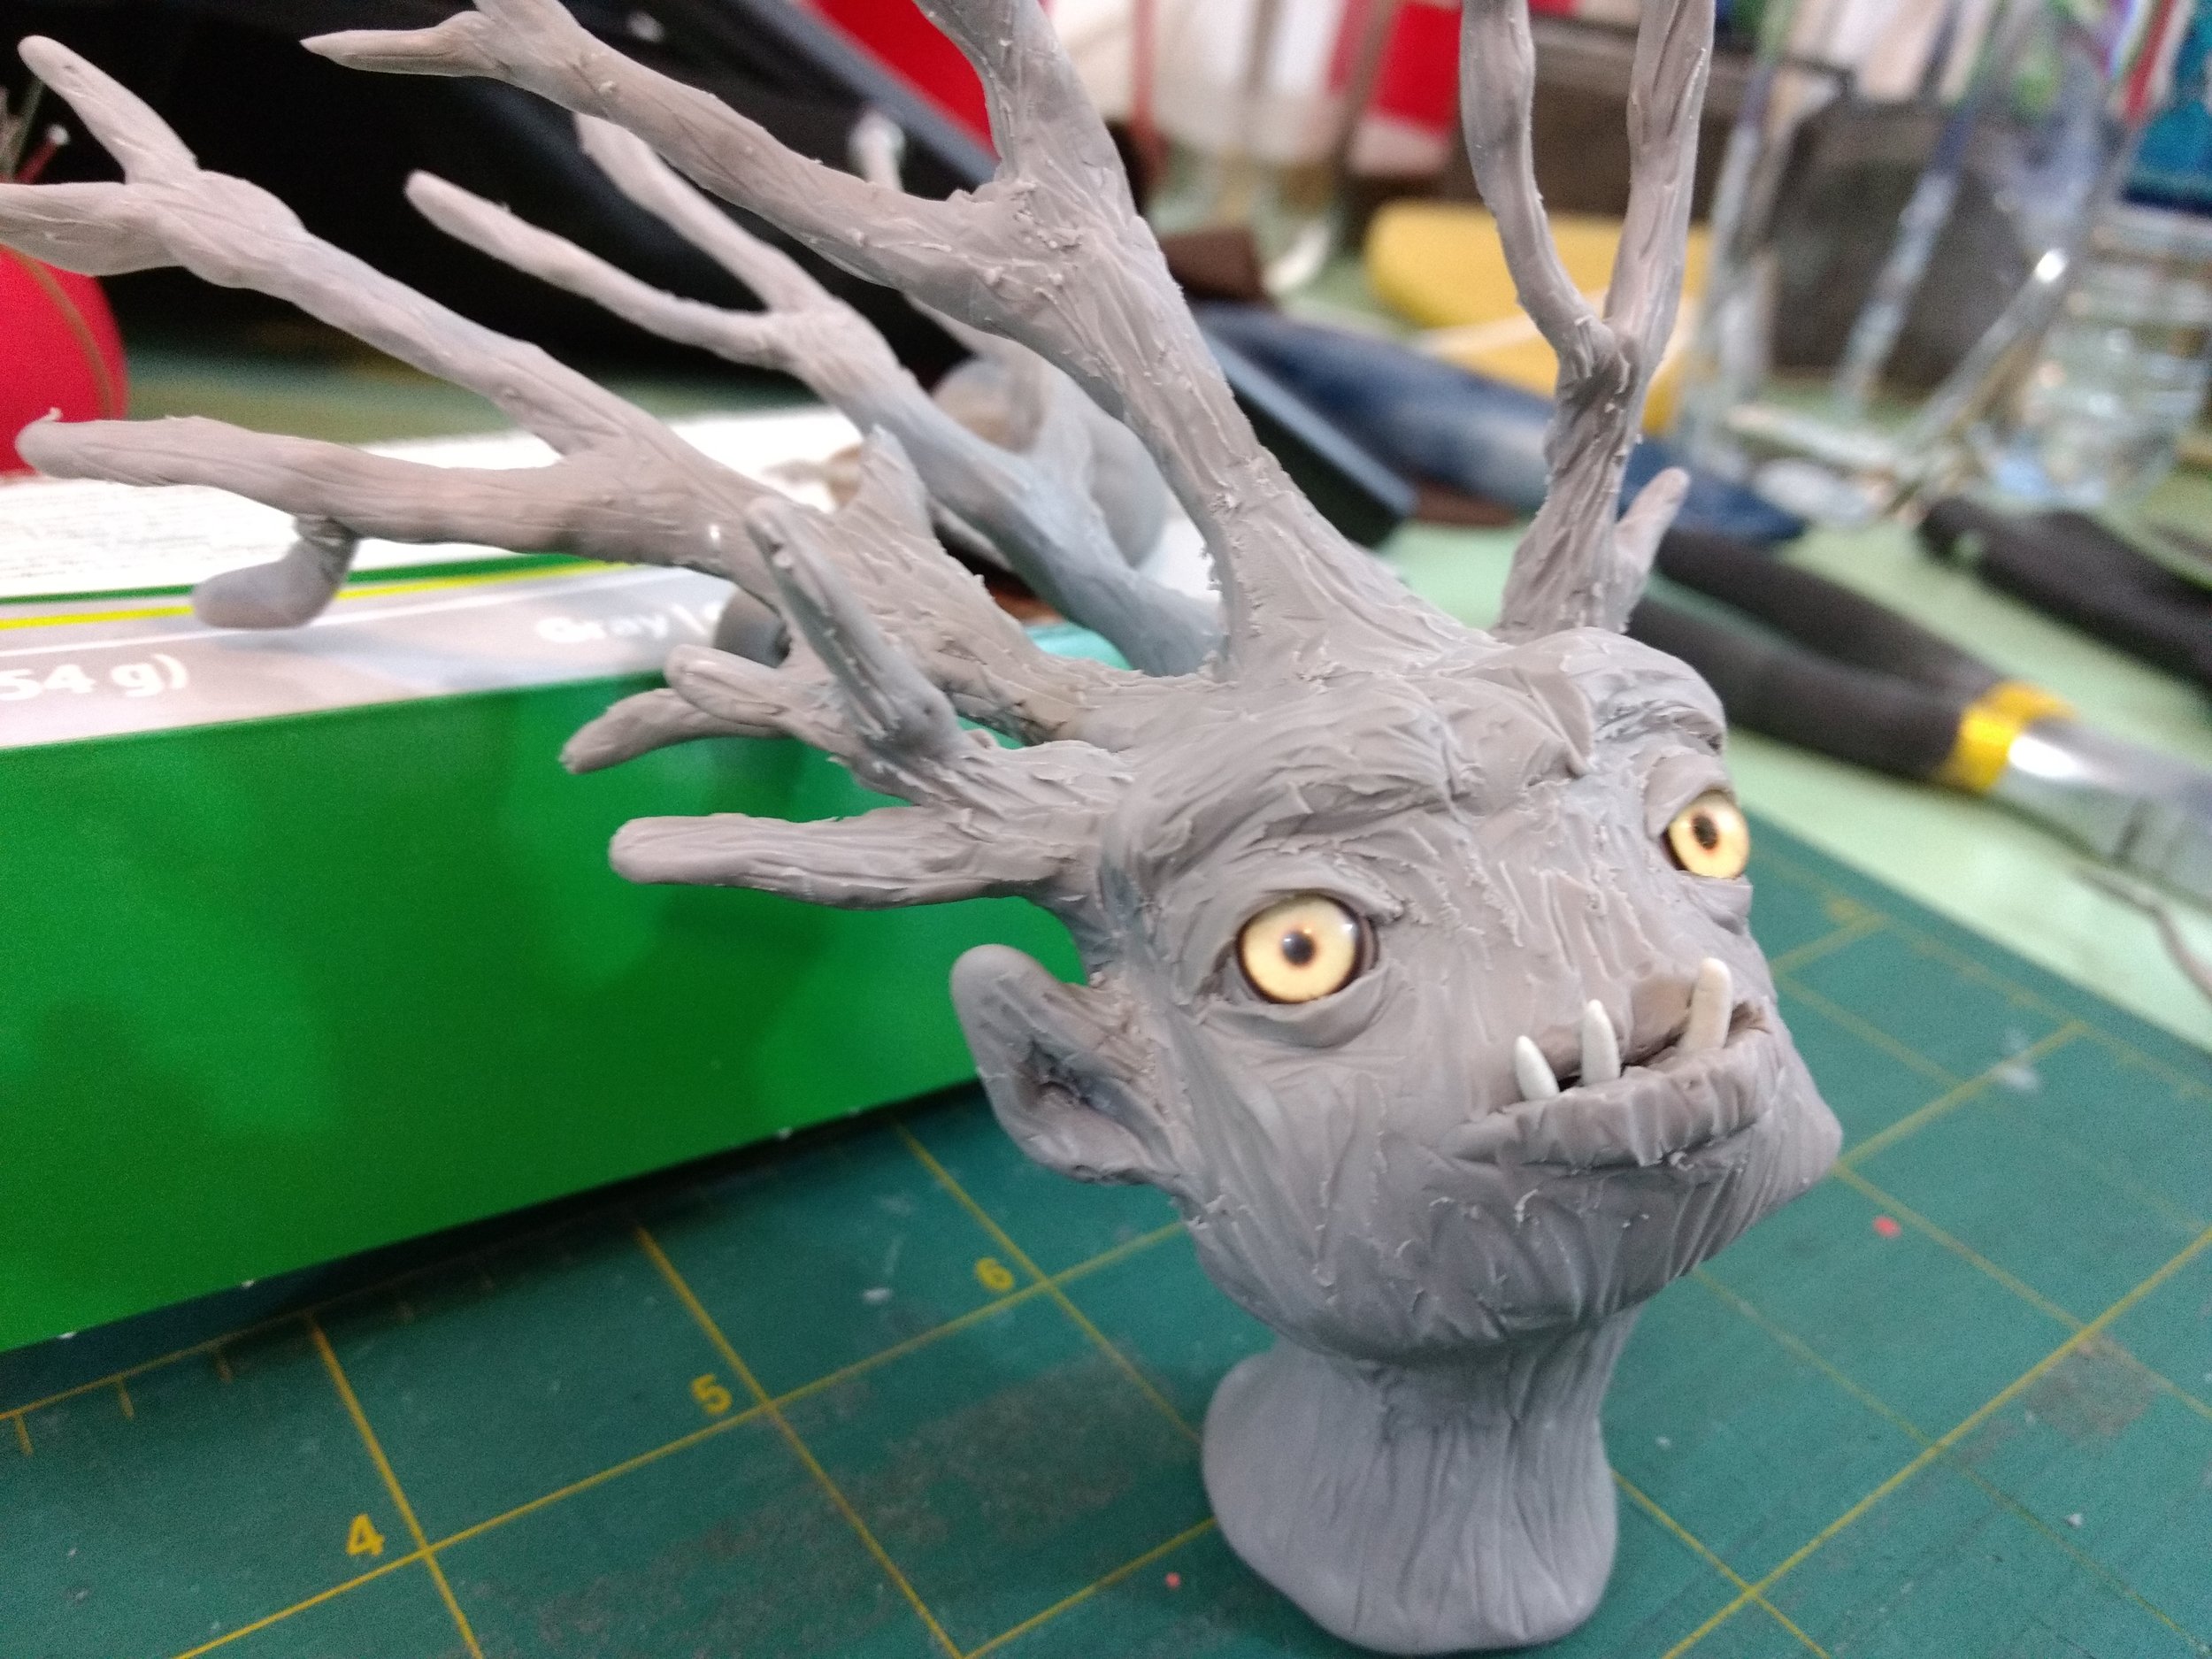
This fantasy polymer clay sculpture was crafted with Sculpey Medium Blend, which is a mixture of Sculpey's regular and firm variety, and was my first test with that particular clay (Super Sculpey beige being my "go-to: polyclay). While I found it pleasant to work with, I thought it had a pretty similar consistency to my regular clay. At some point I'd like to experiment with Sculpey Firm and see how that handles. I really could have stood to use a firmer clay since the oh so thin branches are a very delicate aspect of this art doll sculpture. I could see trying Firm or trying my hand at Monster Clay, which doesn't require baking in the oven since it's a two-part epoxy.


I spent a lot of time during the sculpting process creating the bark-like texture of the creature, smoothing-out and trying to create the delicate lines of the branches. I also sculpted tiny clay-like hands. I typically craft art dolls with poseable paper mache hands, but in this case I didn't think I'd be able to get the jagged texture of the bark with such delicate material.


If you would like a print of the Brambling final image, you can purchase it HERE.

A brambling in it's natural environment.

A brambling in it's natural environment.

I hope you enjoyed exploring this magical fey creature as much as I have! To be the first to know when I launch new polymer clay art videos, be sure to subscribe to my YouTube channel and hit the bell icon (but because YouTube's wonky, you can also join the newsletter). Catch all of my videos here:  https://www.youtube.com/thedreamsyndicatearts. You can also find many of the supplies I use in crafting here: https://www.thedreamsyndarts.com/supplies-gear/. Until next time, make believe!

Making Fabric Art Doll Hair?

In my latest video, I show you a method for making art doll hair with fabric. You can use most lightweight fabrics, but if you want to convey a realist hair look with your art doll, it's best to use a fabric with a sheen, a silk blend or sateen would do nicely. And bonus points if you keep on the look-out for cheap remnants or sales on natural or unnatural, if you're feeling adventurous, hair colors.


Watch Part 6 in the St. George & the Dragon Piece | FABRIC ART DOLL HAIR ⚔🐉:


Once you have the fabric you're going to work with, it's just a matter of playing around with arranging folds and creases on the head to give a look that emulates hair, putting a strong adhesive on the head (I tend to use a two part epoxy resin and some Fabri-Tac where needed), and then just sewing up the various seams that were created.


If you want to make the imaginary a reality, be sure to subscriber on YouTube!

If you want to be the first to know when I launch new polymer clay art videos, be sure to subscribe to my YouTube channel and hit the bell icon (but because YouTube's wonky, you can also join the newsletter). At present, I am launching new videos Saturdays at 2pm EST and I will keep this information up-to-date on my YouTube channel's banner and "about" section here:  https://www.youtube.com/thedreamsyndicatearts.

MAKING A ST. GEORGE ART DOLL ⚔🐉

In this part of the process of making a St. George art doll, the poseable doll's made from a variety of mixed media. Most of the materials your as likely to find in a hardware store as you are an art supply or hobby shop. The armature consists of twisted aluminum wire, aluminum tubing in the neck and used at the forearms, a length of steel wire to give the figure stability and allow it to anchor into a set or display base, and plumber's epoxy. The body's massed-out with upholstery foam and then clothing's sewn around the art doll.


Watch Part 5 in the St. George & the Dragon Piece | MAKING A ST.  GEORGE ART DOLL ⚔🐉:


An art doll's neck doesn't need to be reinforced with the aluminum tubing, you can typically just drill right into the clay if you'd like, but the way I design my characters, I like them to have thin necks because that's the way I tend to draw figures- I like lanky, gawky, attenuated characters. If I were to make a character's neck as thin as I do without putting in the tubing and drill into it, the backed polymer clay would likely crack and crumble around the drill bit.


Once the aluminum and steel wire are all twisted into place, they're secured with plumber's epoxy that's molded into a form to create a cylinder shaped chest and smaller oblong cylinder for the pelvis, which all takes about an hour to set (if you were handling the plumber's epoxy more vigorously, you might want to give it a day). From there, I use the figure's contours to sketch-out a front and back form out of the upholstery foam and cut it out with pair of scissors. These front and back pieces get attached to the plumber's epoxy with a resin based epoxy. Lastly I sketch-out the amount of fabric I'll need to sew the clothing, leaving a bit of a seam allowance. Ordinarily, it's a good idea to use lighter weight fabric, but for the look of the chain-mail armor, I used a heavier upholstery weight fabric that was kind of a pain to work with. The process of making St. George art doll probably took a couple of full work days, not including the time I spent sketching-out details or gathering materials.


If you want to make the imaginary a reality, be sure to subscriber on YouTube!

If you want to be the first to know when I launch new polymer clay art videos, be sure to subscribe to my YouTube channel and hit the bell icon (but because YouTube's wonky, you can also join the newsletter). At present, I am launching new videos Saturdays at 2pm EST and I will keep this information up-to-date on my YouTube channel's banner and "about" section here:  https://www.youtube.com/thedreamsyndicatearts.