Today I’m going to share my process for making poseable art doll hands with… get this, paper! Well, more accurately, I use medical paper tape to make the hands for my mixed-media art dolls in a technique that’s sort of half-assed paper mache. This technique’s suitable not only for art dolls, but also for stop-motion animation puppets.
You can watch how I make this poseable wire armature hands on YouTube and I’ll also try to give as brief summary of how I craft these hands as possible. I’ll also put links to where you can get the supplies you need for this project. This method will allow you to craft a variety of hand shapes and forms and when you become well-practiced at it, you might be able to make a new set of art doll hands in about two and a half hours.
Watch Making Poseable Art Doll Hands with Paper?! 👐 Timelapse Art Doll Tutorial 👐

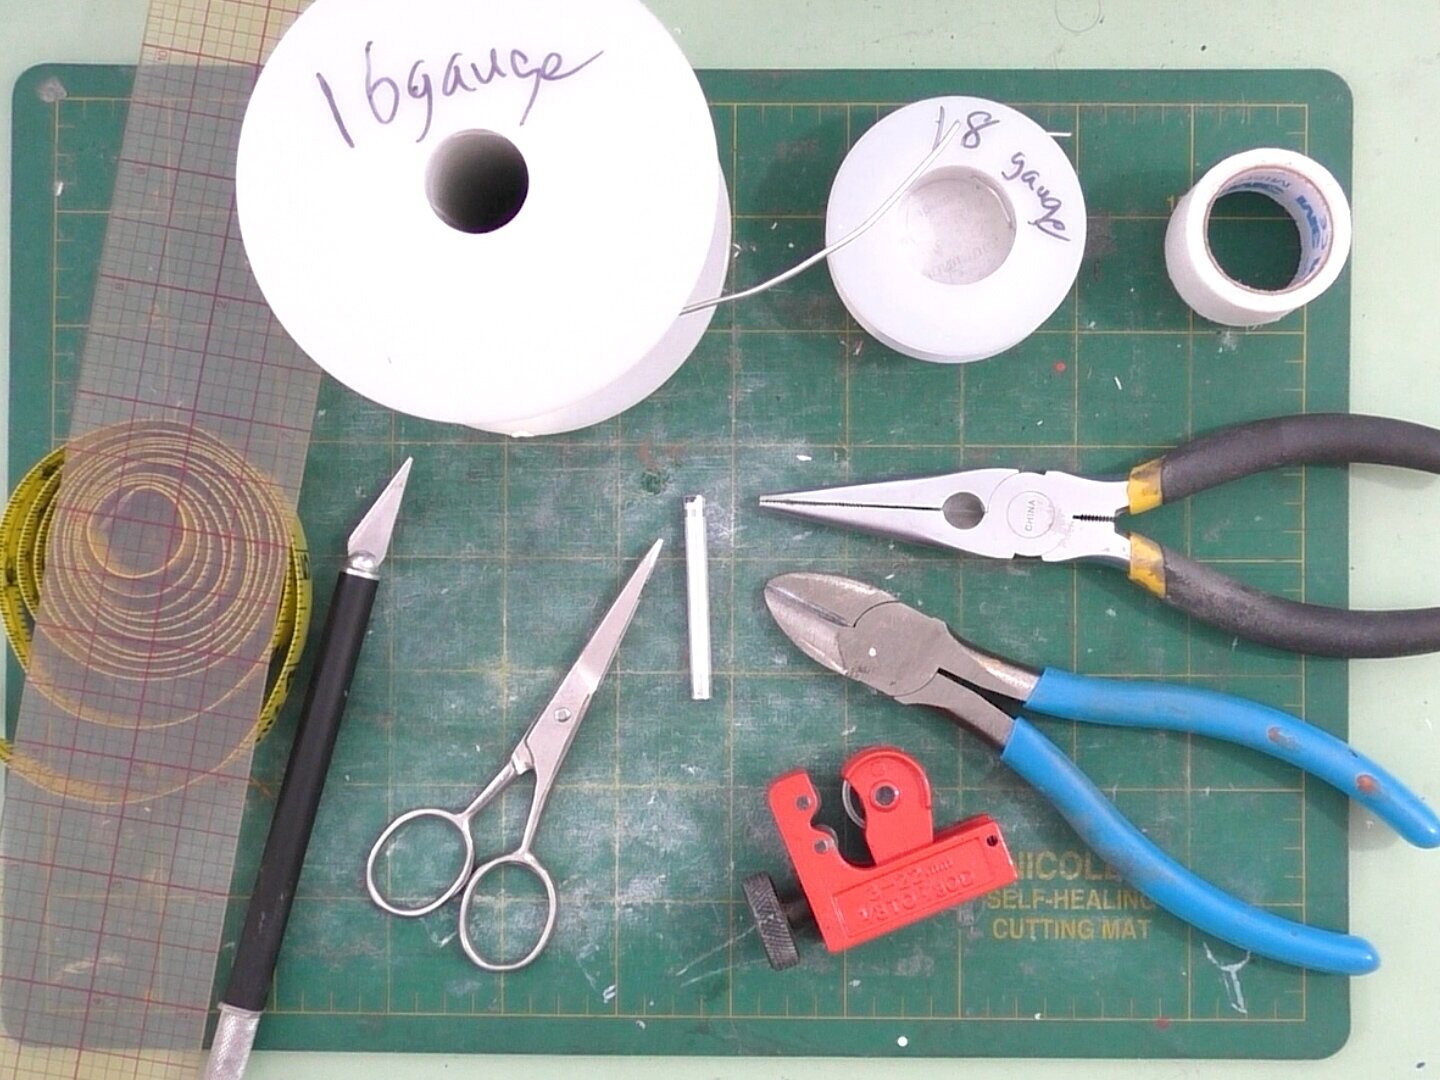
The supplies you’ll need for this art doll hand tutorial
Poseable Art Doll Hands Supplies

Aluminum tubing that will compose the character’s forearm and also hold the wires for the hands
Cutting Mat https://amzn.to/371kAXD
Medical Paper Tape https://amzn.to/2ZGPzEe
Aluminum Wire (16 gauge) https://amzn.to/2MNiy7D
Aluminum Wire (18 gauge) https://amzn.to/2zARPCt
Pliers & Wire Cutters https://amzn.to/34ekFGY
Pipe Cutter https://amzn.to/34g43ym
Small Scissors (any small, decently sharp grooming scissors will do) https://amzn.to/2ZHbQC2
X-acto Knife & Blades https://amzn.to/2Zbqh2y
Measuring Tape https://amzn.to/2tGeUEc
Transparent Ruler https://amzn.to/2rkPpre
Aluminum Tubing https://amzn.to/2UgQpXq
Metal Ruler https://amzn.to/2ZdmvWl
Sharpie Markers https://amzn.to/2EJ7O48
Mod Podge https://amzn.to/2ZGXFwT
Helping Hands https://amzn.to/34RCKts

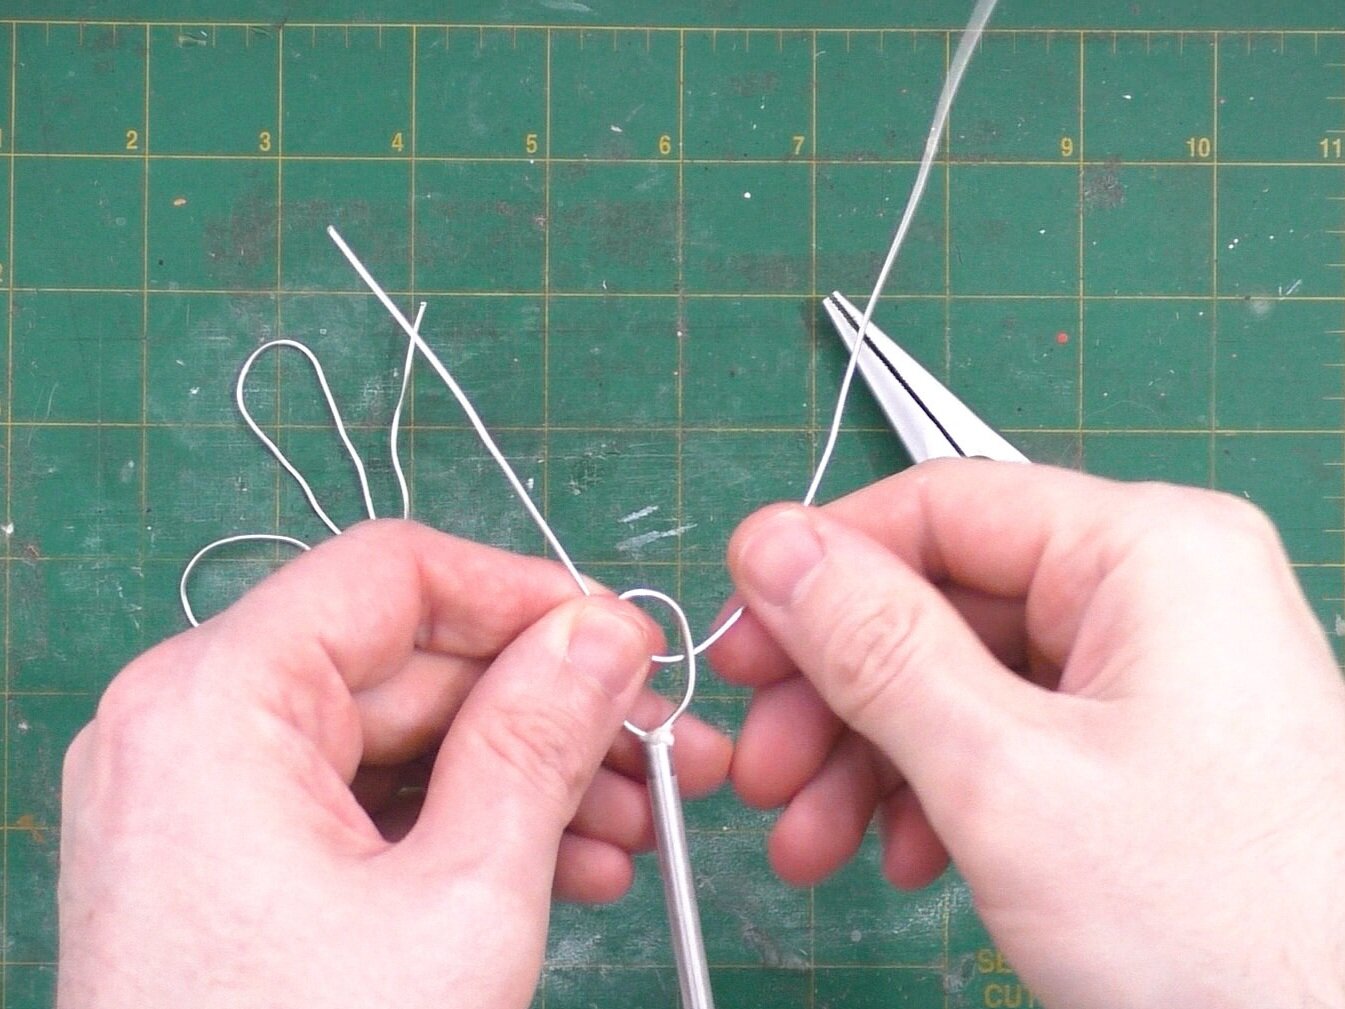
Here I’m twisting wire to form the shape of the hand
For purposes of this poseable art doll tutorial, I used 16 and 18 gauge wire and a particular diameter of aluminum tubing, but you can adjust the size of the materials you’re using to accommodate whatever proportions you would like. The first thing you’ll do is use your pipe-cutter to cut lengths of the aluminum tubing that will form you character’s forearms. Afterward, cut two pieces of your thicker gauge wire at about 5-6” long (though whatever scale you’re crafting at will effect this measurement), create a loop- this will determine the size of the art doll or stop-motion puppet’s palm and back of hand, and then braid the two ends of wire.

Basic shape of the hands attached in aluminum tubing
You can then cut the braided ends of these loops so that there’s a piece left almost as big as your pinky across. You’ll then wrap the medical paper tape around this piece and you want to place this inside of the aluminum tubing pieces. You want this to fit in the tubing snugly, such that if you lightly pull, the hand wire won’t come out.
“U” shape to form the art doll’s pinky and thumb fingers
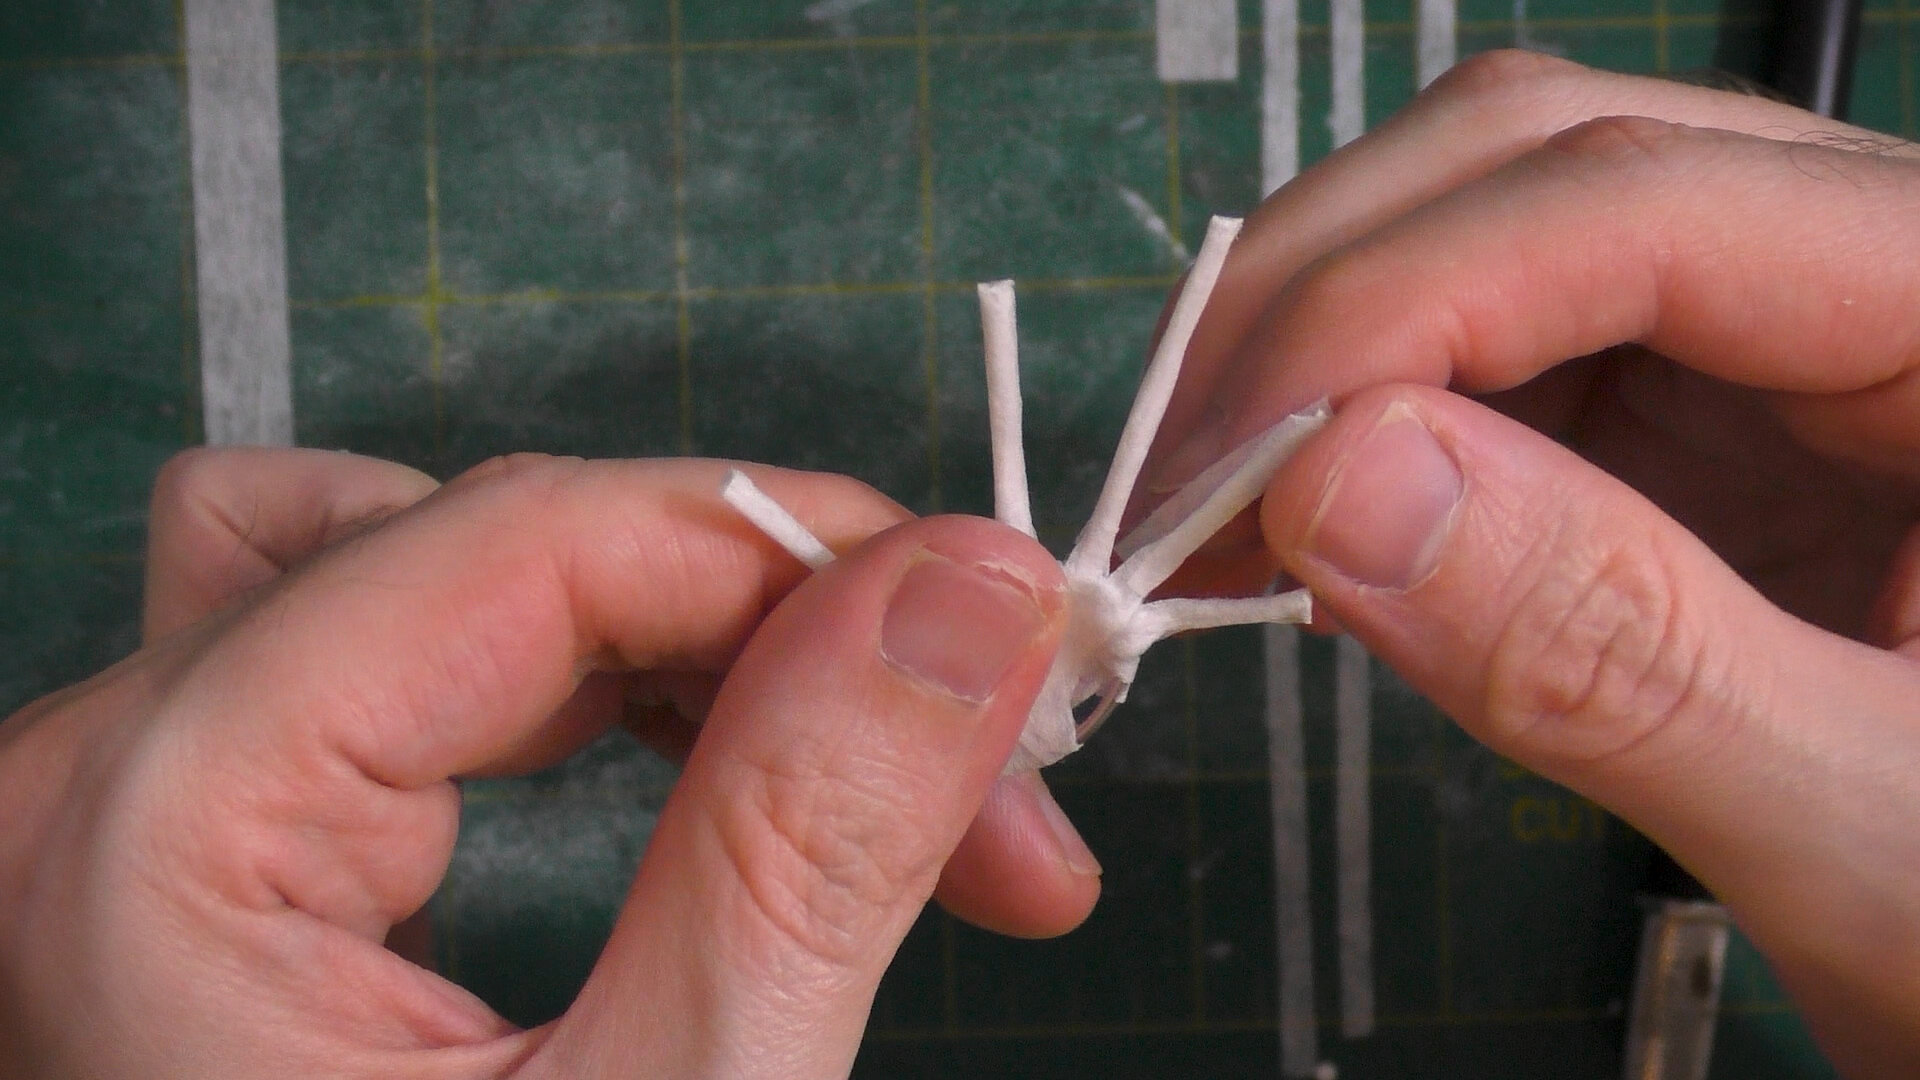
Next cut a longer length of wire, about 14-16” (I typically use the tip of my middle finger to the crook of my arm as a rough measurement), this piece is going to form the character’s fingers. You’ll leave a length of wire for the pinky finger, wrap the wire around the thicker gauge hand wire, have the wire create a gentle “U” shape, and then wrap this wire around the hand wire with it’s placement roughly where the thumb would go. I typically find the outermost fingers’s placement, the pinky and the thumb, as I craft the art doll’s hands. In all cases when you’re wrapping the finger wire around the hand wire, you want this wire to wrap around tightly- you may want to use your pliers to help in this process.

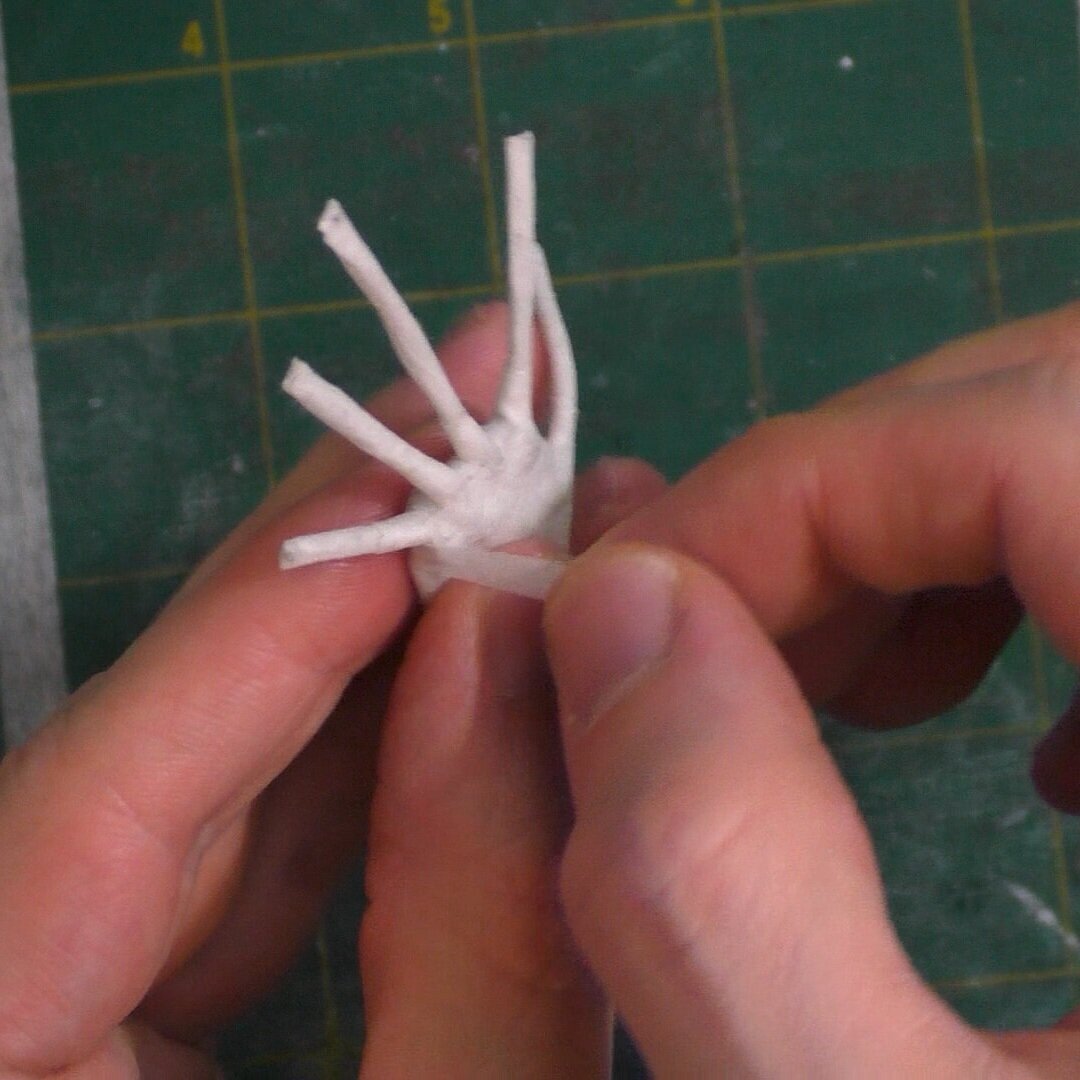
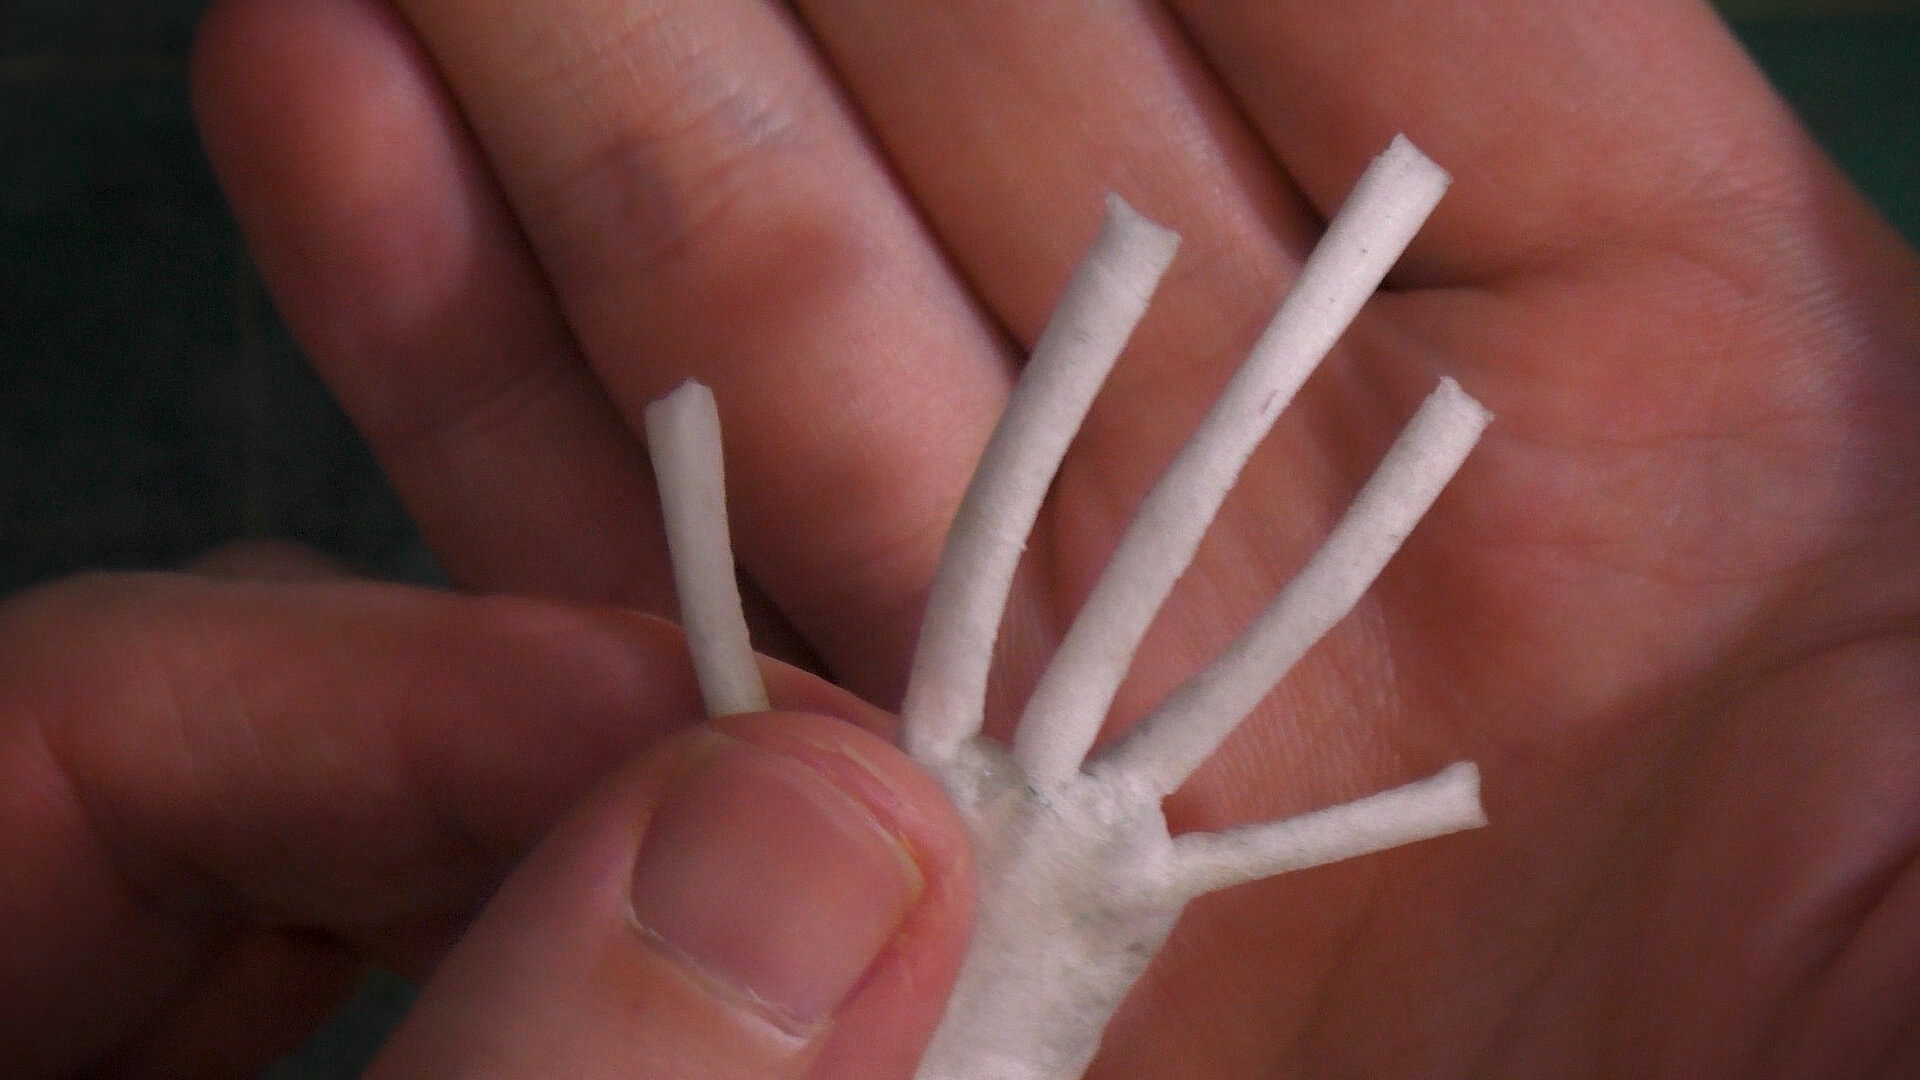
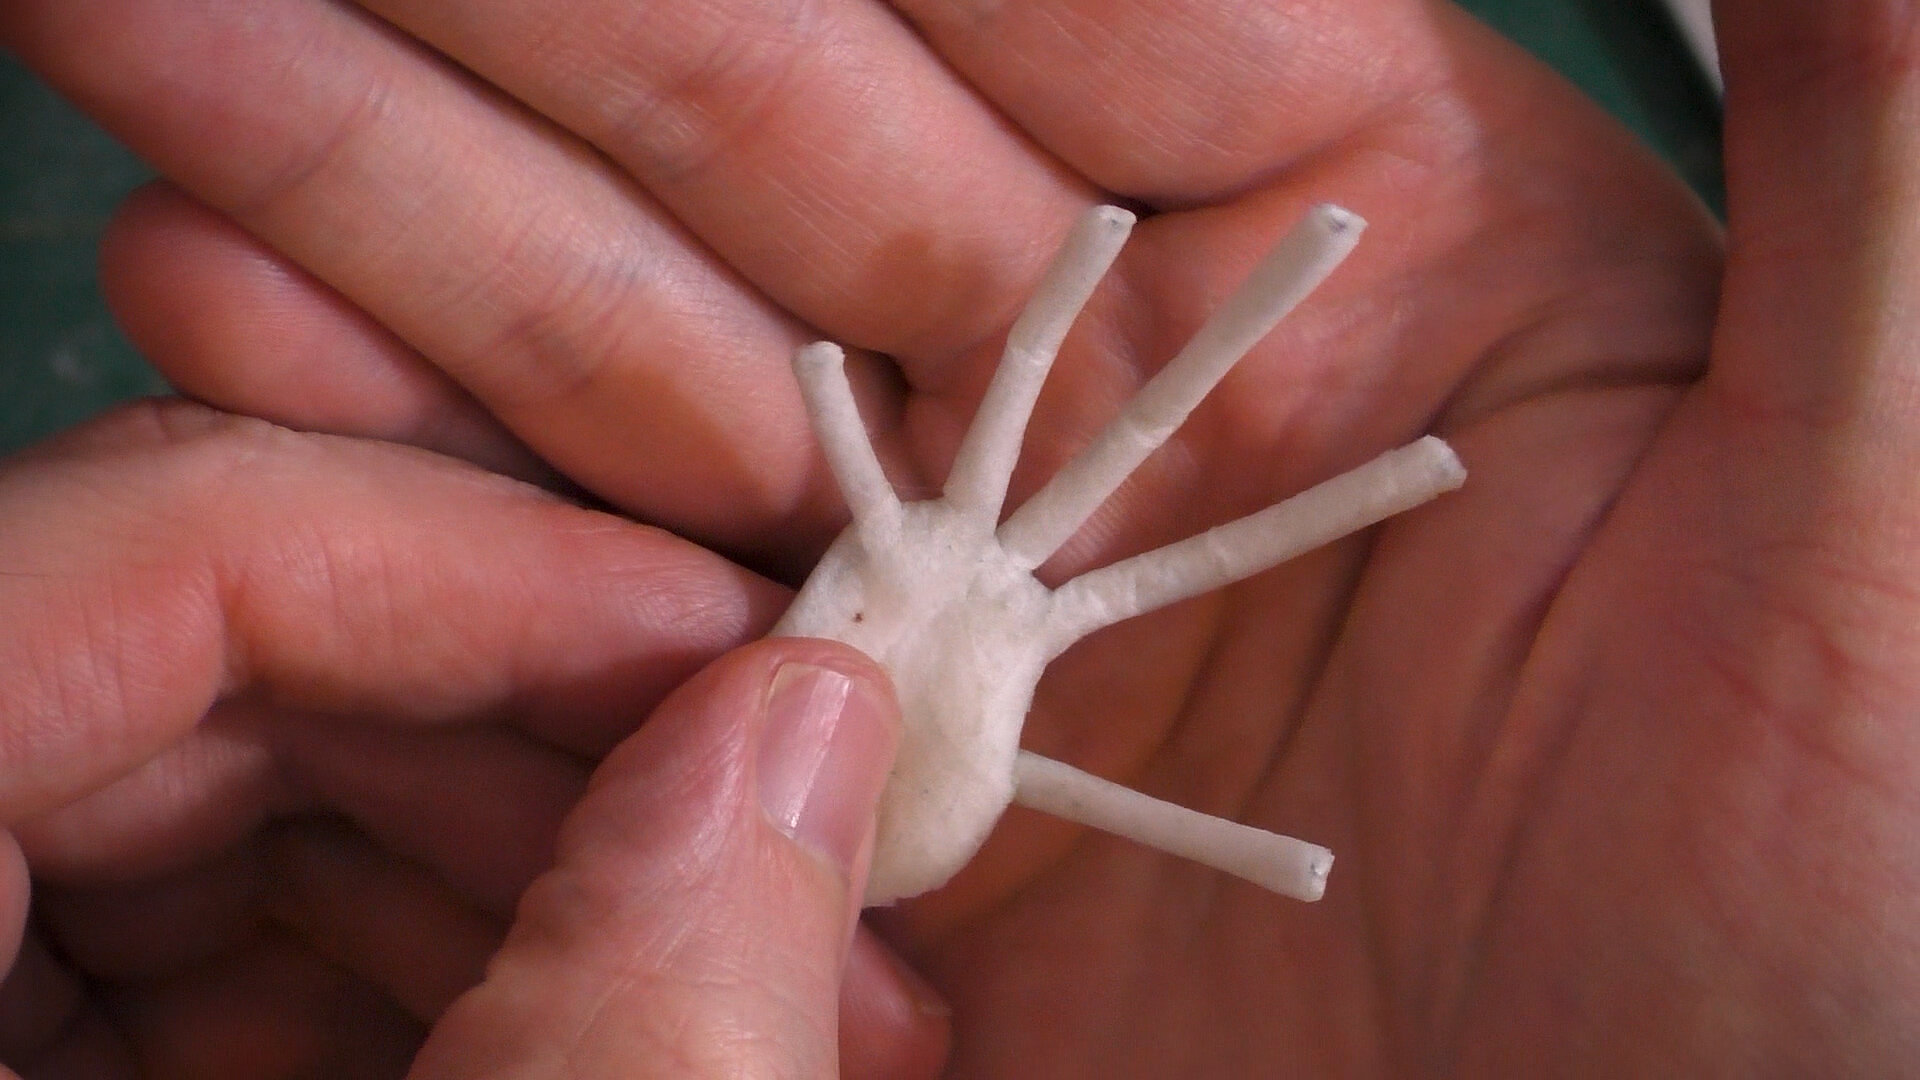
Completed art doll hand armatures
Now we’ll find where we want the index finger, wrap the finger wire around the hand wire. This will create a broad partial oval shape and the index finger and thumb will be connected. Next loop the finger wire around the “U” shape and back up to the hand, then wrap it around to create the placement for the middle finger. Then you’ll create another oval shape, winding a bit of the remaining finger wire around the hand wire and snipping off any excess with your wire-cutters.

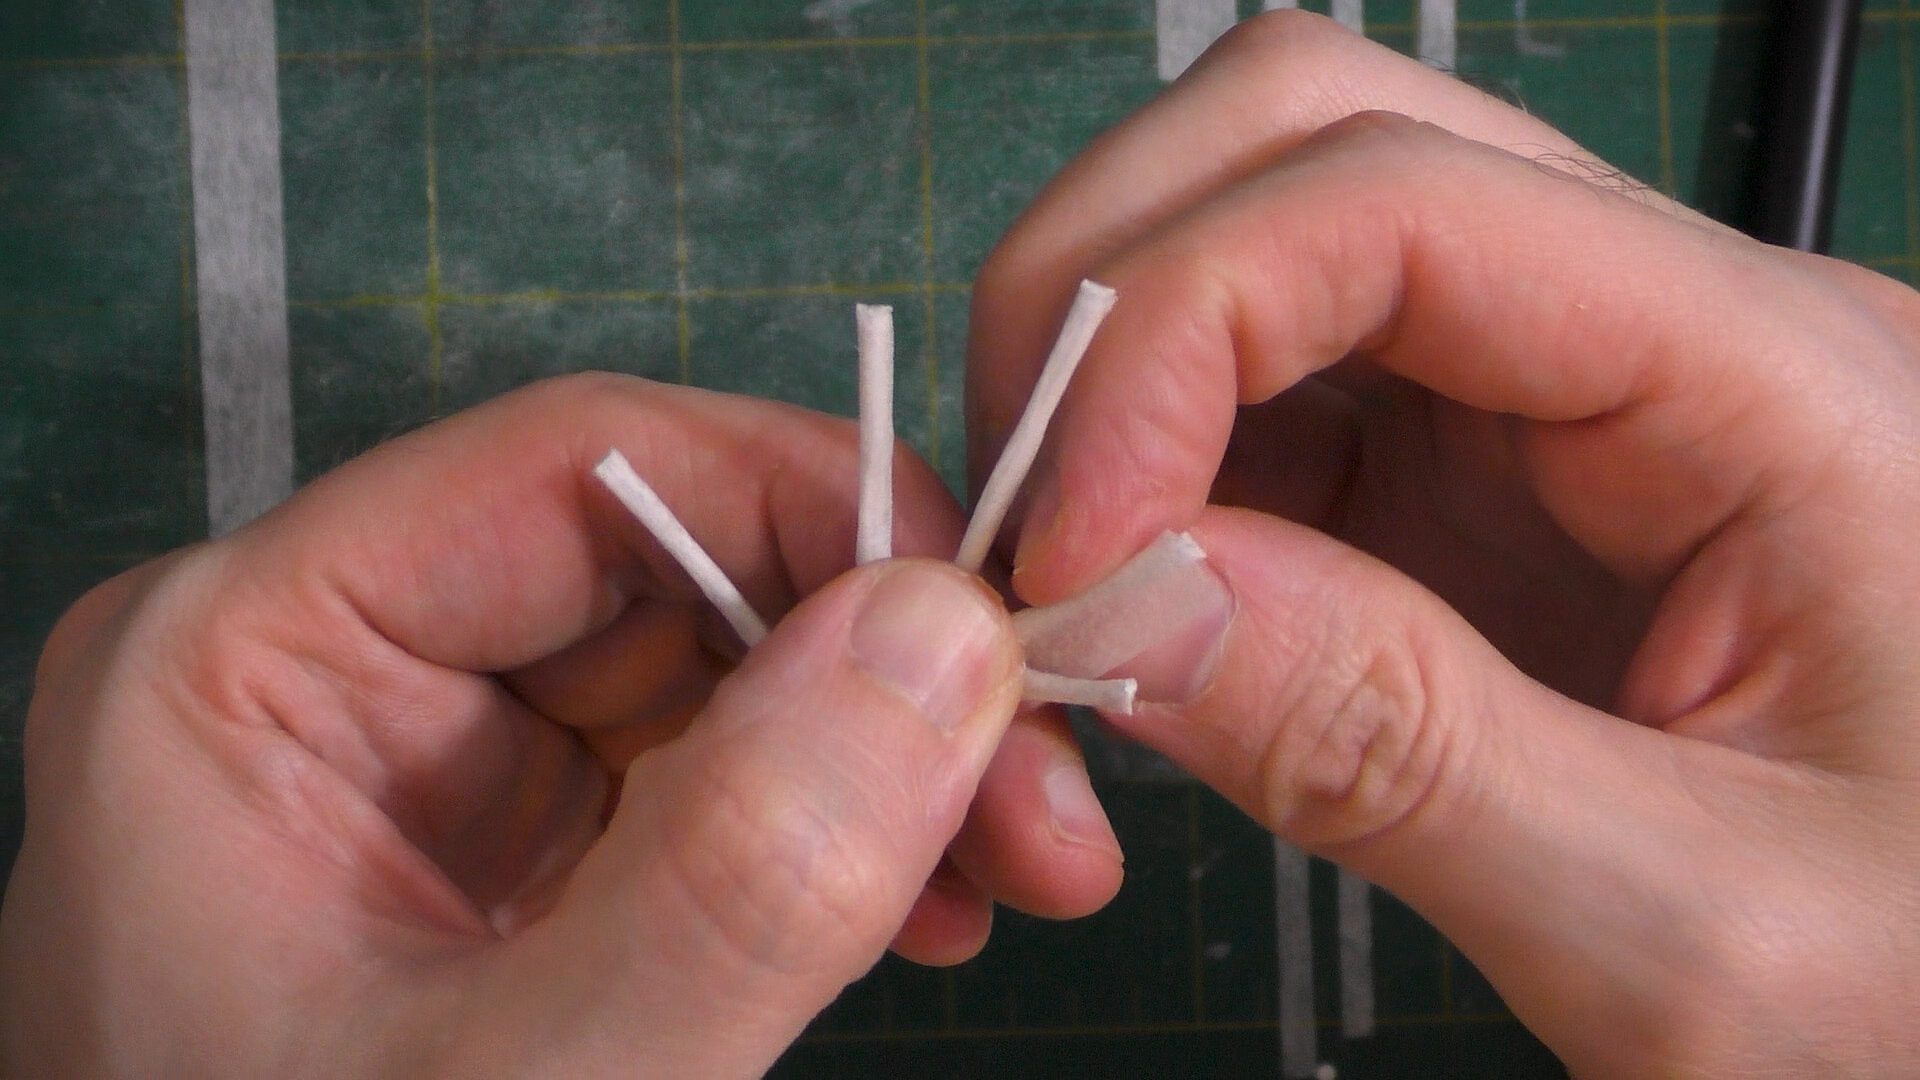
Paper tape helping to lock the finger locations into place
You can adjust the spacing between the fingers, possibly even clamping them down with your pliers. Once that’s done cut thin strips of paper tape, and place them such that about the middle of it goes across the hand wire and each strip is going between our fingers. This will help keep your finger wires in place and you can take the wire-cutters and cut in between the connected finger wire pieces. You can take a sharpie marker and mark-off how long you’d like each finger to measure then cut them down to size.

This is our first layer of paper tape- it looks pretty rough, but it’ll come together in the end

Wrapping paper tape around each finger
Next you will wrap strips of paper tape, that are a little longer than twice as long as the finger, over each finger’s wire, smoothing it over one side and then having the paper tape overlap itself, wrapping around. You’ll typically do two layers on each finger in this manner.
As you place strips, follow the contours of the hand
Using thicker strips of medical paper tape, you’ll cover-over parts of the palm, usually folding over the wire at it’s mid-point. It’s going to begin to cover over the hand and also cover the tape from in-between the fingers and also the paper that coats the fingers. You want the paper tape to go where it wants to go, it may not form a mirror image of itself as it folds around the contours of the hand.
After you’ve a base layer of paper tape covering the hand armature wire, you can wrap pieces of tape around each finger. These paper tape pieces should be just a little shorter than the length of the fingers and about one and half times to twice as wide as the width of each finger.
You can bulk-out the muscles that comes from the thumb and pinky on the palm by placing strips that go across the length and width of these areas. At this point, you can also wrap a piece of paper tape that’s almost as long as the aluminum tubing and overlaps pieces covering the hand wire.
Next you’ll use as broad of pieces of tape on the hand as will comfortably fit- the wider the pieces, the less seams will be apparent on the hand. As you start to get a hand shape that you like, you can place a long strip that you might taper on the hand that will then wrap around the aluminum tubing and then you can wind another piece of tape around the tubing.

Wrapping a larger strip around the aluminum tubing

Painting a flesh tone on an art doll hand
“…Paint your art doll’s hands at the same time you’re painting other areas of it’s flesh so that you won’t have to try and color match it’s skin tones later.”
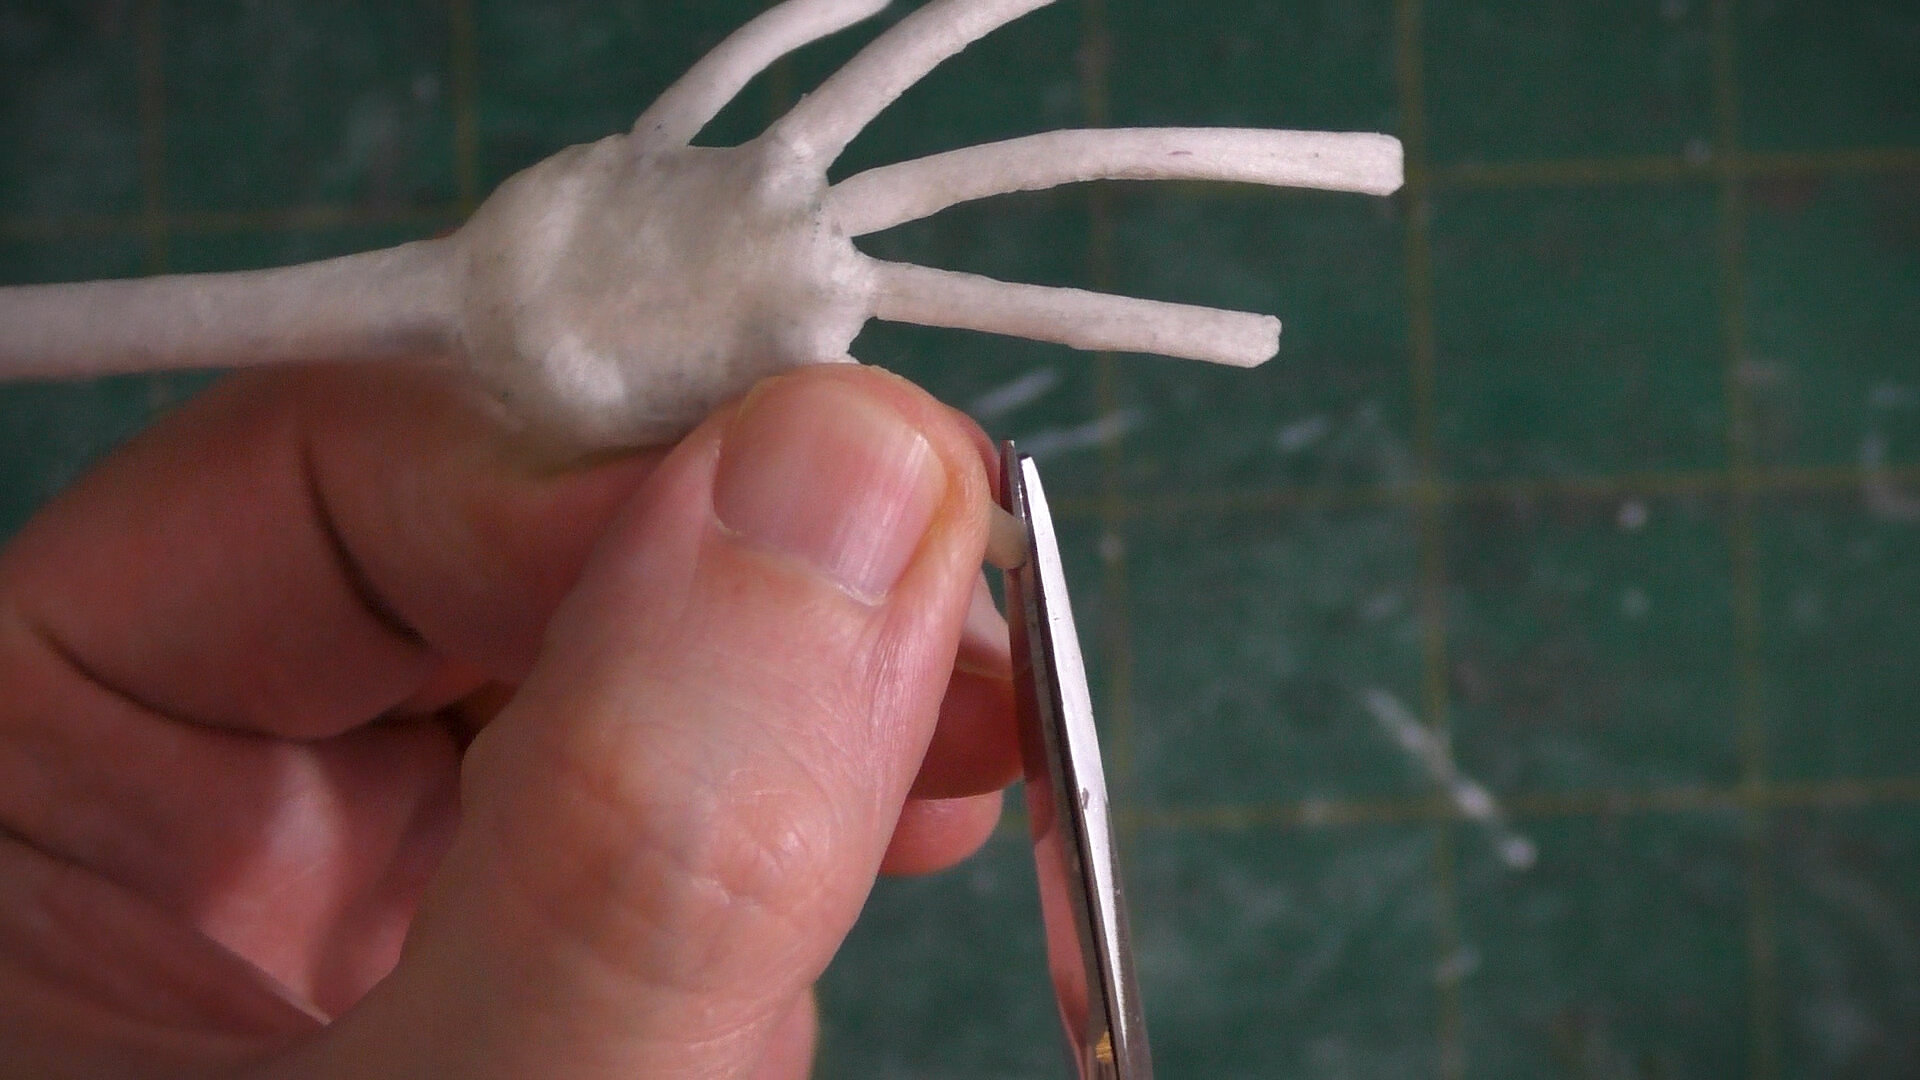

Other than patching areas that might need more tape, the poseable art doll hands are constructed. You can now apply heavily water diluted Mod Podge and let the hands dry. At this point you can trim the finger tips as they will have a blunt and malformed appearance. You want to trim a little bit of the paper tape material at a time. Once this is done, you can also patch any areas of the hand that look like they need it. You’ll apply a coat of less diluted Mod Podge, let that dry, and then you might mix-up a base coat tone with some Mod Podge and water that will serve as an under painting for whatever flesh tone you want for your art doll. The under painting color should be one that if the flesh tone paint was thinly applied over it and it showed through, it would add rather than detract from the piece. One tip I can give you is to paint your art doll’s hands at the same time you’re painting other areas of it’s flesh so that you won’t have to try and color match it’s skin tones later.
Thanks so much for stopping by. If you’ve read this post and watched the YouTube video, but still have questions, be sure to comment them below and I’ll do my best to field it. If you use this technique, tag me on social media so that I can see what you’ve made. You can find me on these platforms:
Prints of my art are available through my online store.
You can find my process videos by subscribing to The Dream Syndicate Arts here for more fantasy art doll polymer clay sculpture videos: https://www.youtube.com/channel/UCFMoEW3xC740tWfQNSixs_Q