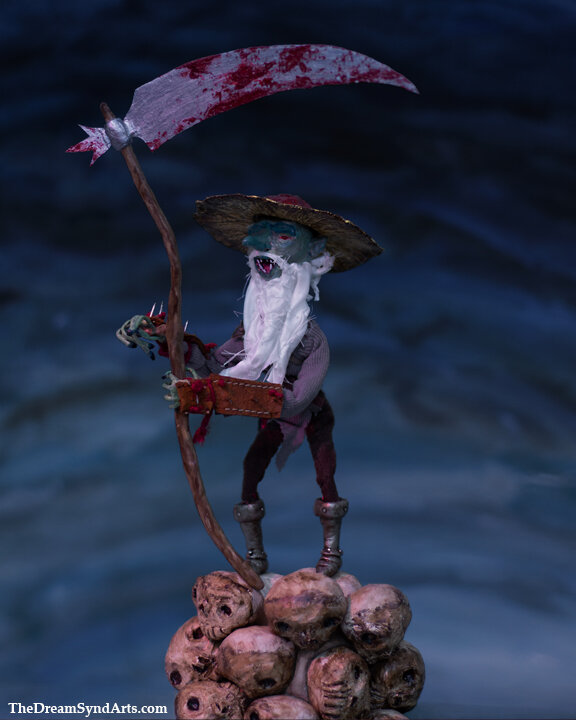
I recently spent some time documenting some terrible, malevolent, dark fae, the redcap. These nasty, blood-thirsty creatures make their homes in castle ruins or sites of gruesome battles and prey upon any who enter their domain. Redcaps are described as red-eyed old men with long, greasy beards, carrying pike staffs or scythes, and renown for wearing heavy iron shod boots and despite their ungainly footwear, move with preternatural speed. What really gives them their name are the red hats on their heads. The red is no mere ornamentation, it is actually soaked in blood and must remain so, for if a redcap’s hat ever runs dry of the crimson ichor, the creature will perish.
Watch me make the Redcap Art Doll here:

While the lore tends to describe the evil fae creatures as having a stout build, I tend to like spindly creatures. This poseable art doll was made in my typical mixed-mixed media style, beginning with sketches and ending with a finished dimensional-illustration. I made his fleshtone a sort of minty green hue because I thought it would coordinate well with the red cap on his head. One direction I decided to take on the design of this art doll was to make his hat resemble a mushroom- surprisingly, not many artists had made this character design decision. It made perfect sense to me, there are all manner of benevolent fae seen wearing mushroom hats and given that their are a good number of mushrooms that can seriously harm or kill a person and the redcap fae creature is menacing it’s self, it almost seemed like an obvious choice.
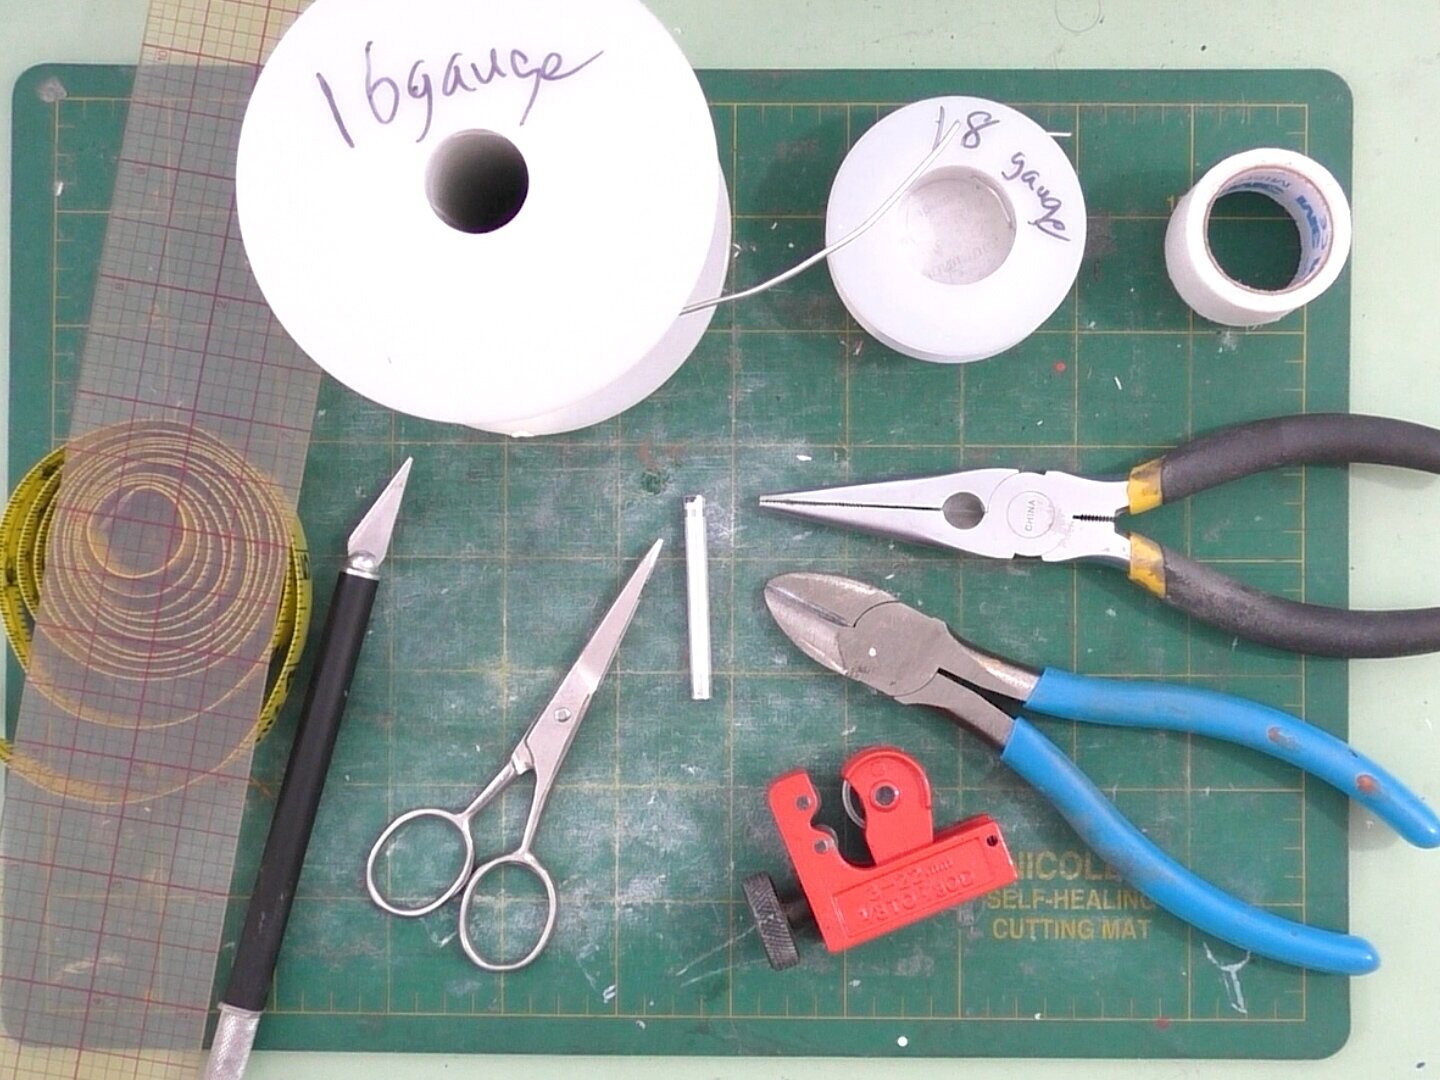
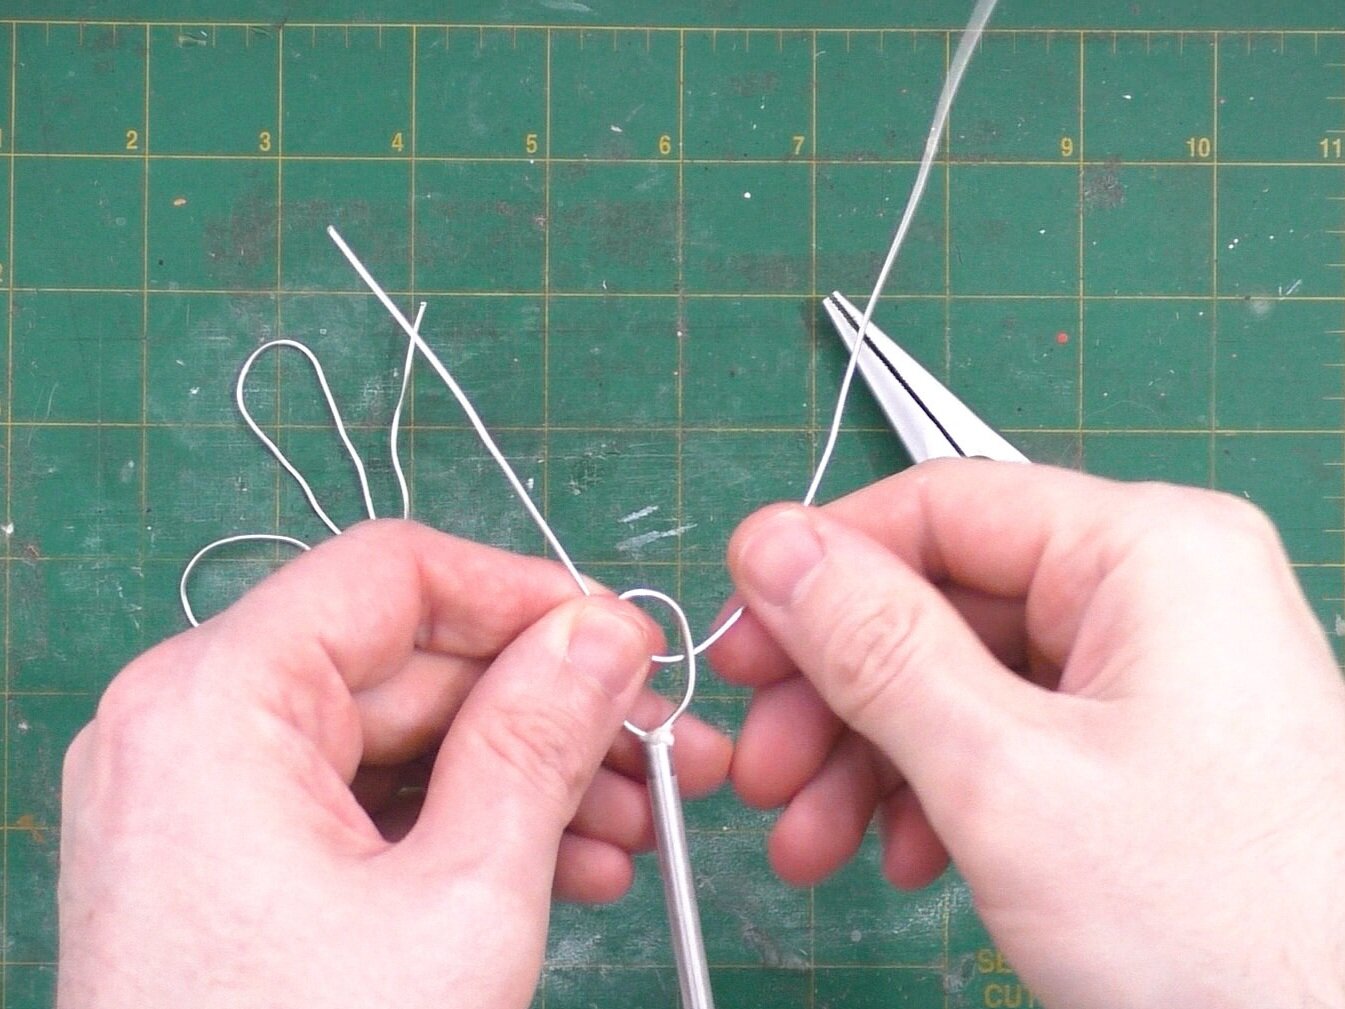
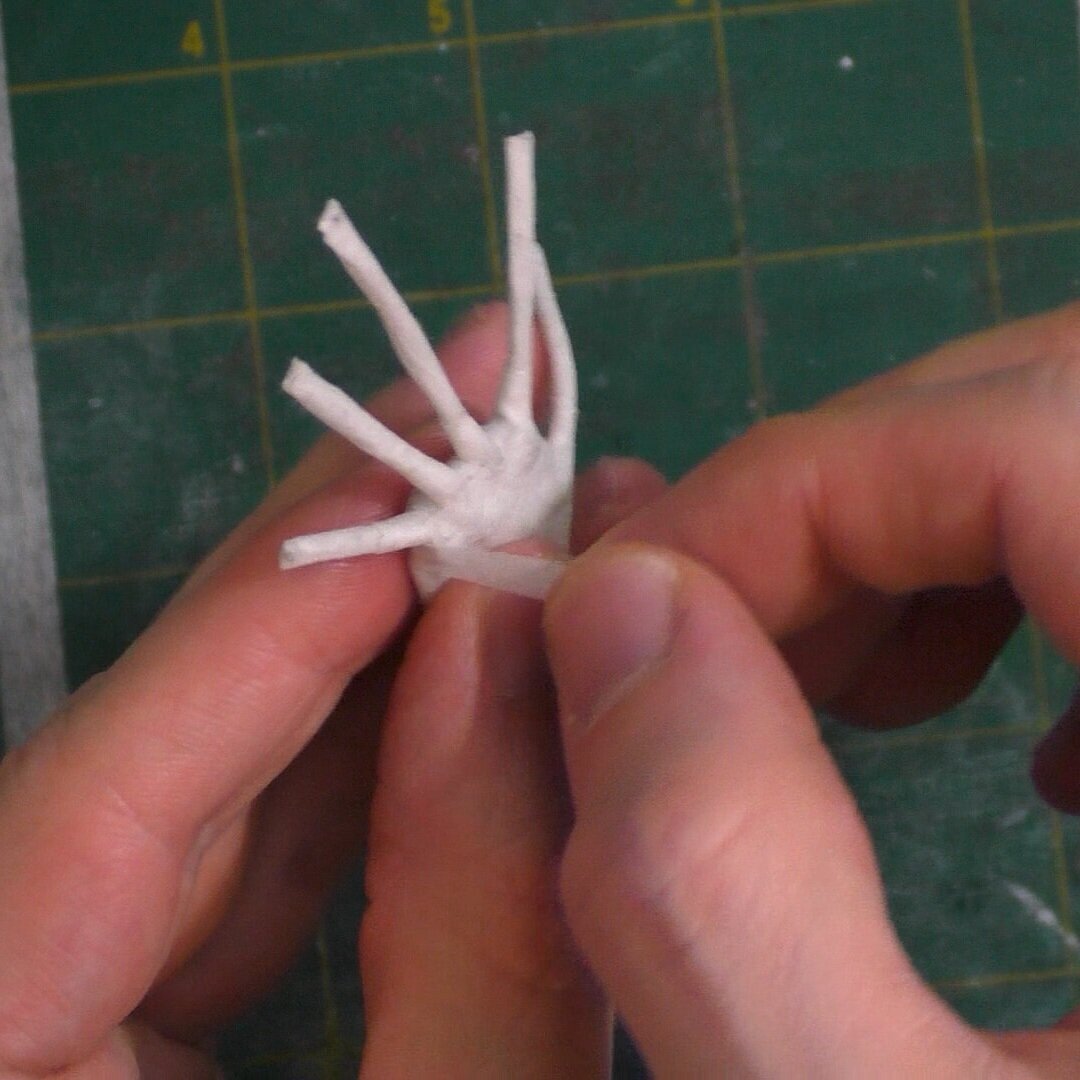
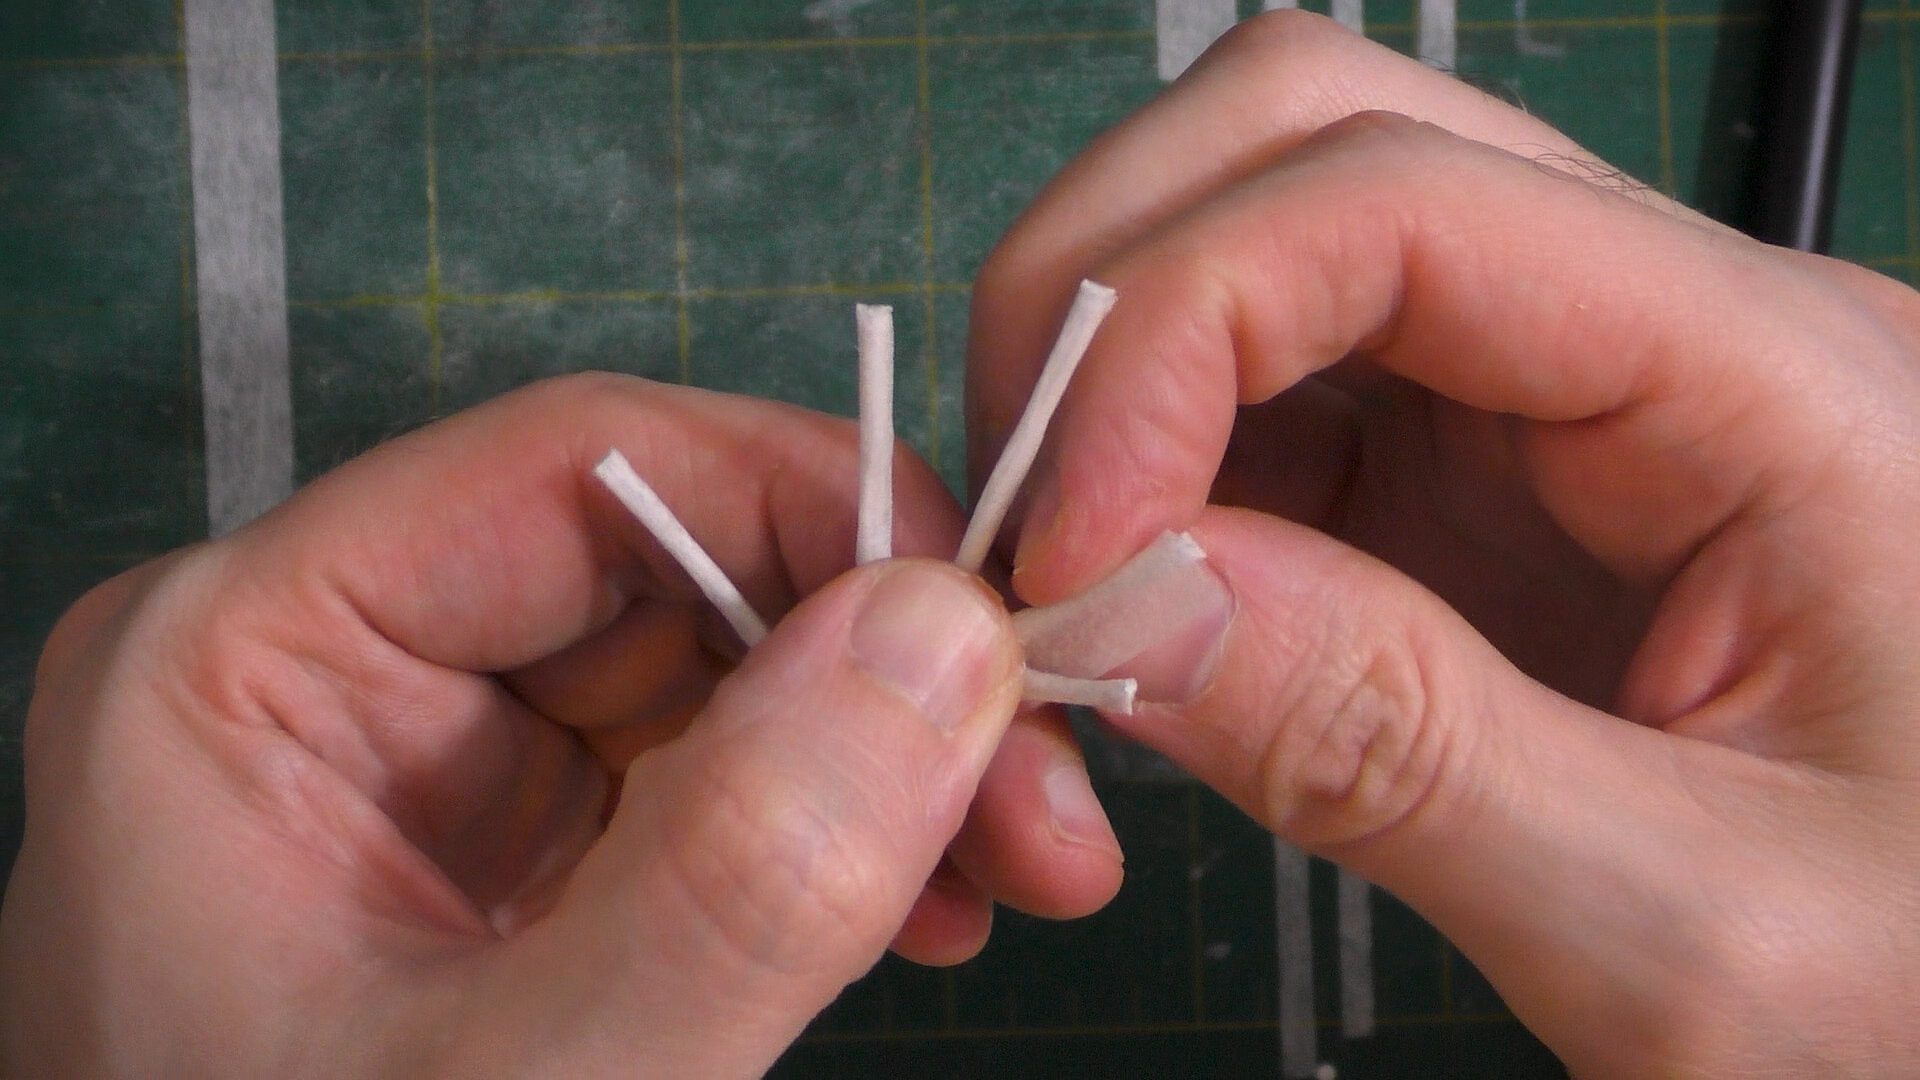
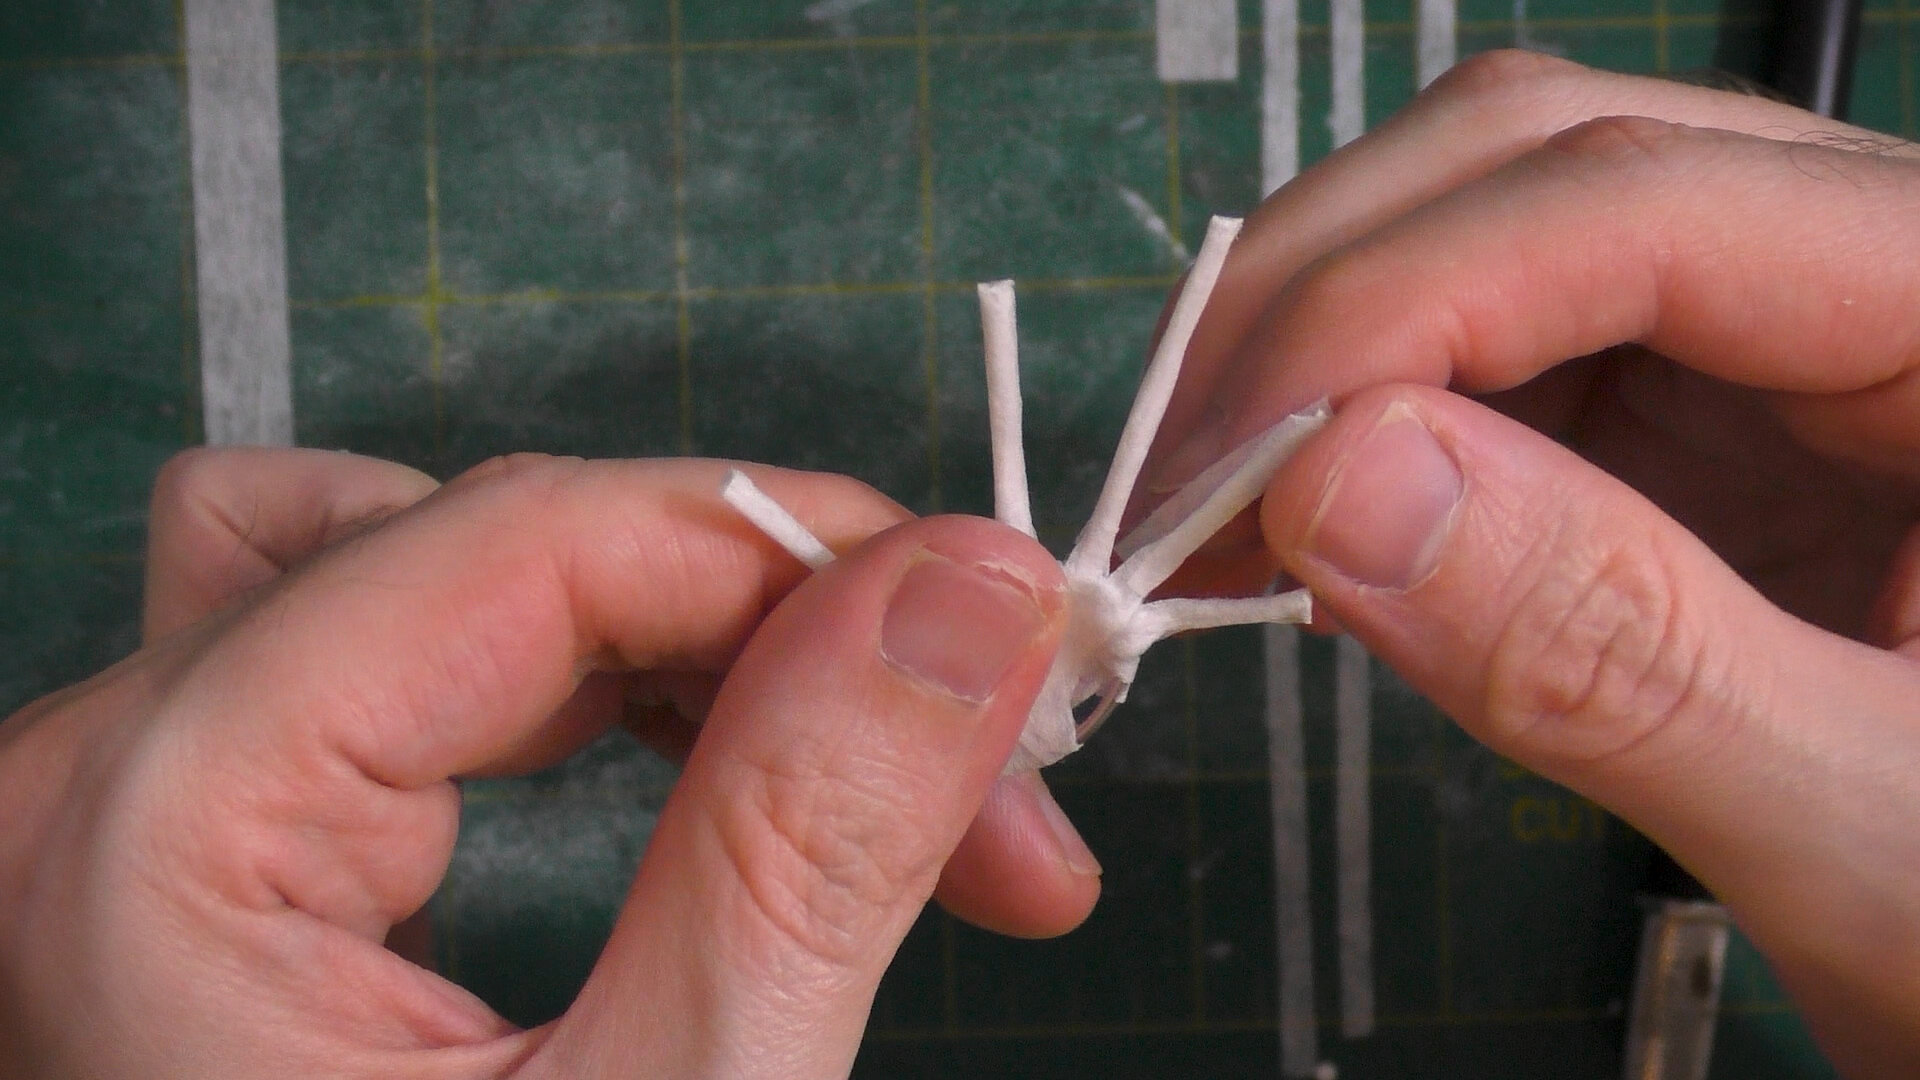
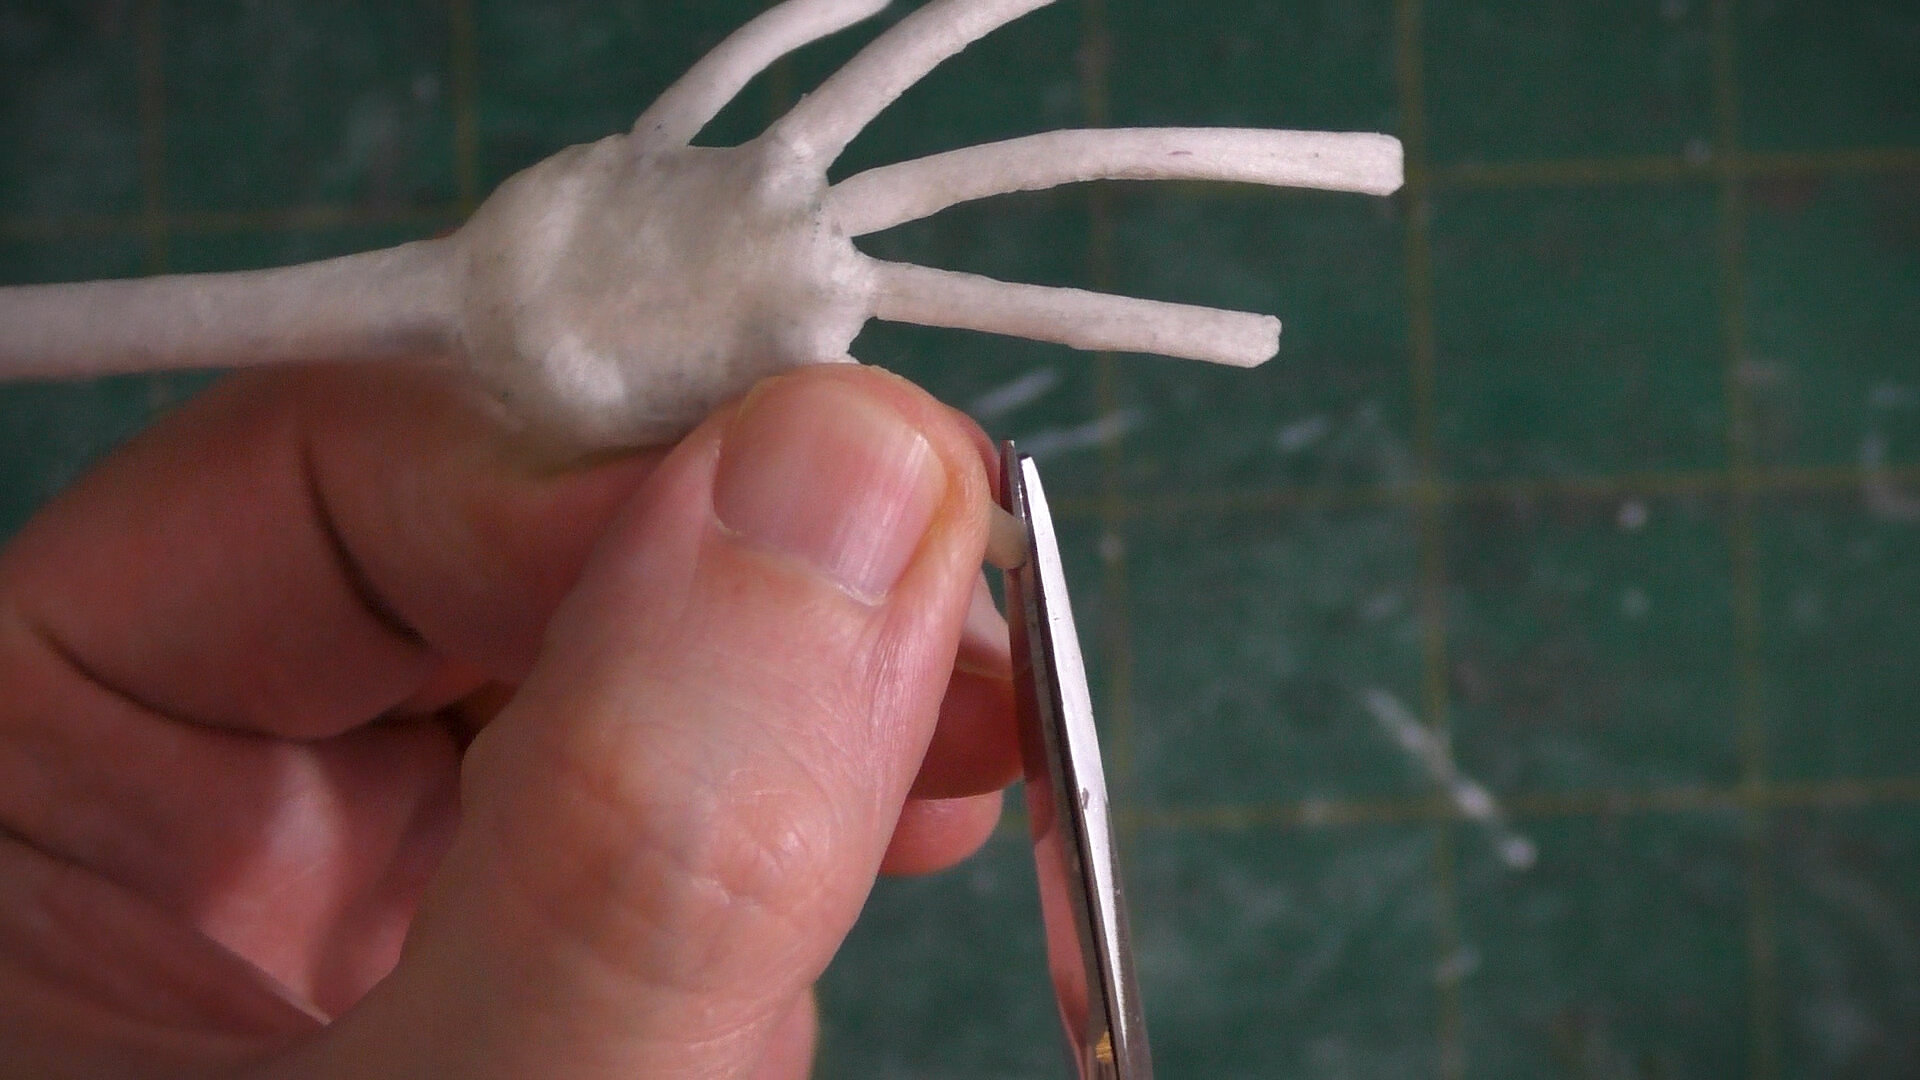
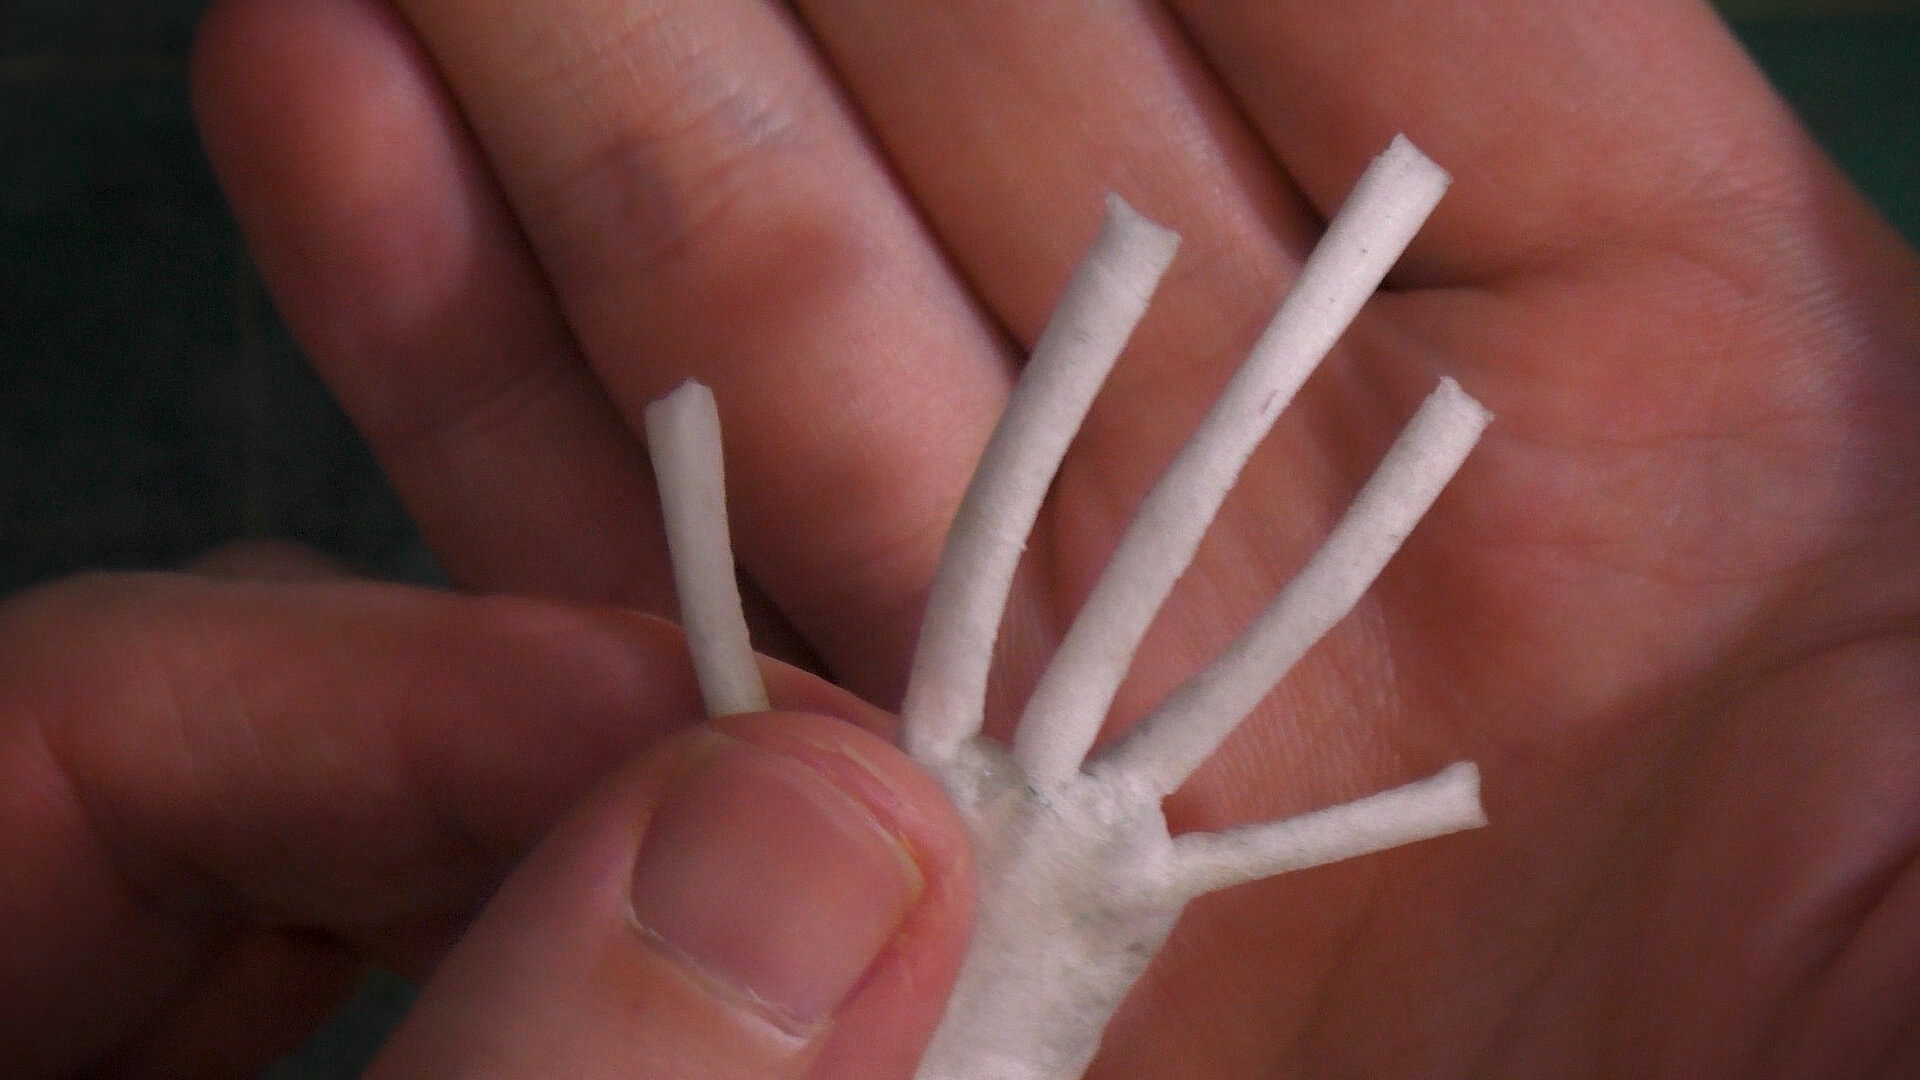
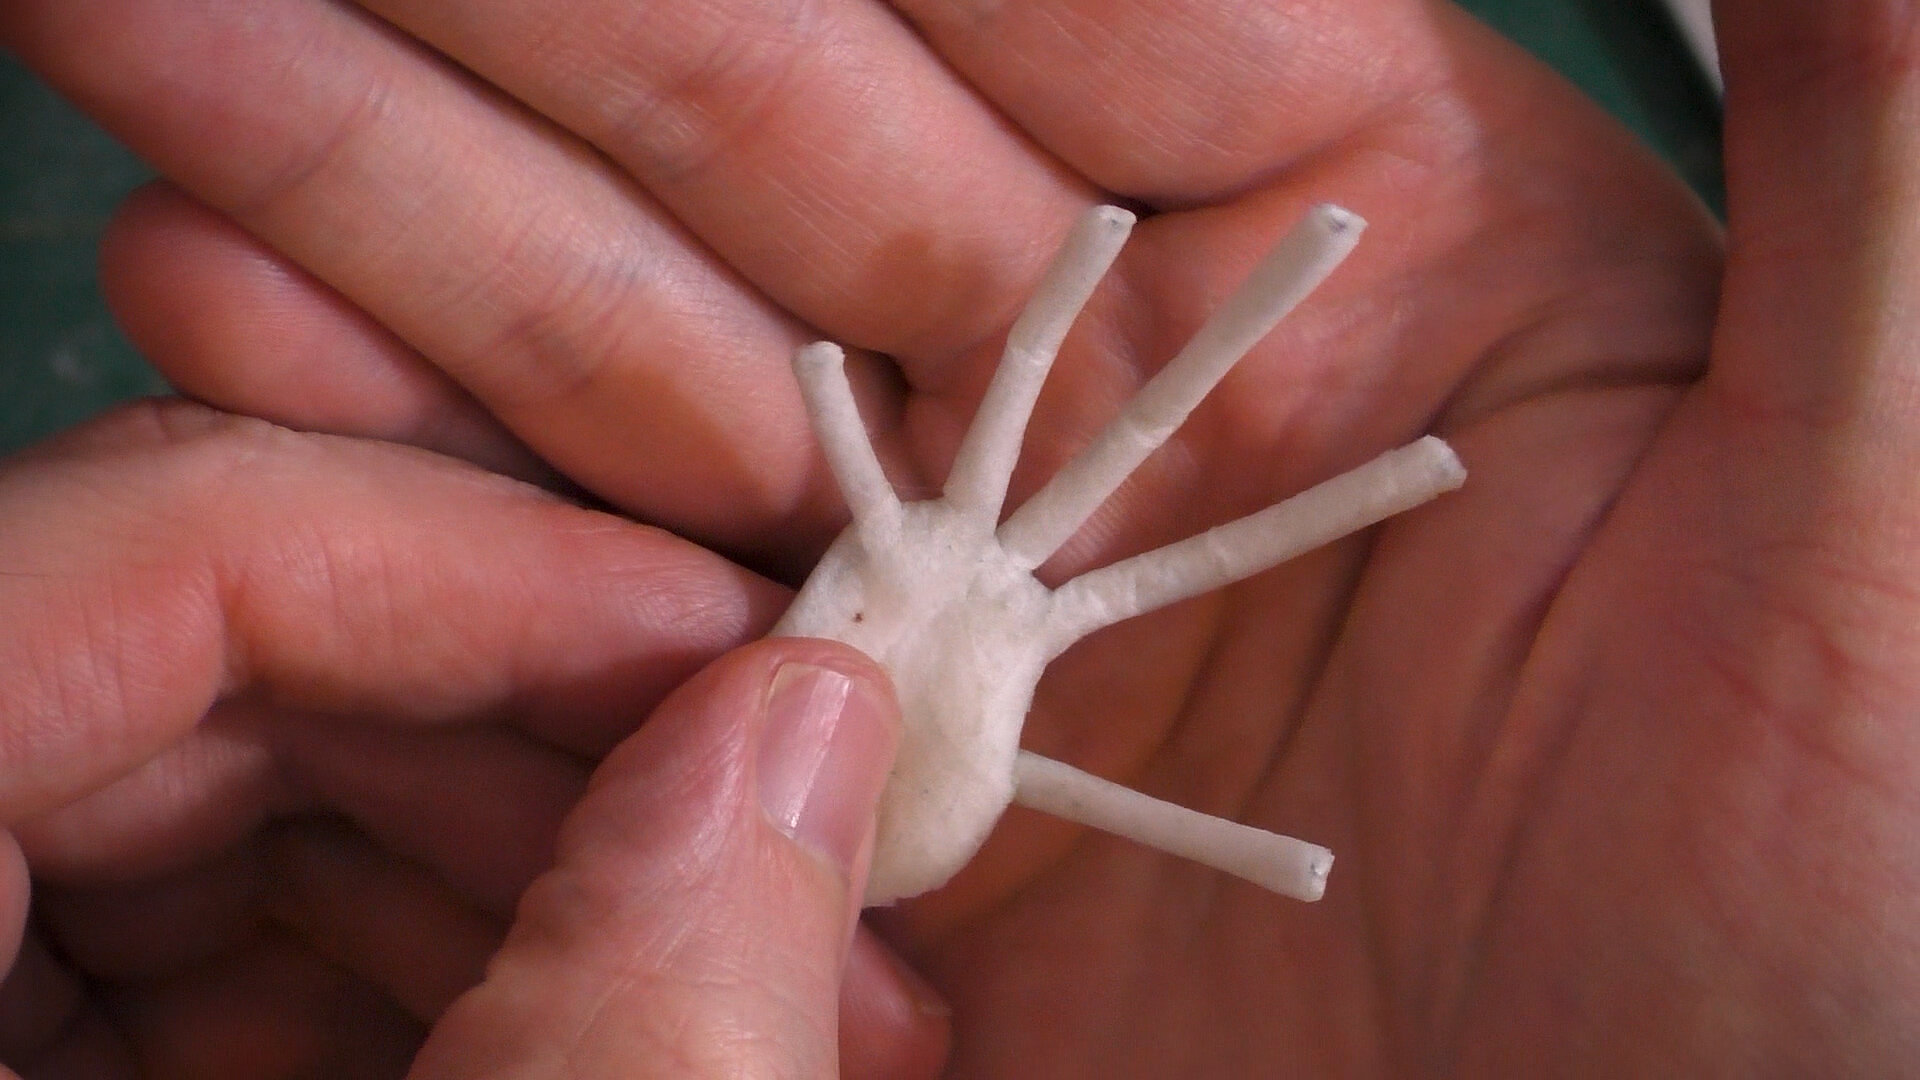
The art doll has a Sculpey polymer clay sculpted head, poseable wire armature body, fabric clothing, and his accessories are made from a variety of mediums. I particularly love some of the dingy little details of this malevolent creature like his spiked armguards and shoulder pad made from upcycled materials. His whole outfit was meant to have a rough-hewn, thrown together quality to it as if this creature doesn’t spend much thought to how he looks at any given time.

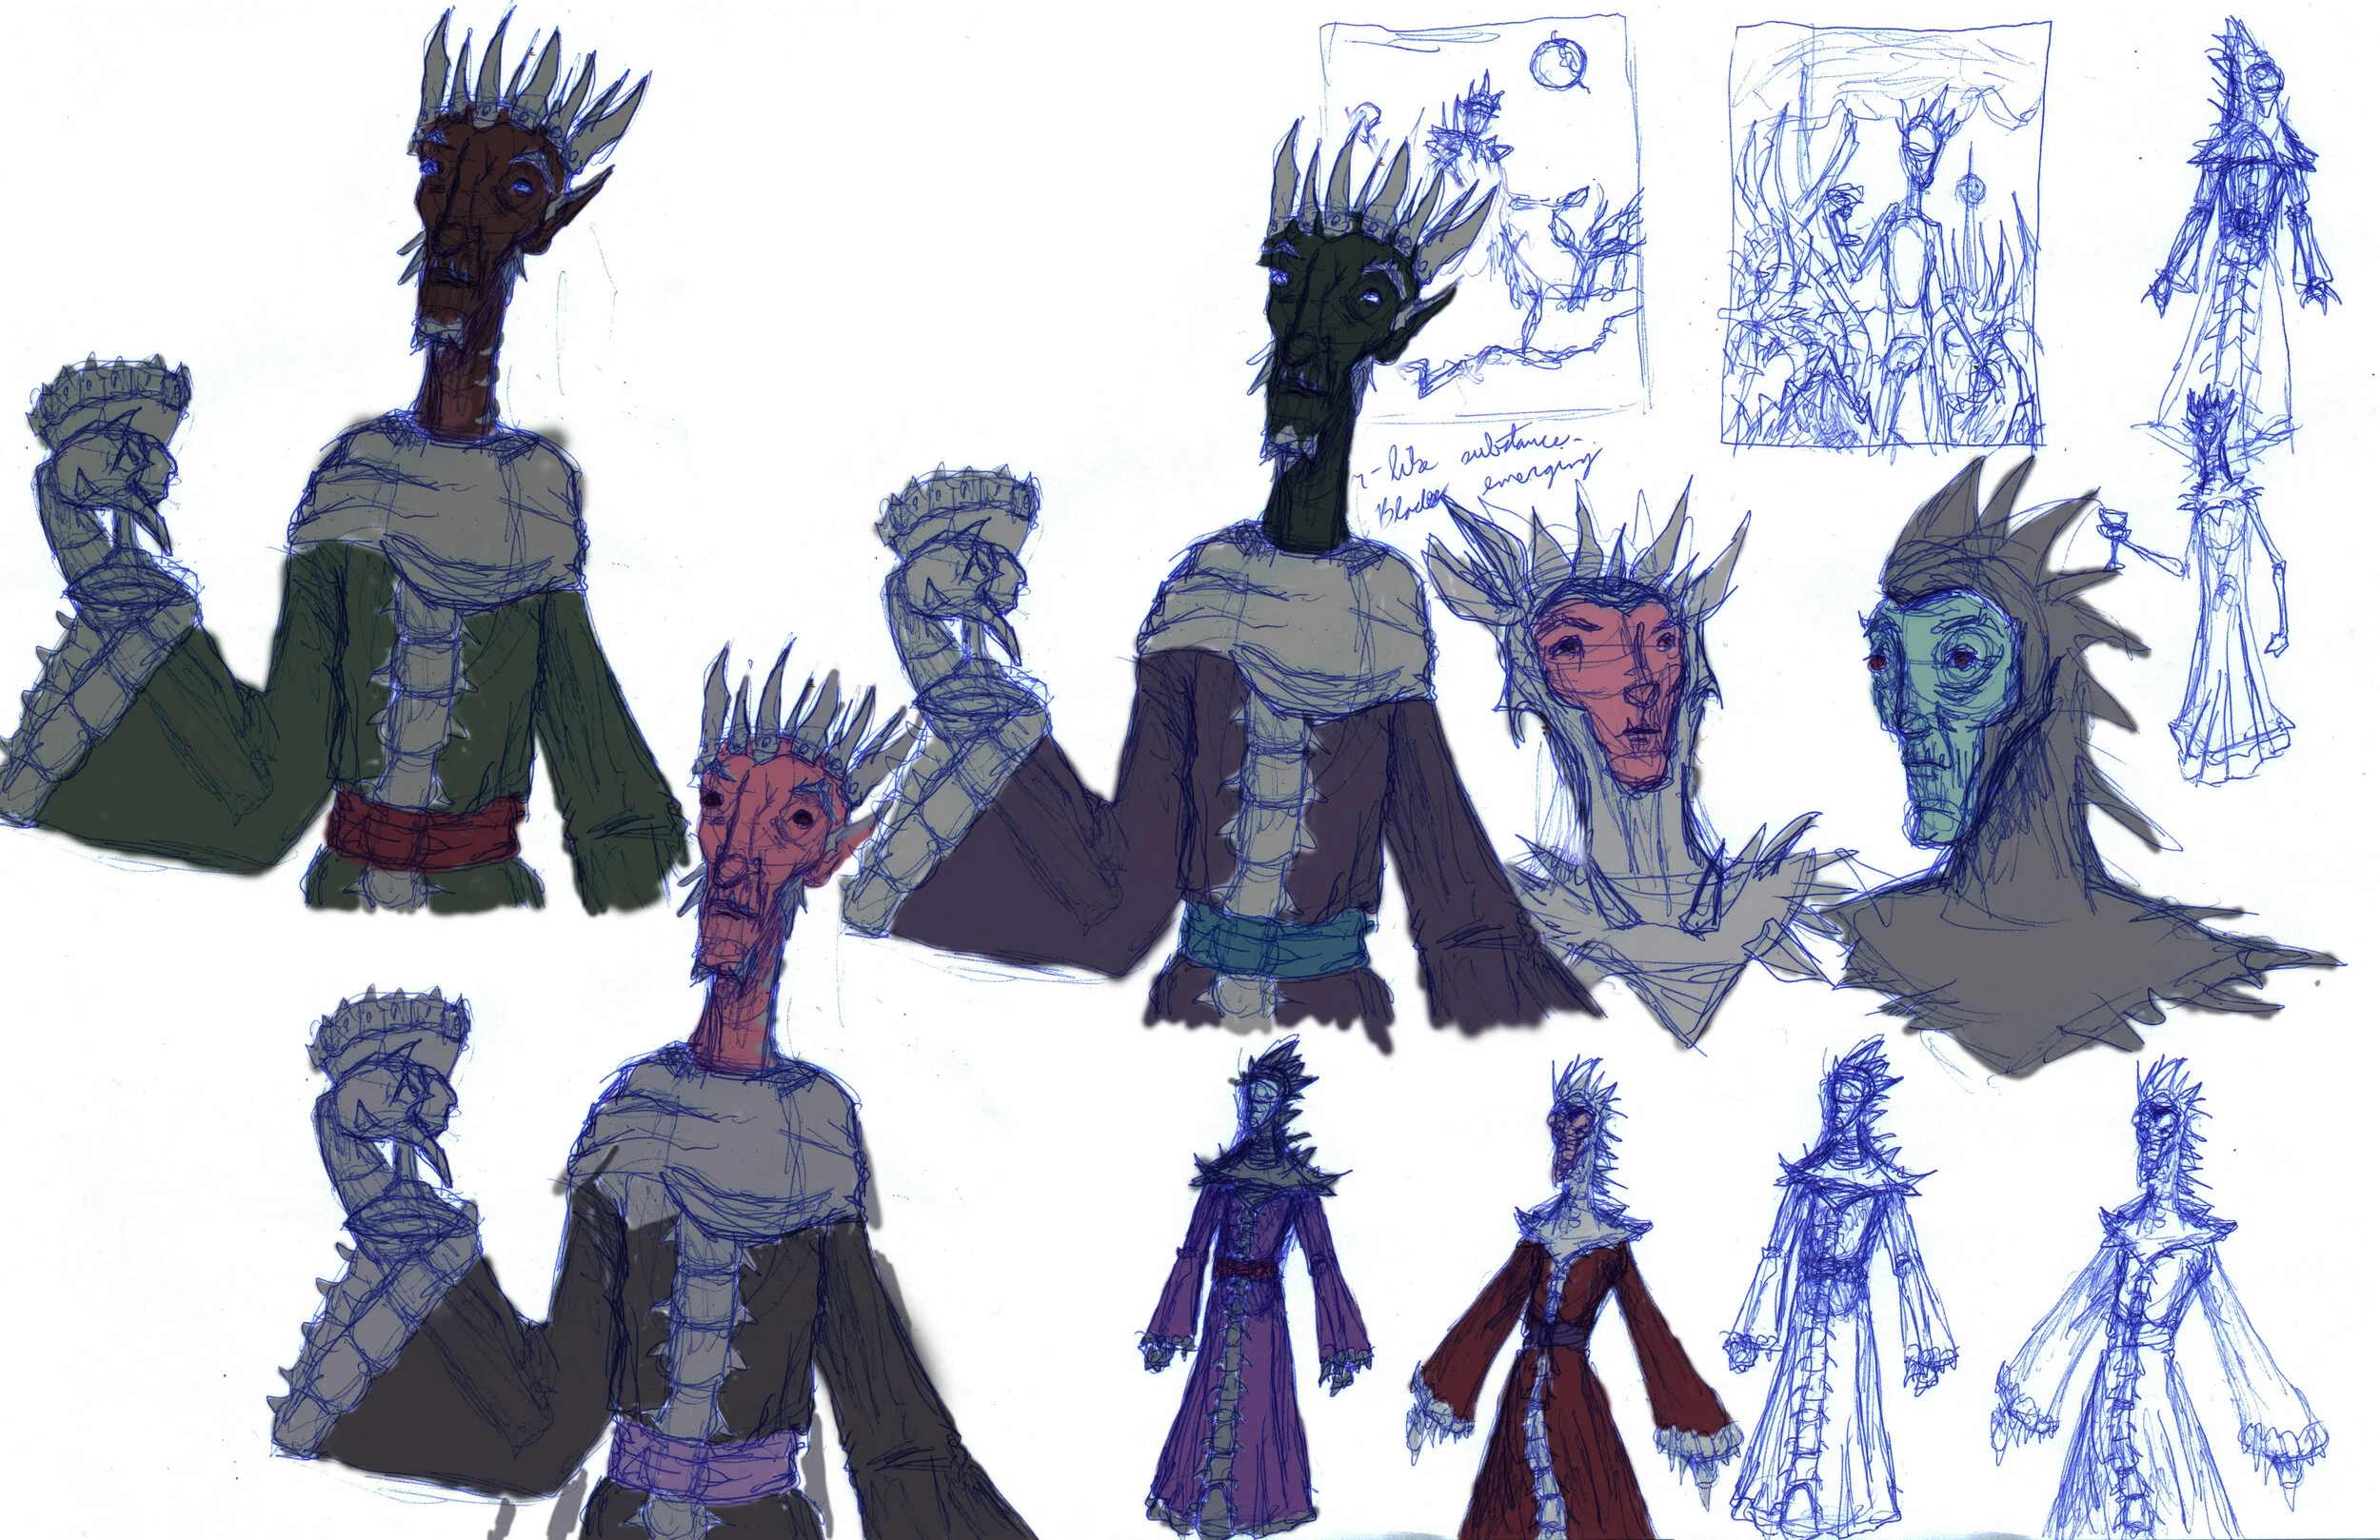
Sketching the design of the redcap art doll
The art doll has a Sculpey polymer clay sculpted head, poseable wire armature body, fabric clothing, and his accessories are made from a variety of mediums. I particularly love some of the dingy little details of this malevolent creature like his spiked armguards and shoulder pad made from upcycled materials. His whole outfit was meant to have a rough-hewn, thrown together quality to it as if this creature doesn’t spend much thought to how he looks at any given time.
Prints of the dimensional-illustrations made with the redcap art doll are available here:
Open Edition Prints
“Redcap’s Rage” https://www.inprnt.com/gallery/thedreamsyndicate/redcaps-rage-evil-fae-fantasy-art/
”Redcap’s Rest” https://www.inprnt.com/gallery/thedreamsyndicate/redcaps-rest-evil-fae-fantasy-illustration/
“Redcap’s Reaping” https://www.inprnt.com/gallery/thedreamsyndicate/redcaps-reaping-wicked-fae-fantasy-art/


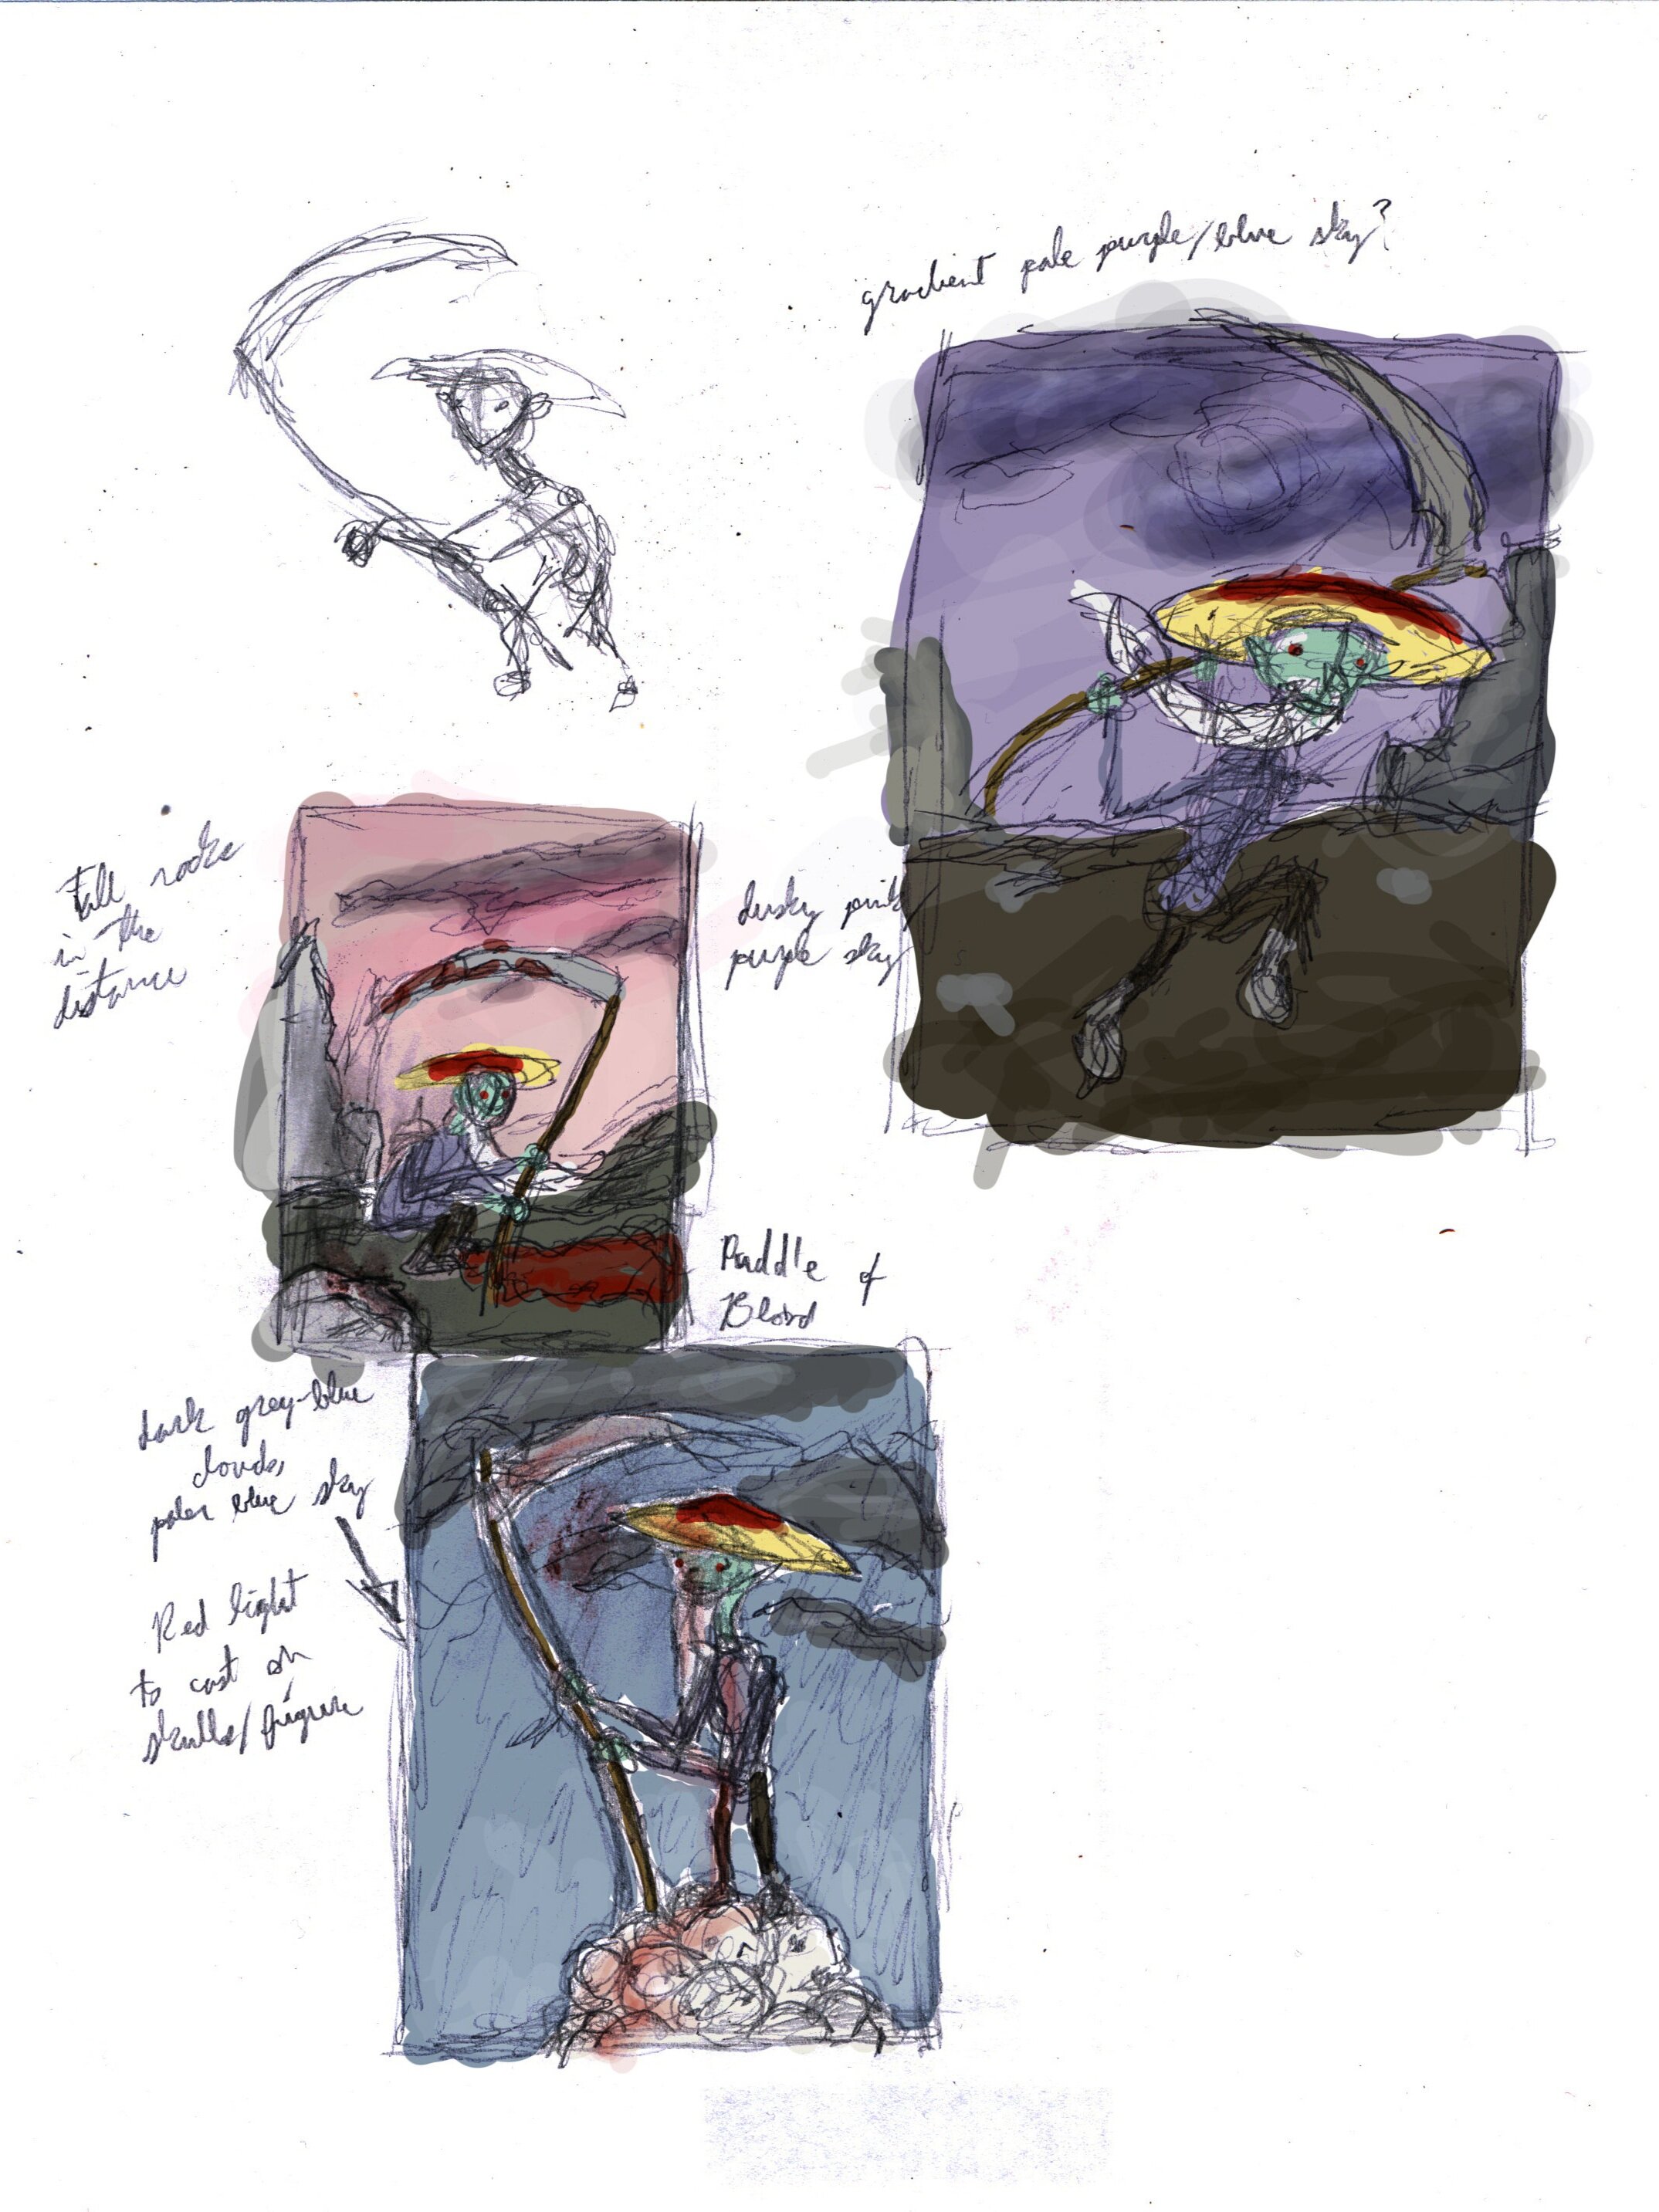
Color studies for the various dimensional-illustrations made with the fae art doll.
Thanks for joining me so far and here’s to the adventures we have in future! To be the first to know when I launch new polymer clay art videos, be sure to subscribe to my YouTube channel and hit the bell icon. Catch all of my videos here: https://www.youtube.com/thedreamsyndicatearts. You can also find many of the supplies I use in crafting here: https://www.thedreamsyndarts.com/supplies-gear/. And sign-up for my newsletter (in the sidebar) to get the latest studio goings-on! Thanks so much for joining me on this journey and until next time: Make. Believe!