For my latest dimensional illustration, Lord Bledwall, I wanted his robe to have a poseable metal trim- it wasn’t utilized so much in this image I made with him, but if I decide to use him in future images, I’ve some variety of what I can do with the moveable faux metal piece. This technique can be used not just for metal clothing adornment for a variety of art doll accessories like fantastical weapons or maybe metallic tentacles. Making these DIY poseable faux metal elements only requires some basic supplies and tools as well as some handicraft skills. If you can measure and cut things, you can absolutely make these! You can find the necessary supplies, instructions, or even watch how they were made below.
Watch how they were made: DIY Poseable Faux Metal Tutorial | Art Doll Accessories


Click on any of the items below & you’ll be taken to a corresponding Amazon page, which helps support my art with no additional cost to you.
Faux Metal Making Supplies Needed:

Texturing tools.

We’ll start-off with a length of 18 gauge aluminum wire. I’m basing the length of the wire on about how long I think the art doll’s robe should be. We’ll twist it up with our pliers and depending on what you’re doing or if it’s visible, you might want to snip the uneven edge of the wire with your wire-cutters.
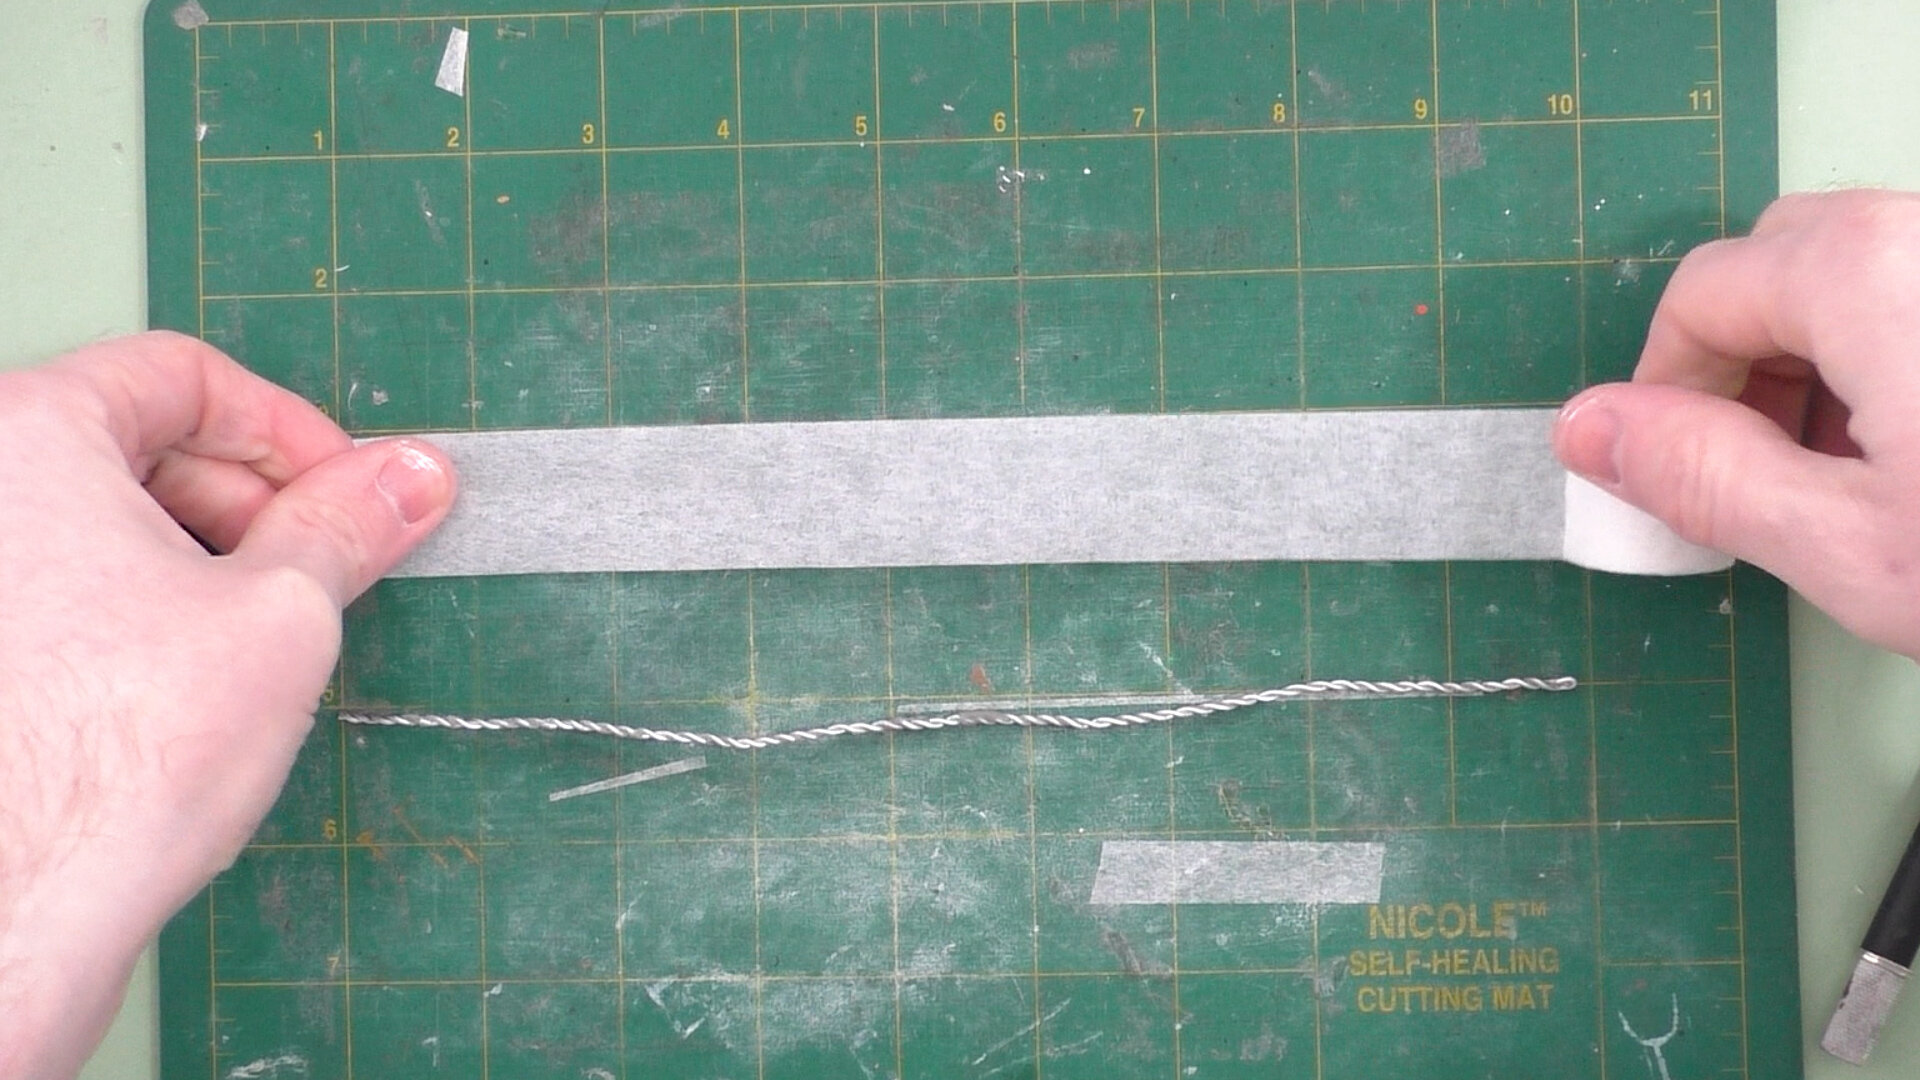
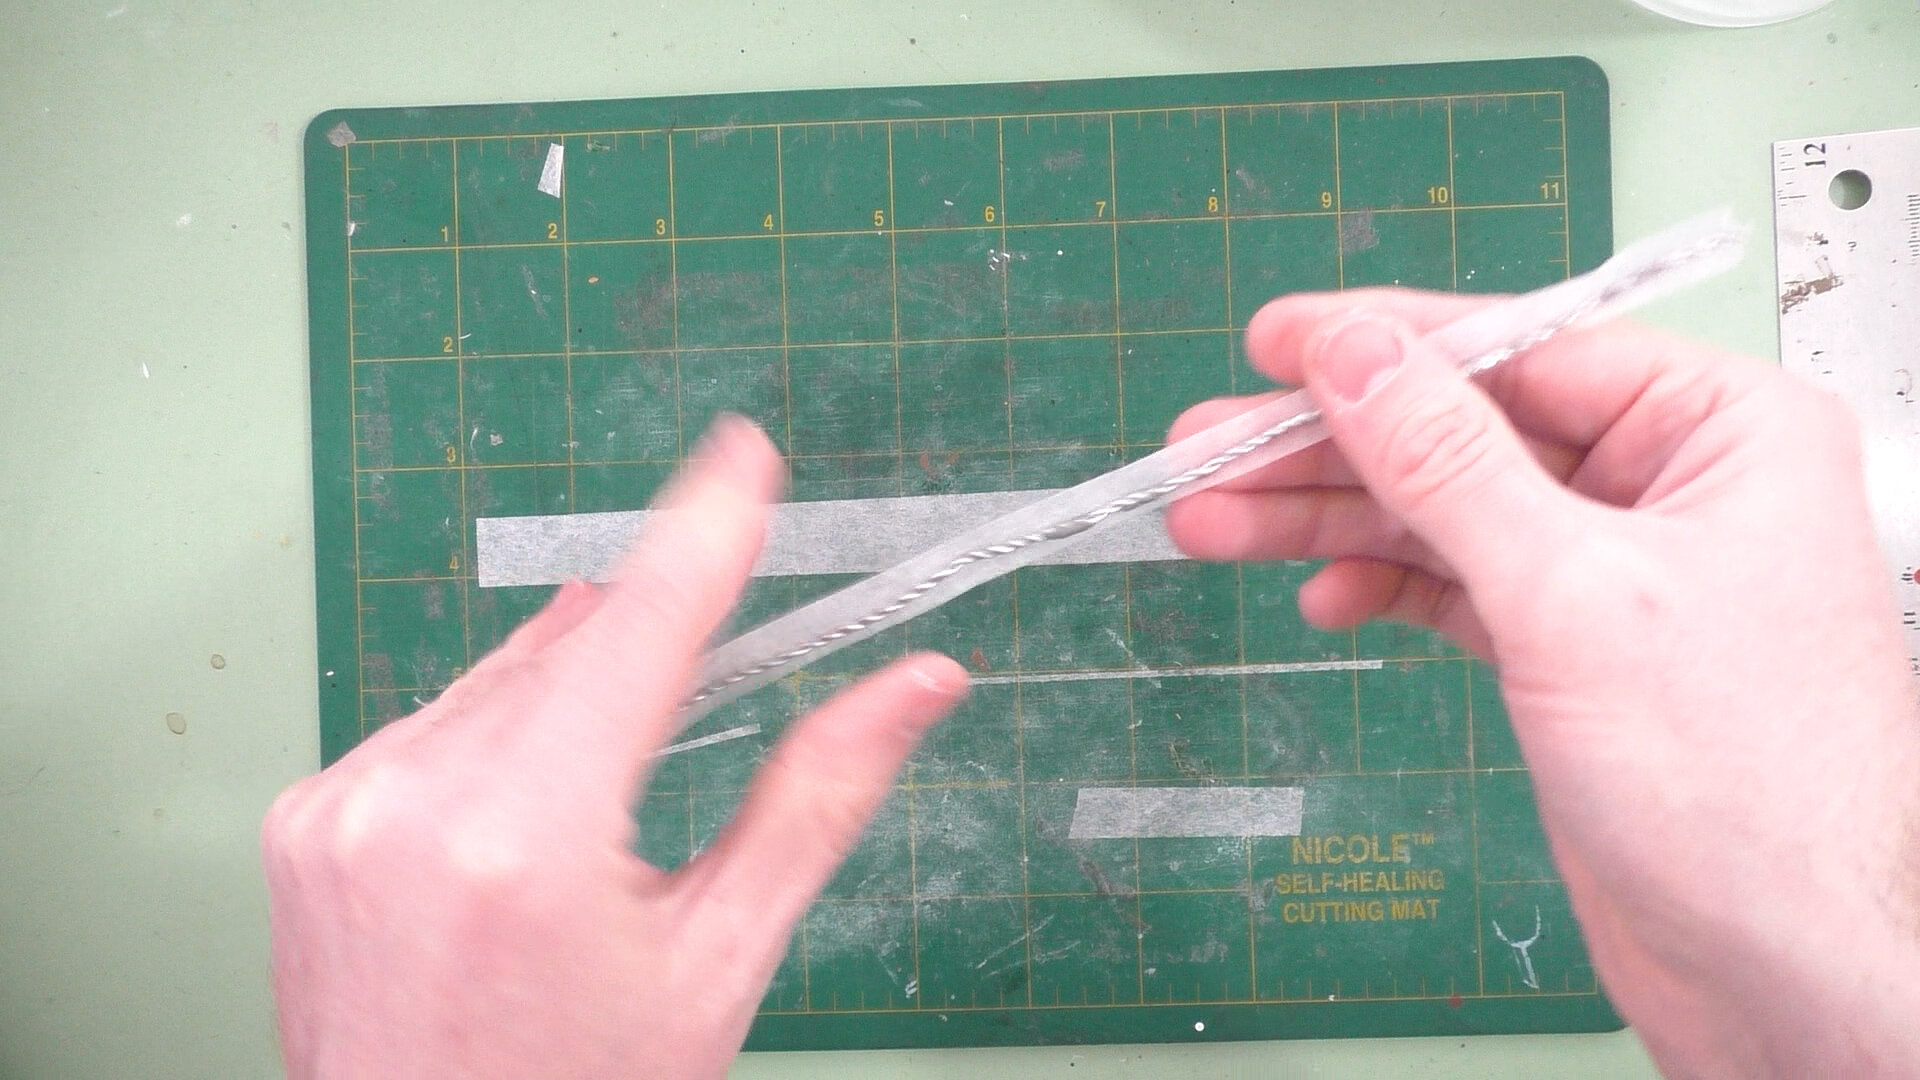
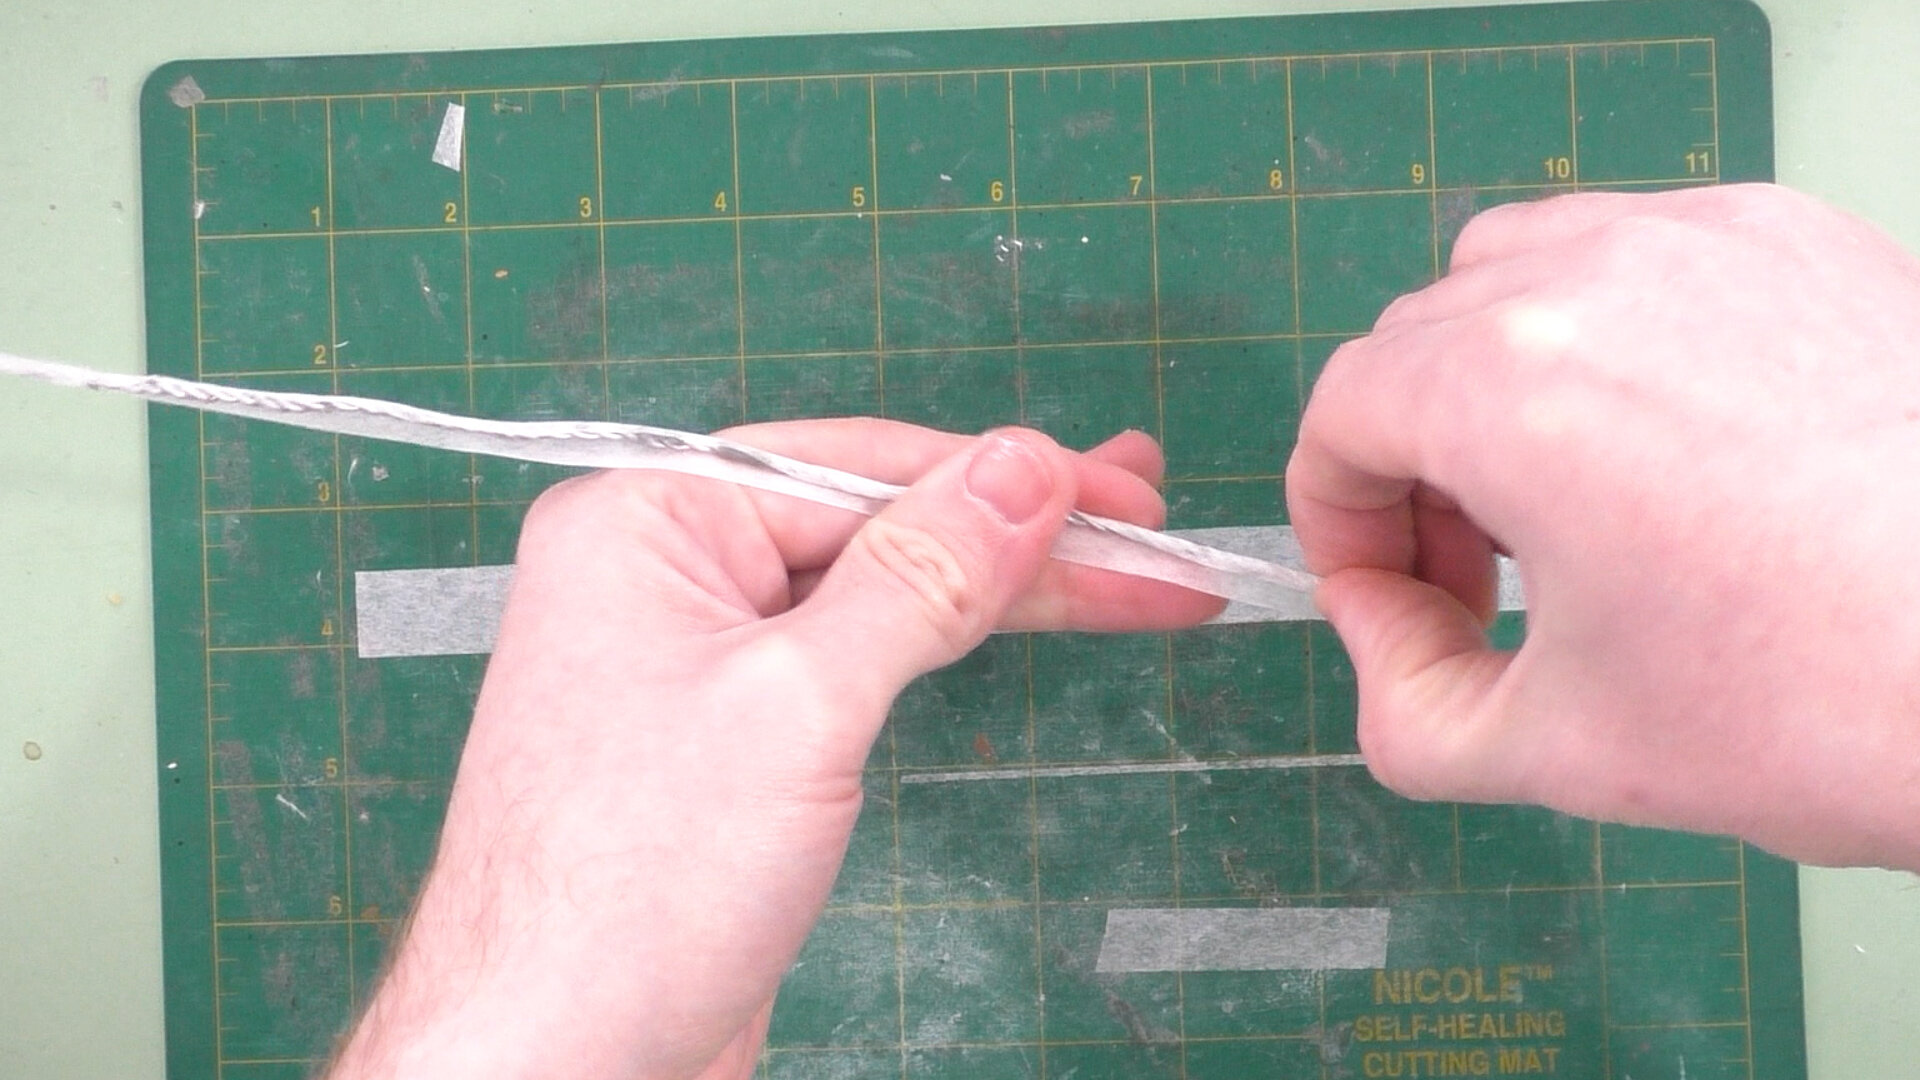
Once that’s done, we’ll roll out a length of medical paper tape. And cut it to size. I like to cut it so it's about as wide as 3-4 times the thickness and about as long as the wire. We’re going to wrap the paper tape around lengthwise… this part’s tricky because the paper tape wants to snag on itself (a little bit of this is OK though!). You want to make sure it’s wrapped around snug to the wire. We’ll wrap the wire two, maybe three times if desired.
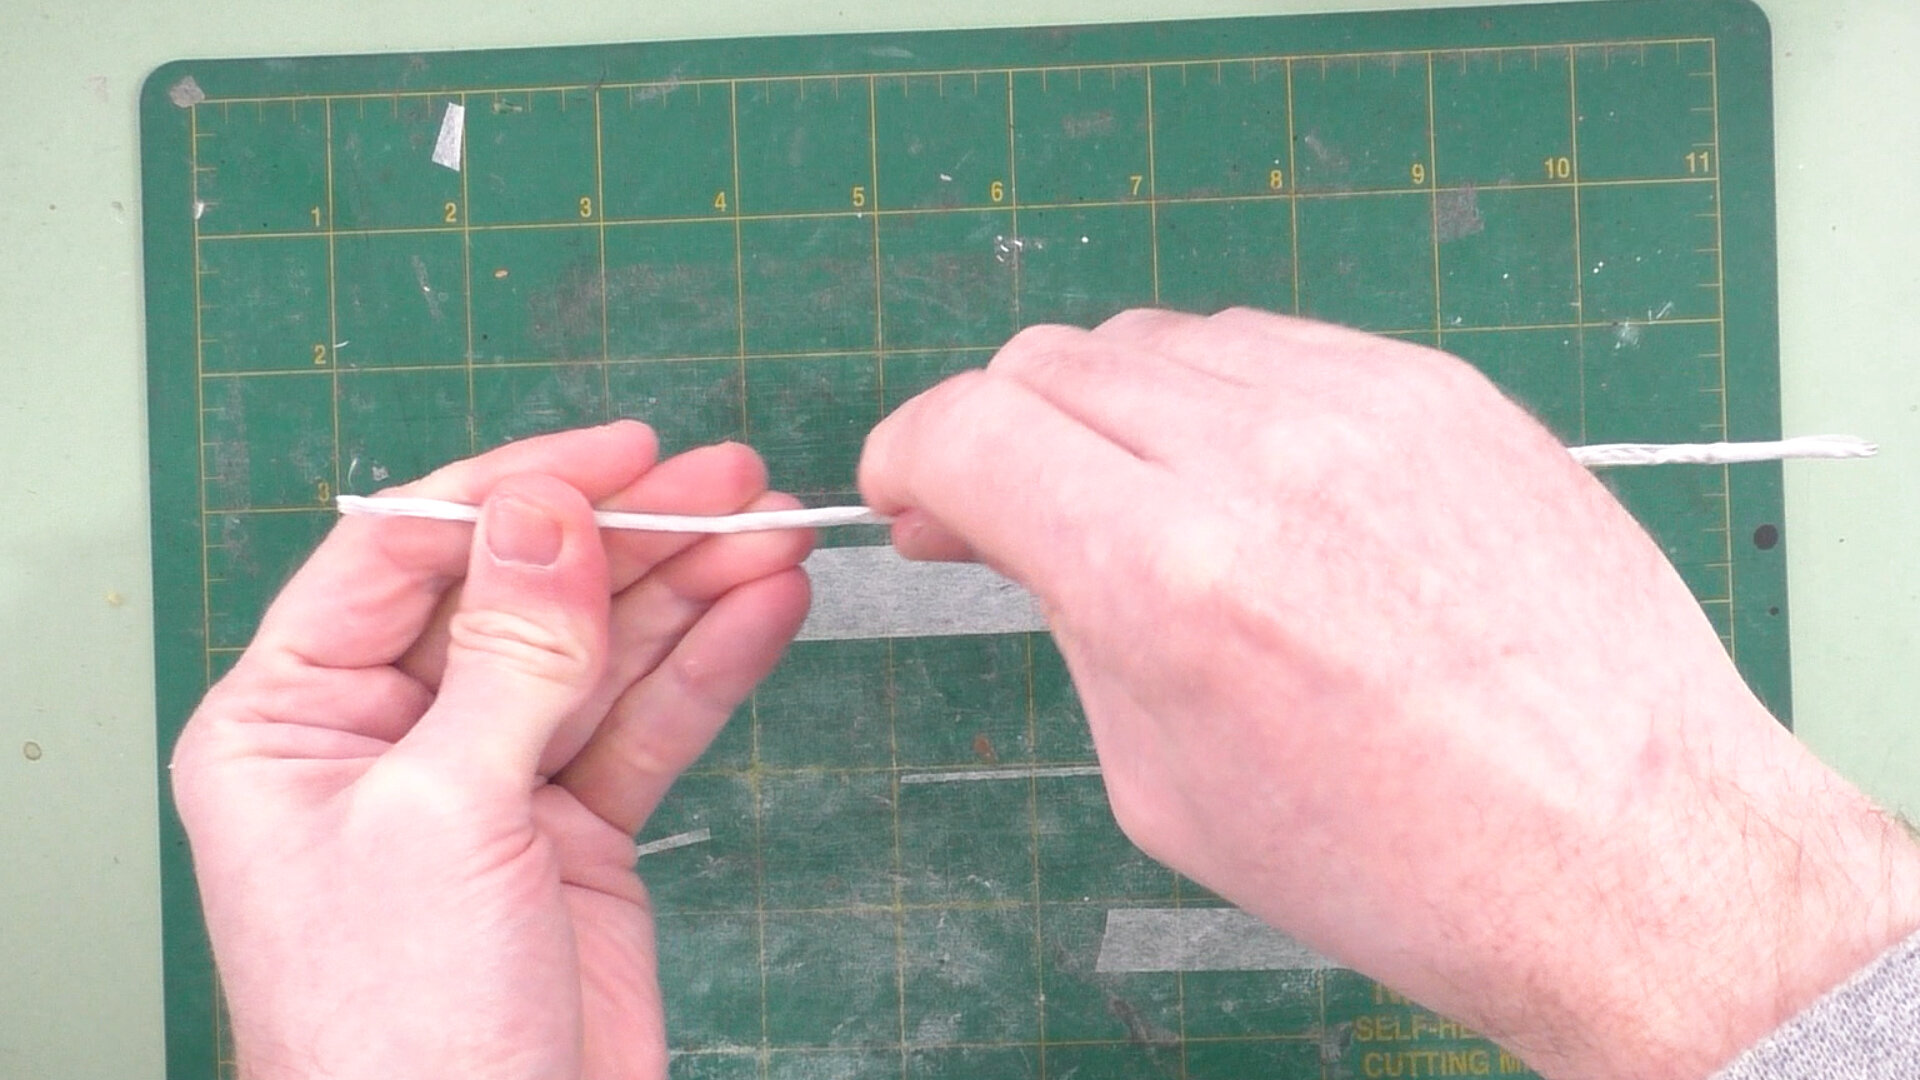
Then we’ll soak both ends of it in some water for a little while- anywhere from 10 minutes to an hour on either side to get the paper tape thoroughly saturated. Next we’ll spread some heavily Mod Podge diluted with water across it. I’ll do a couple more layers, letting the piece dry in-between, where I add in more and more silver acrylic paint and progressively less water with each subsequent layer. What that’s doing is seeping the pigment into the paper fibers of the tape. This is a similar method to how I go about creating my poseable art doll hands.
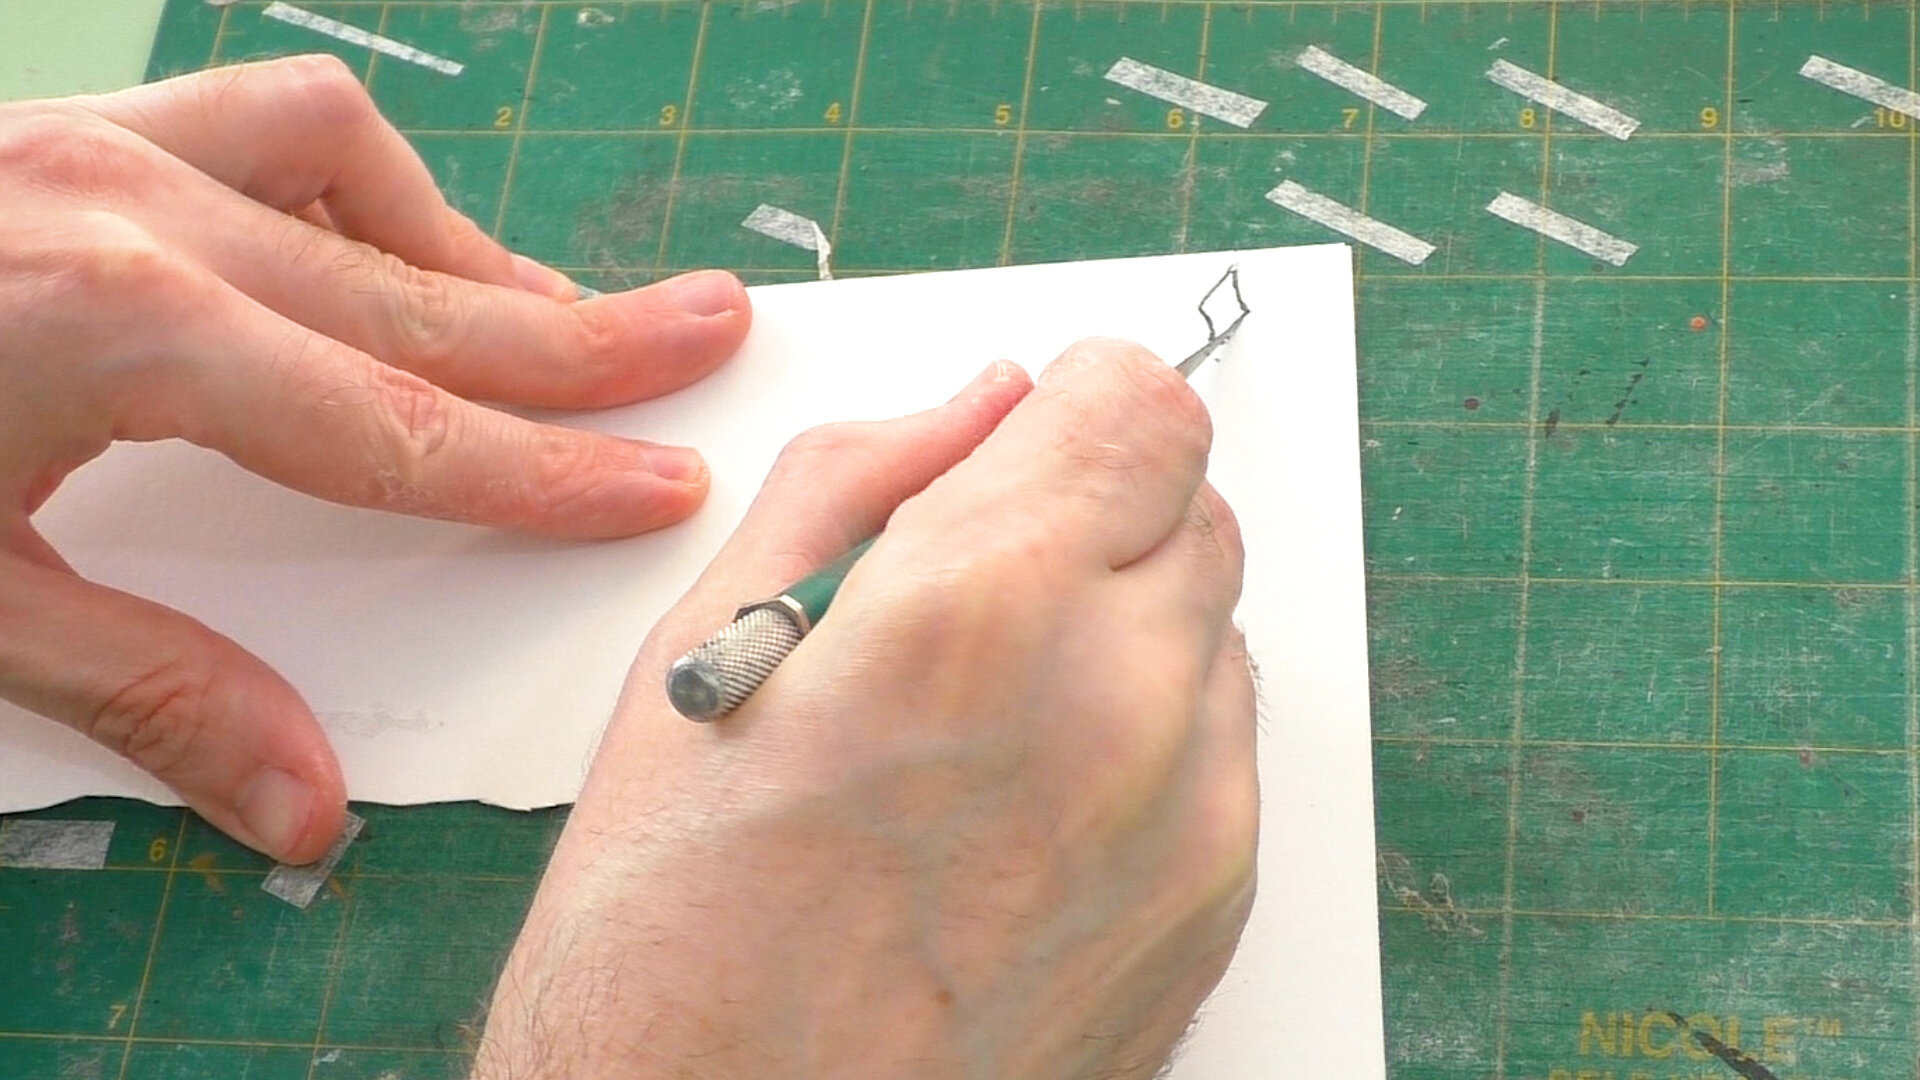
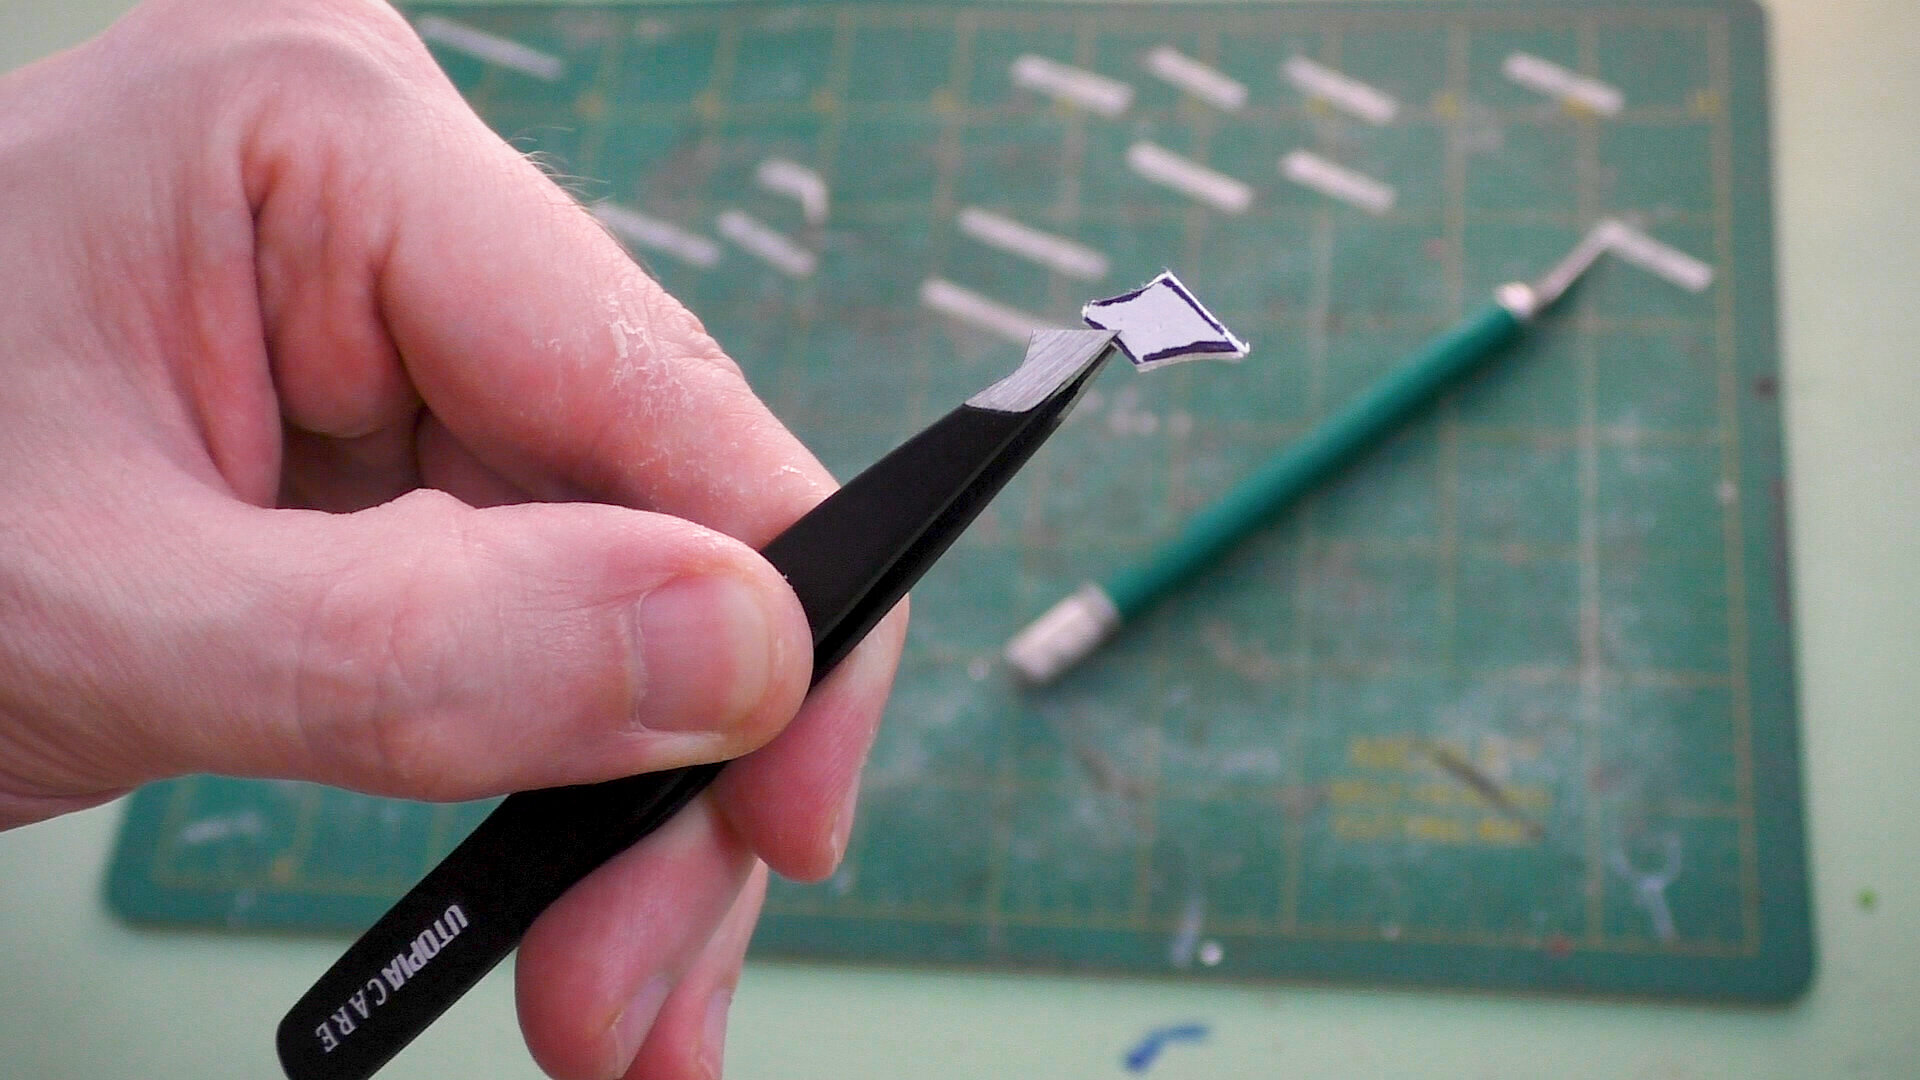
We’ll measure a thin strip of the a foam sheet, which is going to give us the segments of this sort of spinal shape that I’m making for this poseable faux metal trim. I like using foam because it’s flexible and you can easily texture and paint it. We’ll make a thin strip. And another little strip that will serve as a template for the other pieces we’ll cut. And we’ll just trace it all down the length of the foam strip. Then we’ll cut them out with our X-acto.
Here’s a quick note on failure: I’d tried using 2 part resin epoxy (another adhesive that I commonly use. Use with caution) and for whatever reason, it didn’t seem to hold. I’m not sure if I messed up the timing on the set time or what… it just wasn’t seeming to work at all. It might be that it wasn’t the right adhesive for the job.

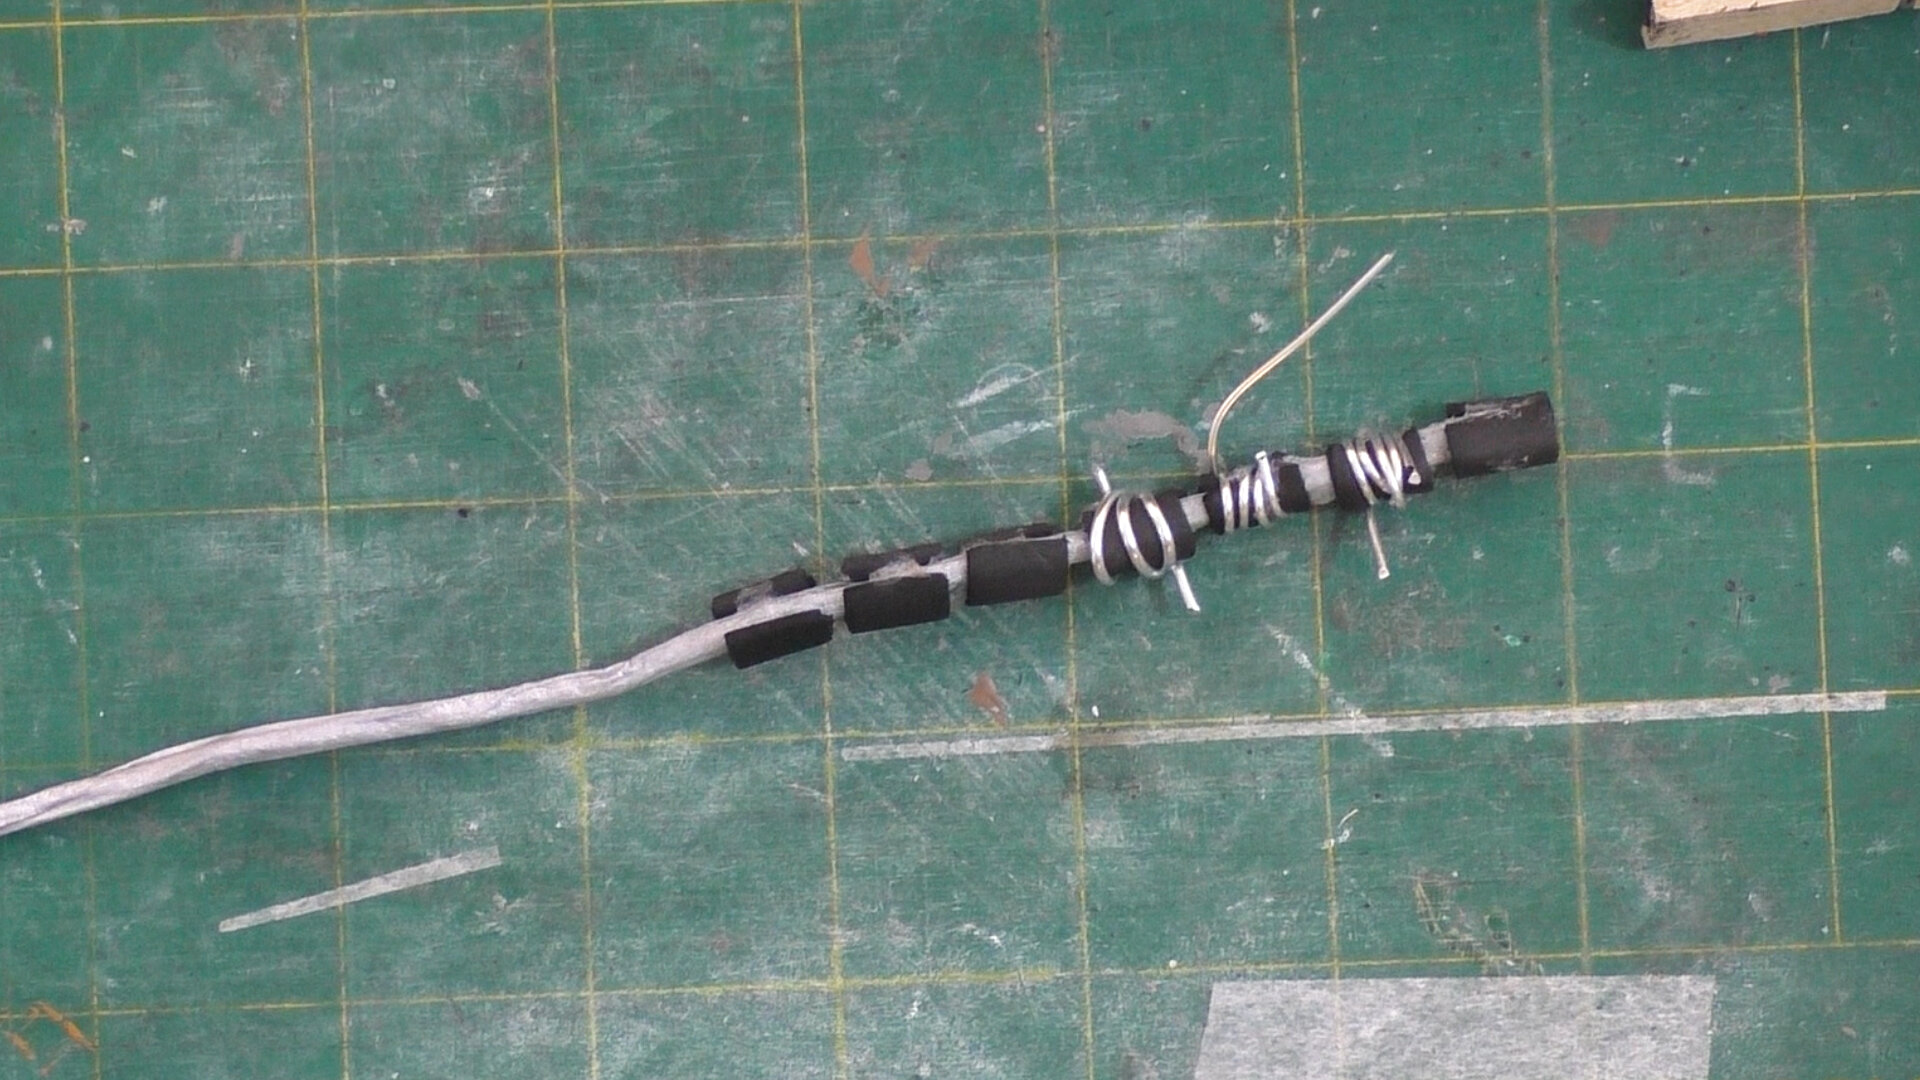
We’ll use some of an old bottle of Fabri-Tac- this was made clear by the way I need to fish it out with a bit of scrap wire. I tried clothes pins to hold the foam pieces on as I went, but didn’t think they held it on snugly enough. I found a better solution by wrapping them with tiny scraps of wire that I had lying around. Being a bit of a pack-rat for the win!
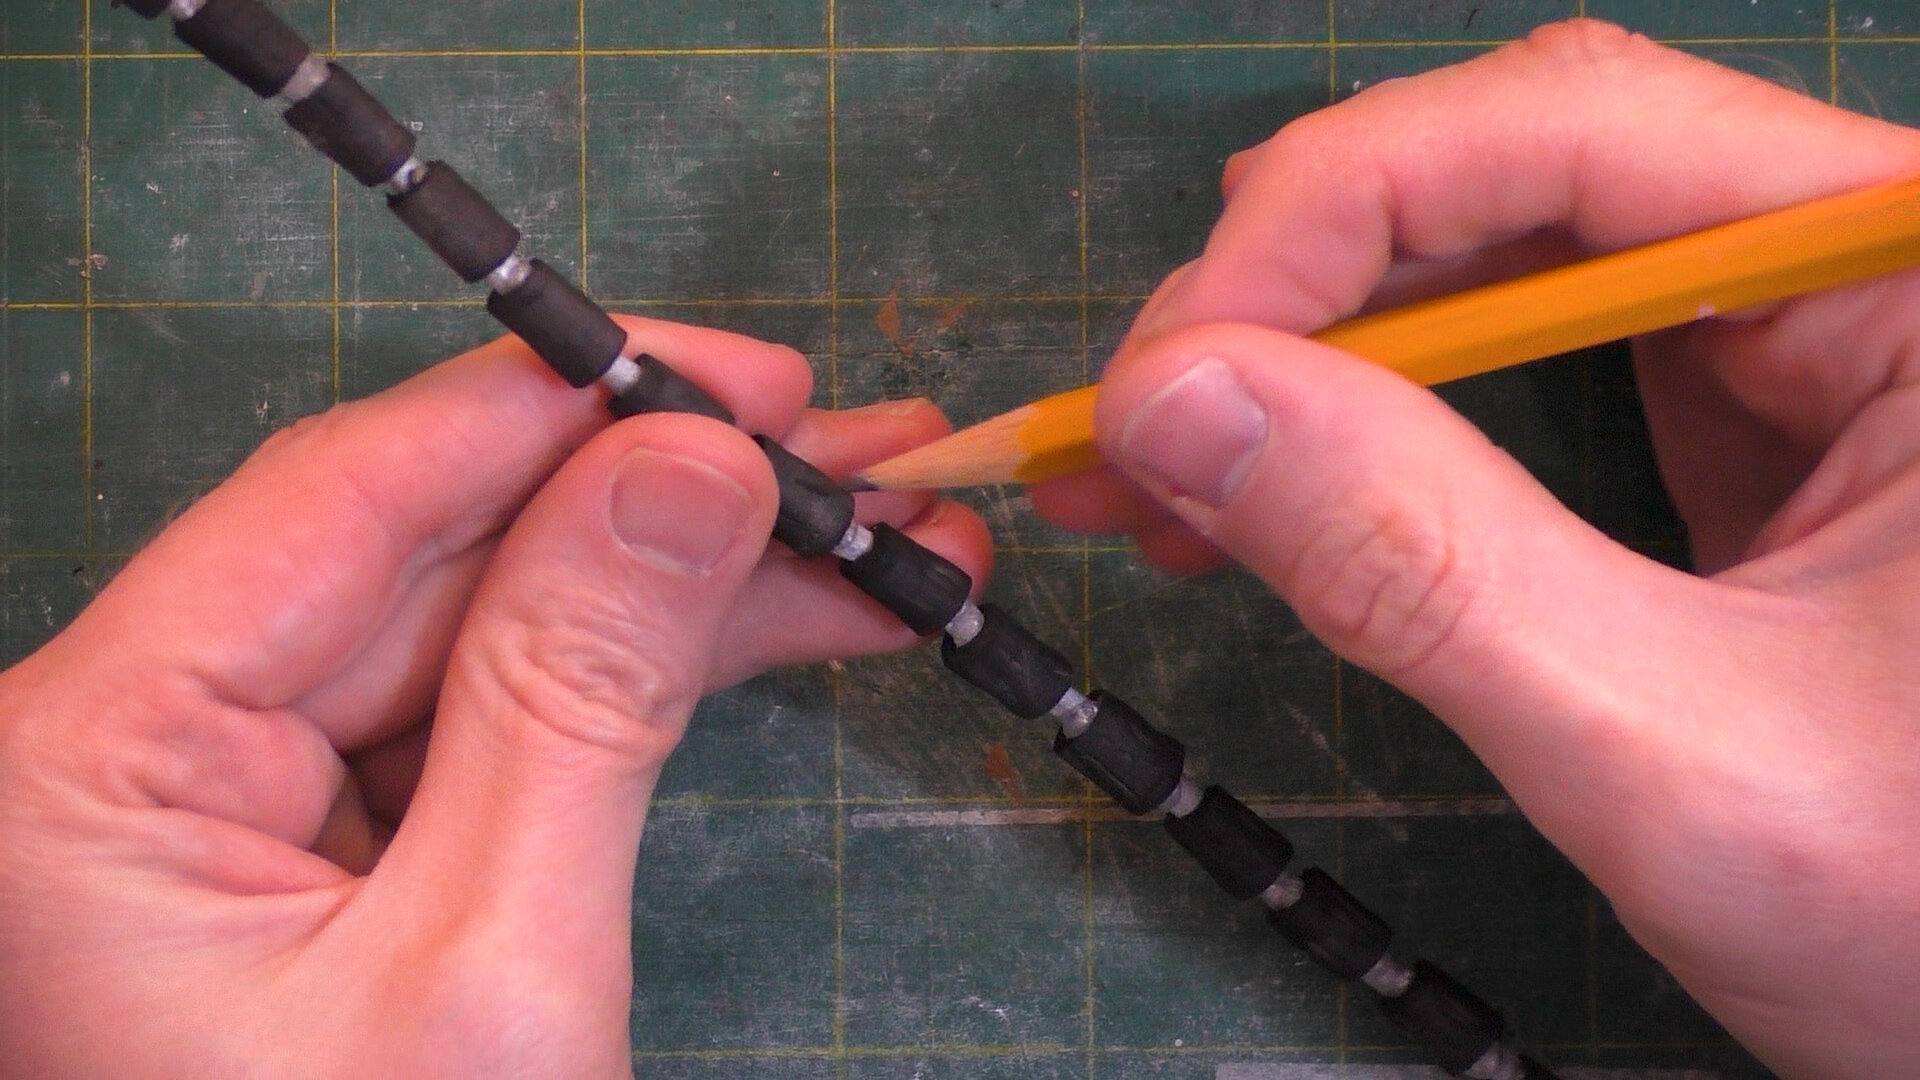
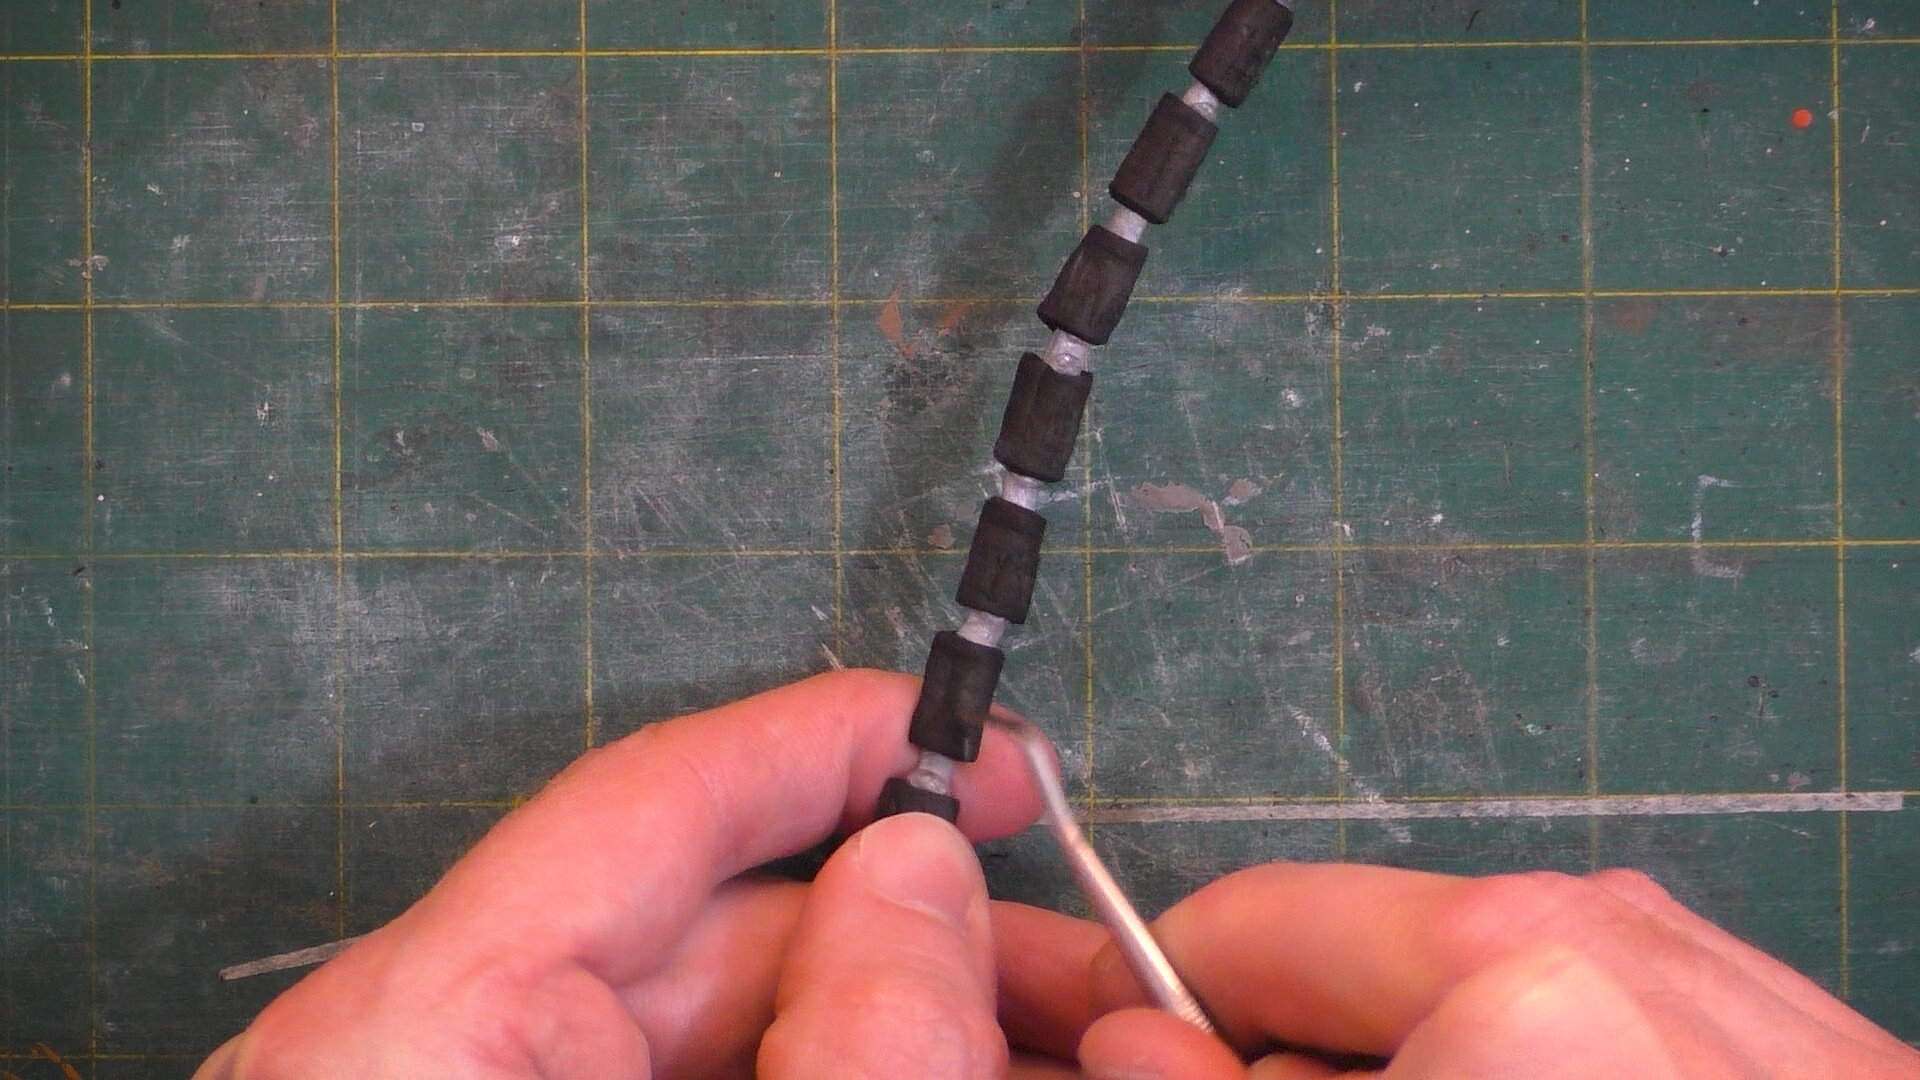
Now we’re just going to take a sharpened pencil and use it to indent into the surface, score into it a bit with a pointy clay tool, and I also got some interesting textures from using needle files like one would use in jewelry making.

Then we’ll just go in with our silver acrylic paint onto the spinal form. One layer of metallic paint leaves a lot of the black of the foam showing through, which depending on what you’re doing, might be how you want it to look. I ended painting on three layers. You might consider using spray paint, but the propellant, what makes the paint shoot out of the can, tends to have a melting effect on a lot of foam-like surfaces. So that melting would either have to be a part of your design choice or you’d have to seal your foam in some way that also didn’t involve spraying the sealant on.
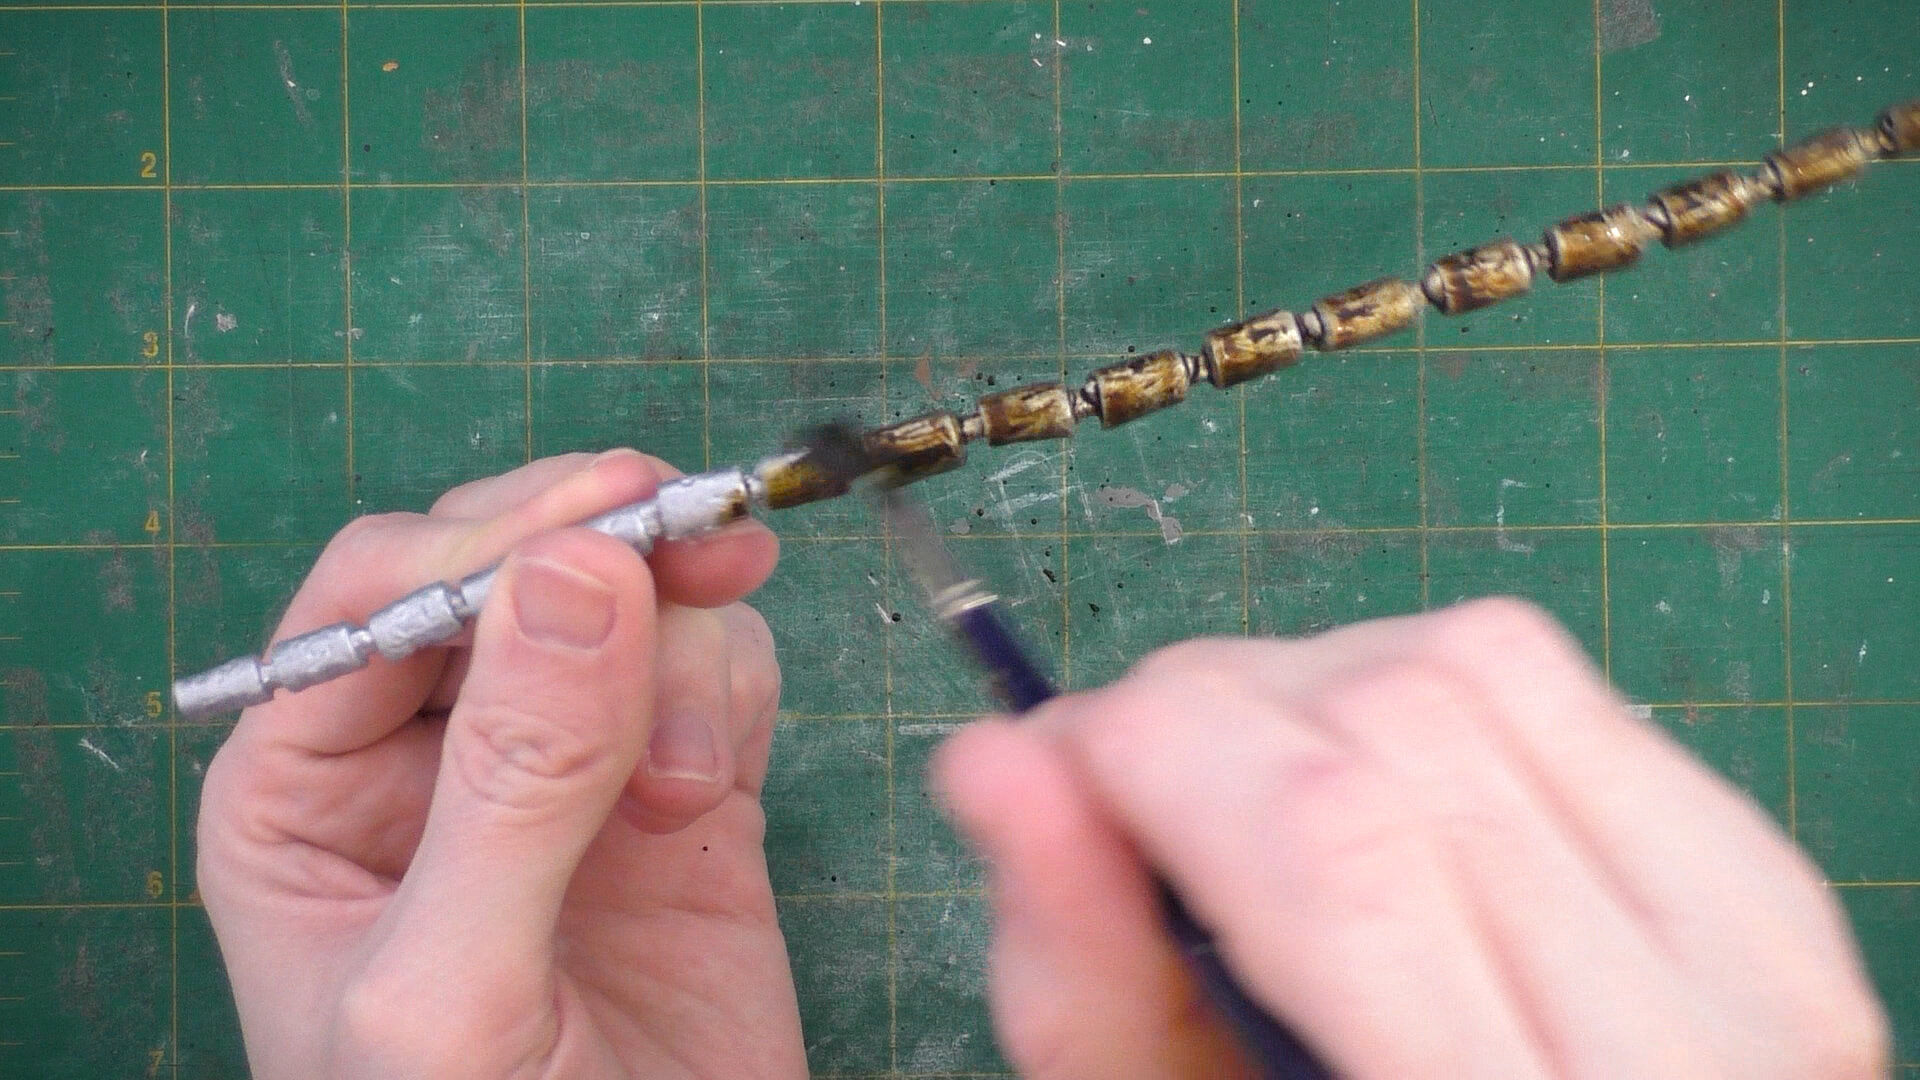
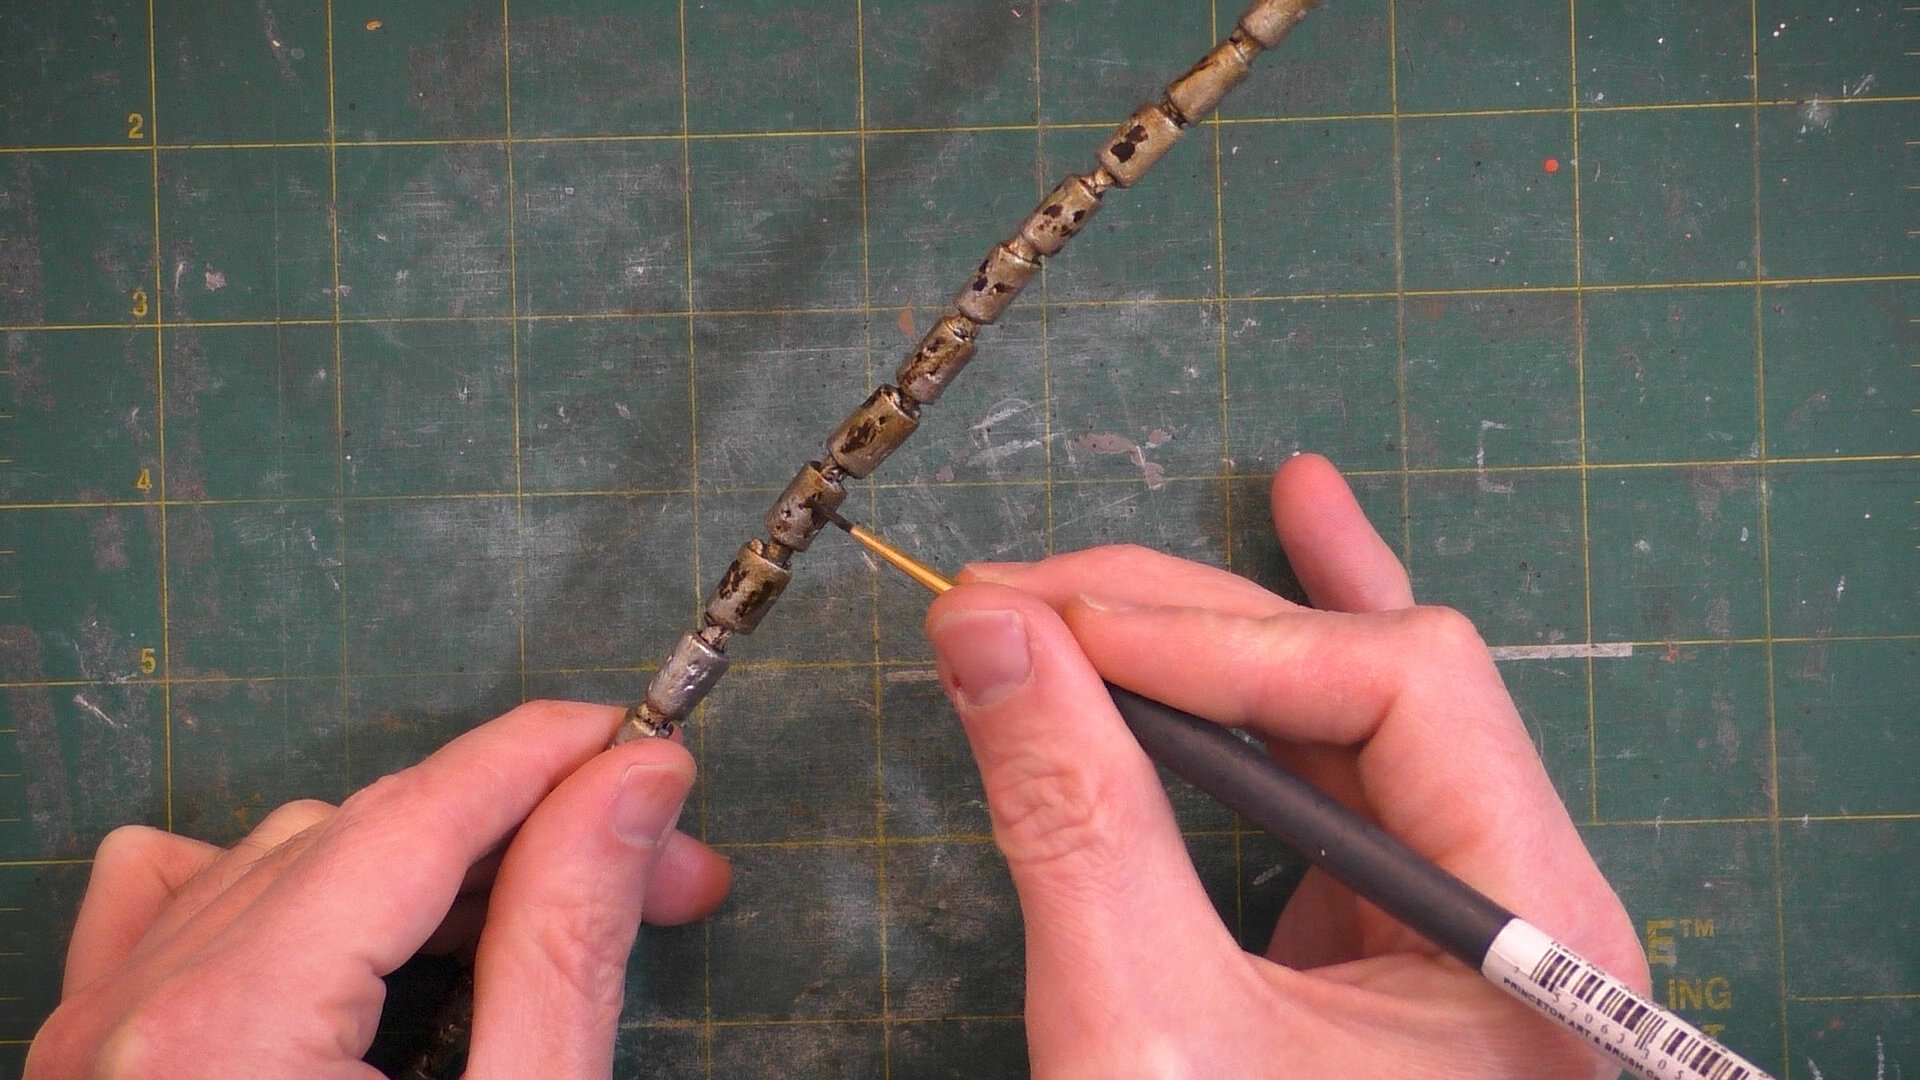
We’ll do an ink wash with this transparent raw umber. Unless I want a detail heavily accented, I tend to add a little water to the ink and even sometimes a tiny dab of dish soap. You can see how that ink wash is bringing up all the dents and scratches on the surface. After the ink’s been on the surface for a minute or two, we’ll wipe away the excess to make the details a little more subtle. We’ll repeat this process with each additional coating of ink. Since I liked the patina the ink was giving this, we’ll go ahead and do another wash. Each layer’s going to tint it just a bit darker. Another thing we can do is go back and put some ink inside some of the little holes and scratches to really bring them out. Here I’m using much more saturated ink and picking-out individual details.
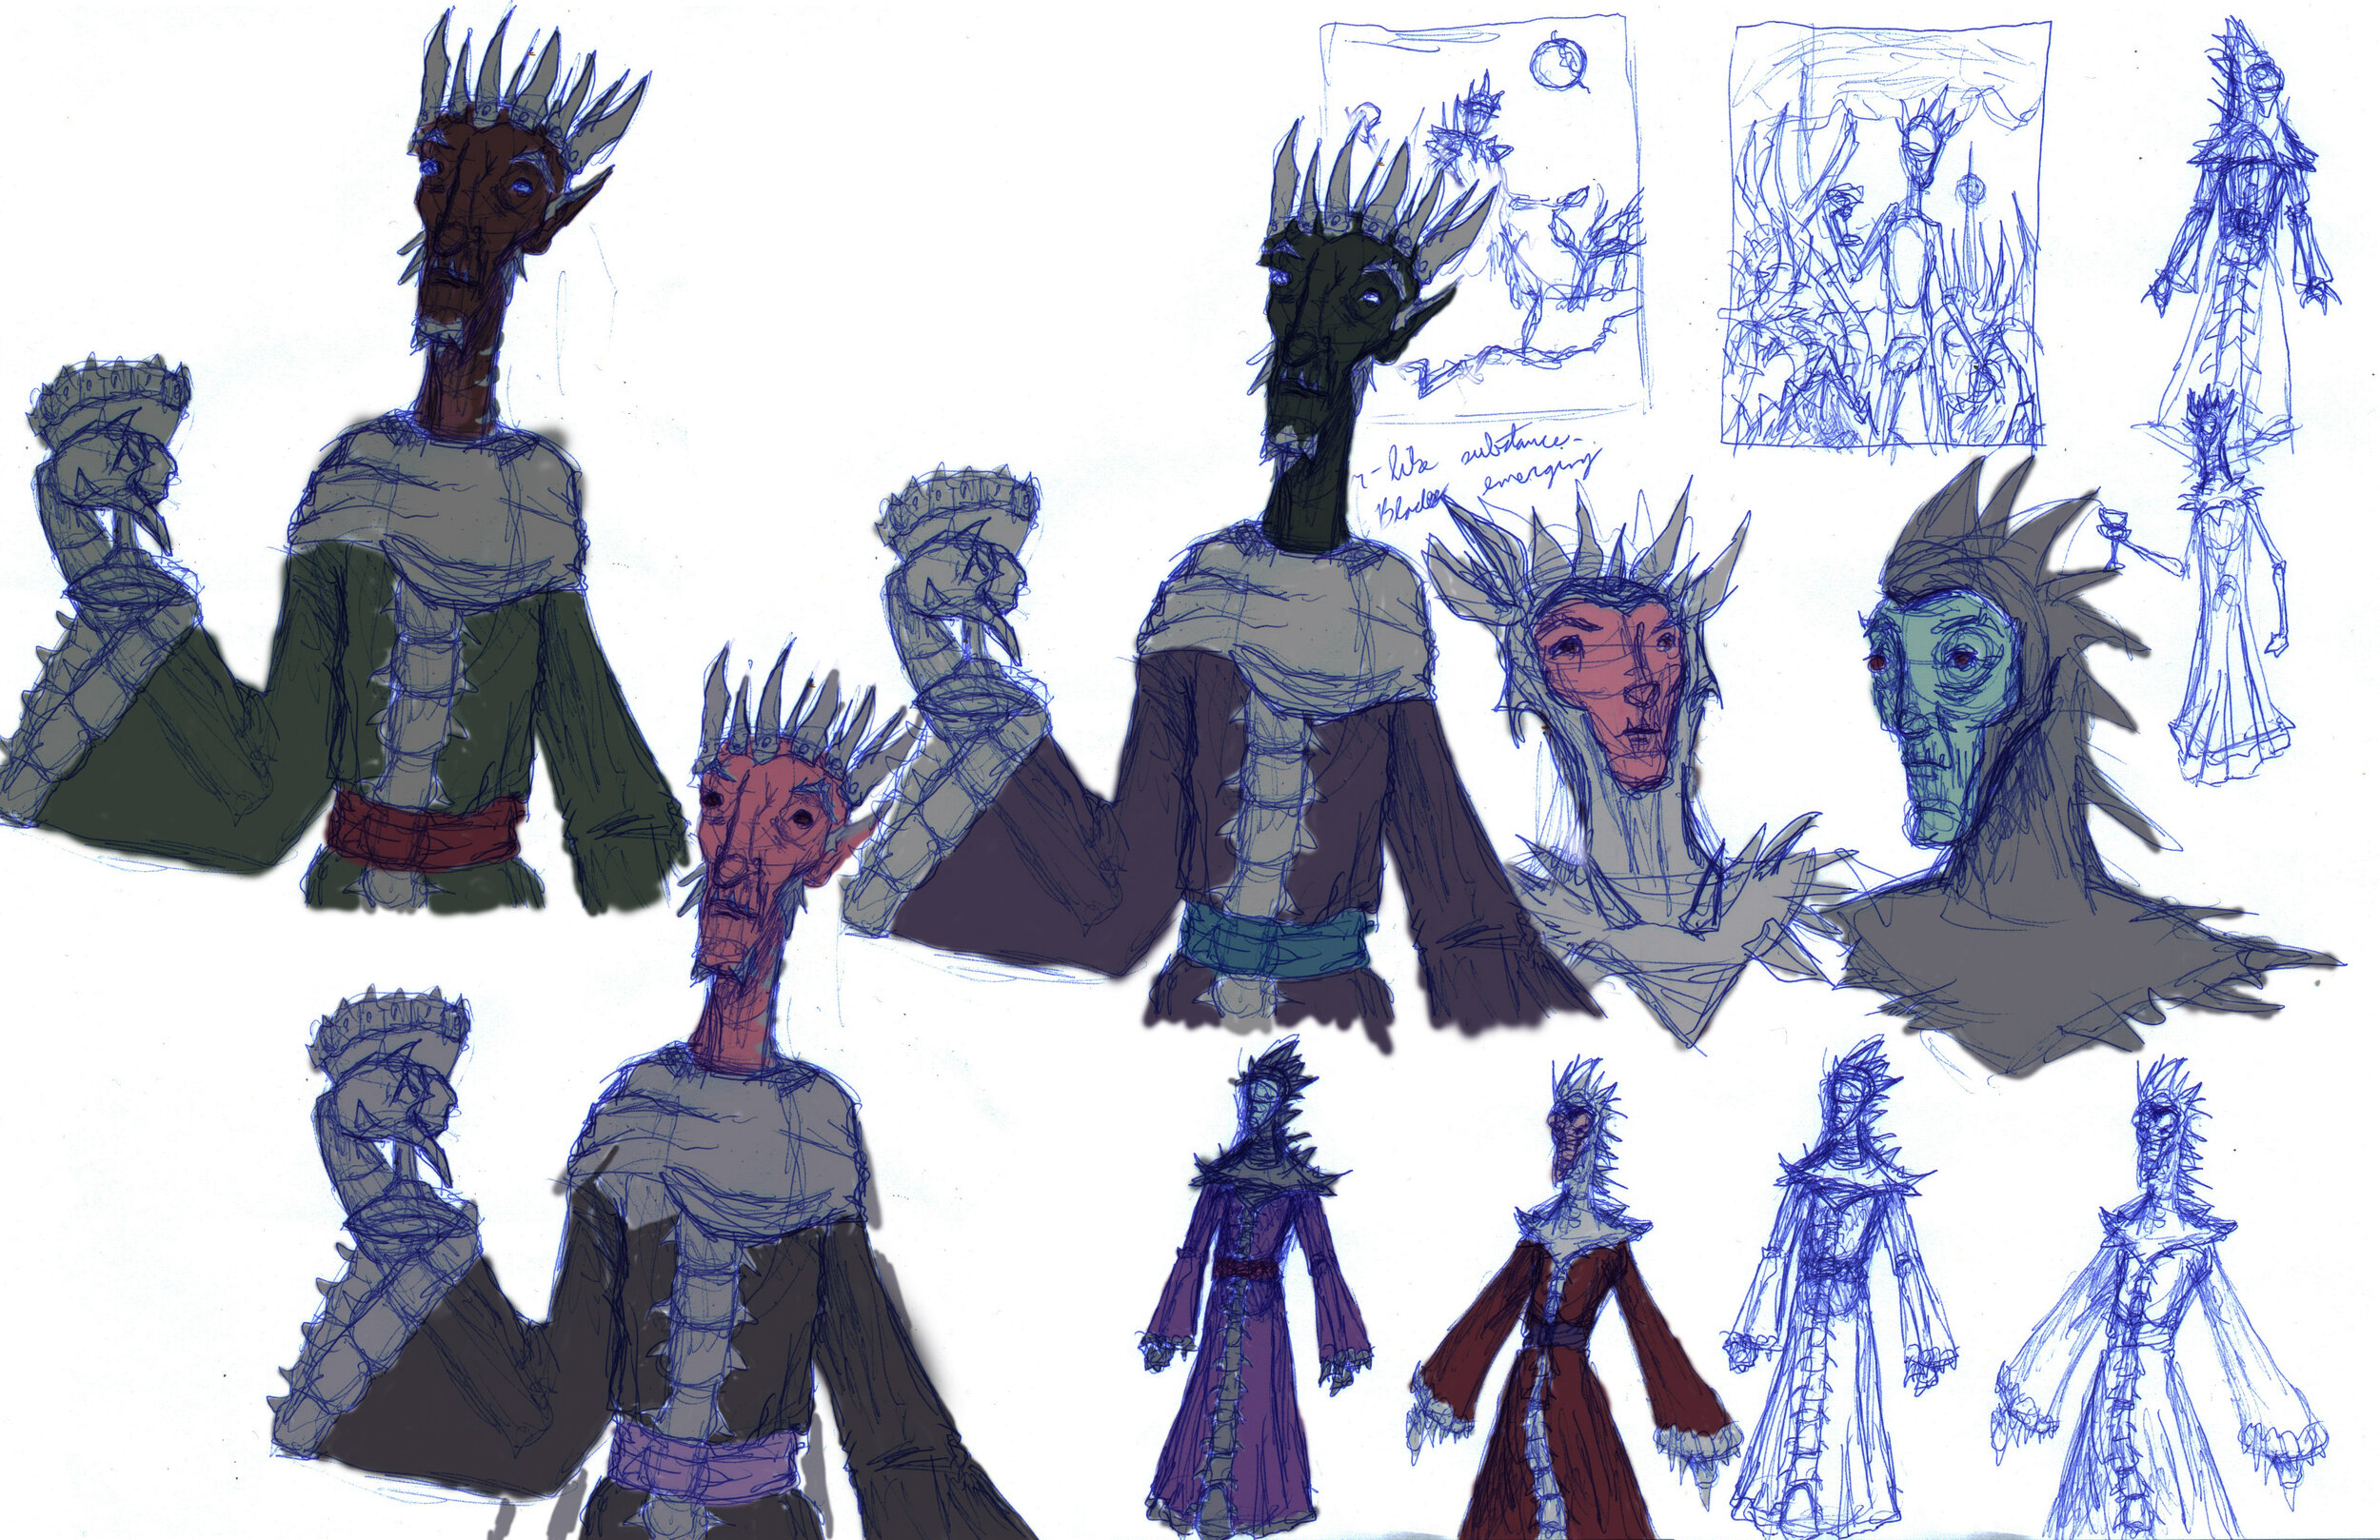
Lord Bledwall sketch/color study
My sketch of Lord Bledwall had these blade bits sticking out the sides of the metal trim like a spinal column, I’d already gotten pretty far on this build (and should’ve put them in sooner).... so I was in a mental fight over risking messing up what I’d already done (and really liked) and also my laziness didn’t want to do anymore work… or I could make this a bit cooler by spending the time to add them on. It was a hard fought battle, but “making it cooler” won, so I cut bits of blade out of some Bristol board, sliced tiny grooves that I could put the narrower ends of the blades into, and used resin epoxy both inside the grooves, and thinly applied it to the narrow end of the blade form. Once the two part resin epoxy set, I then carefully painted and ink washed the blades.
As a warning: pretty much everything in creativity’s a conflict of “good enough” and saving some amount of hours of work versus “putting in a bit more effort and making the thing cooler”.

Sewing faux metal trim with coordinating thread.
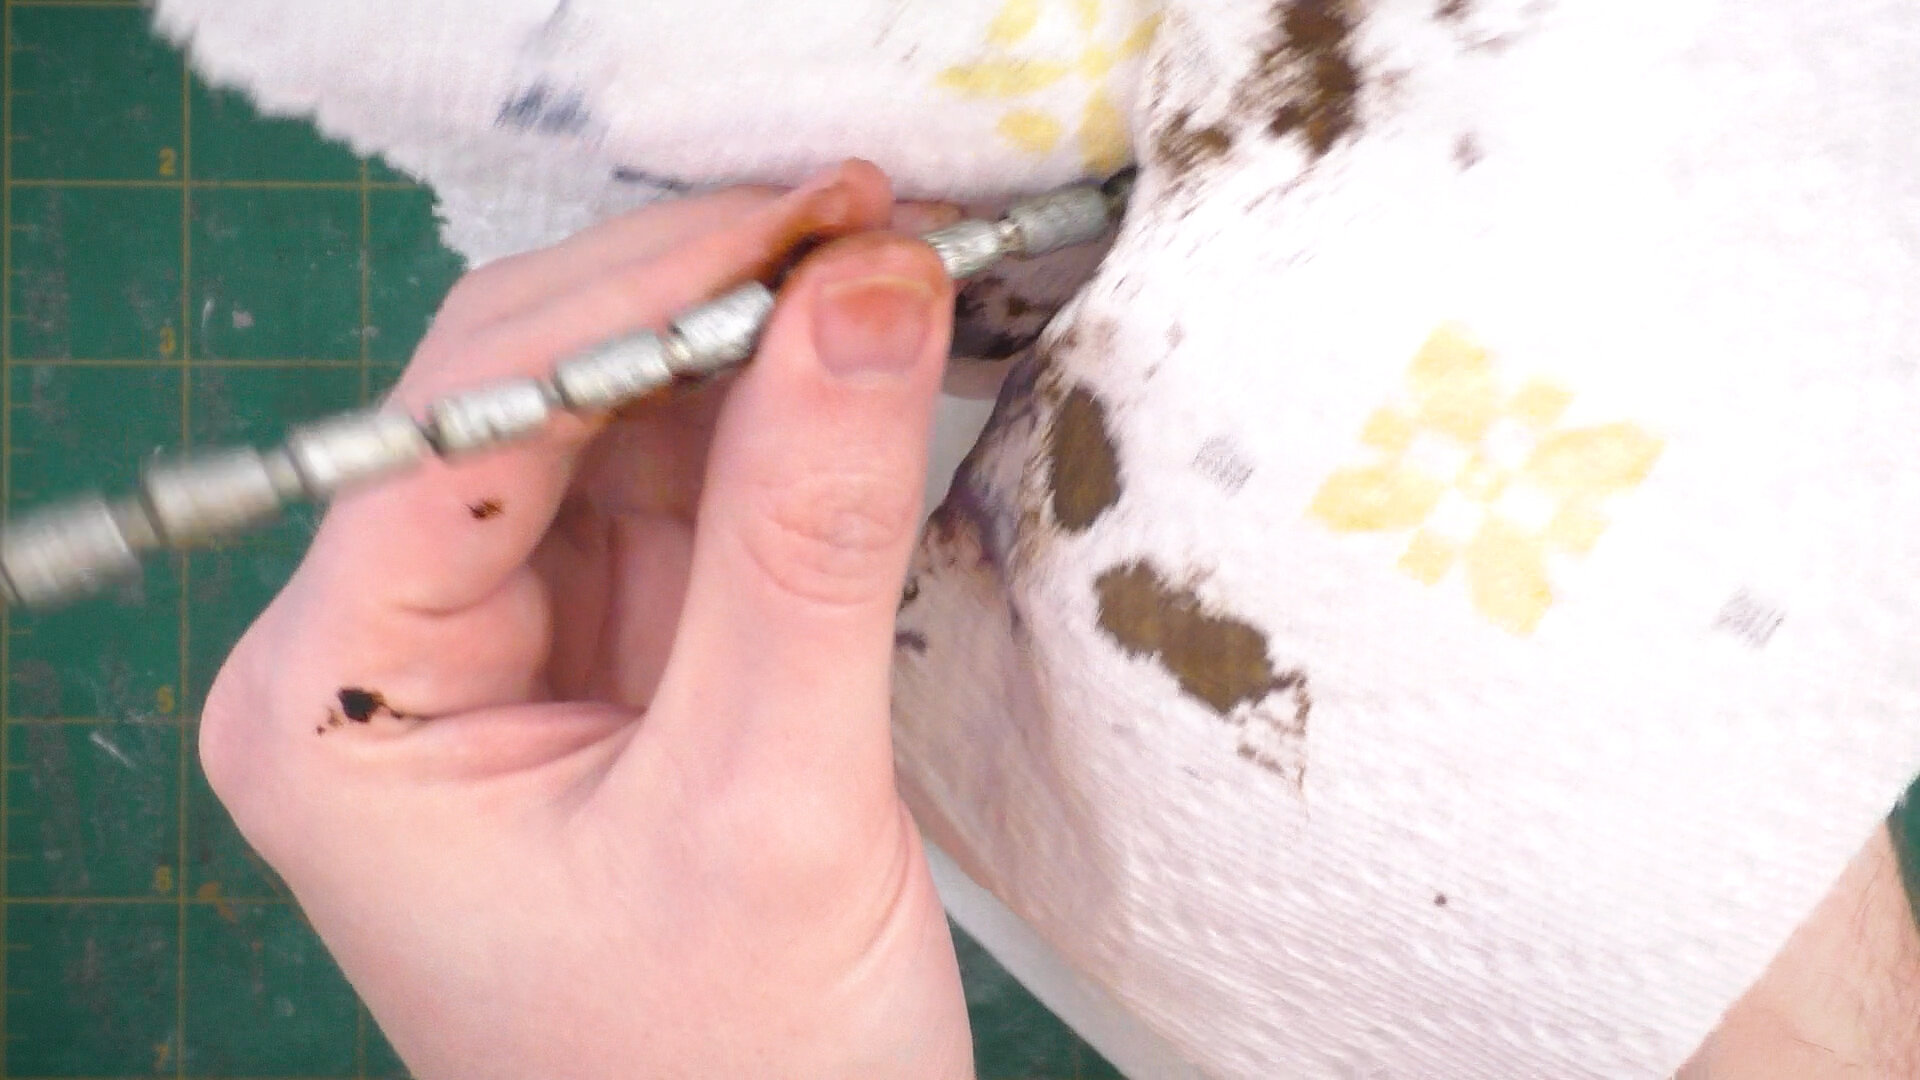
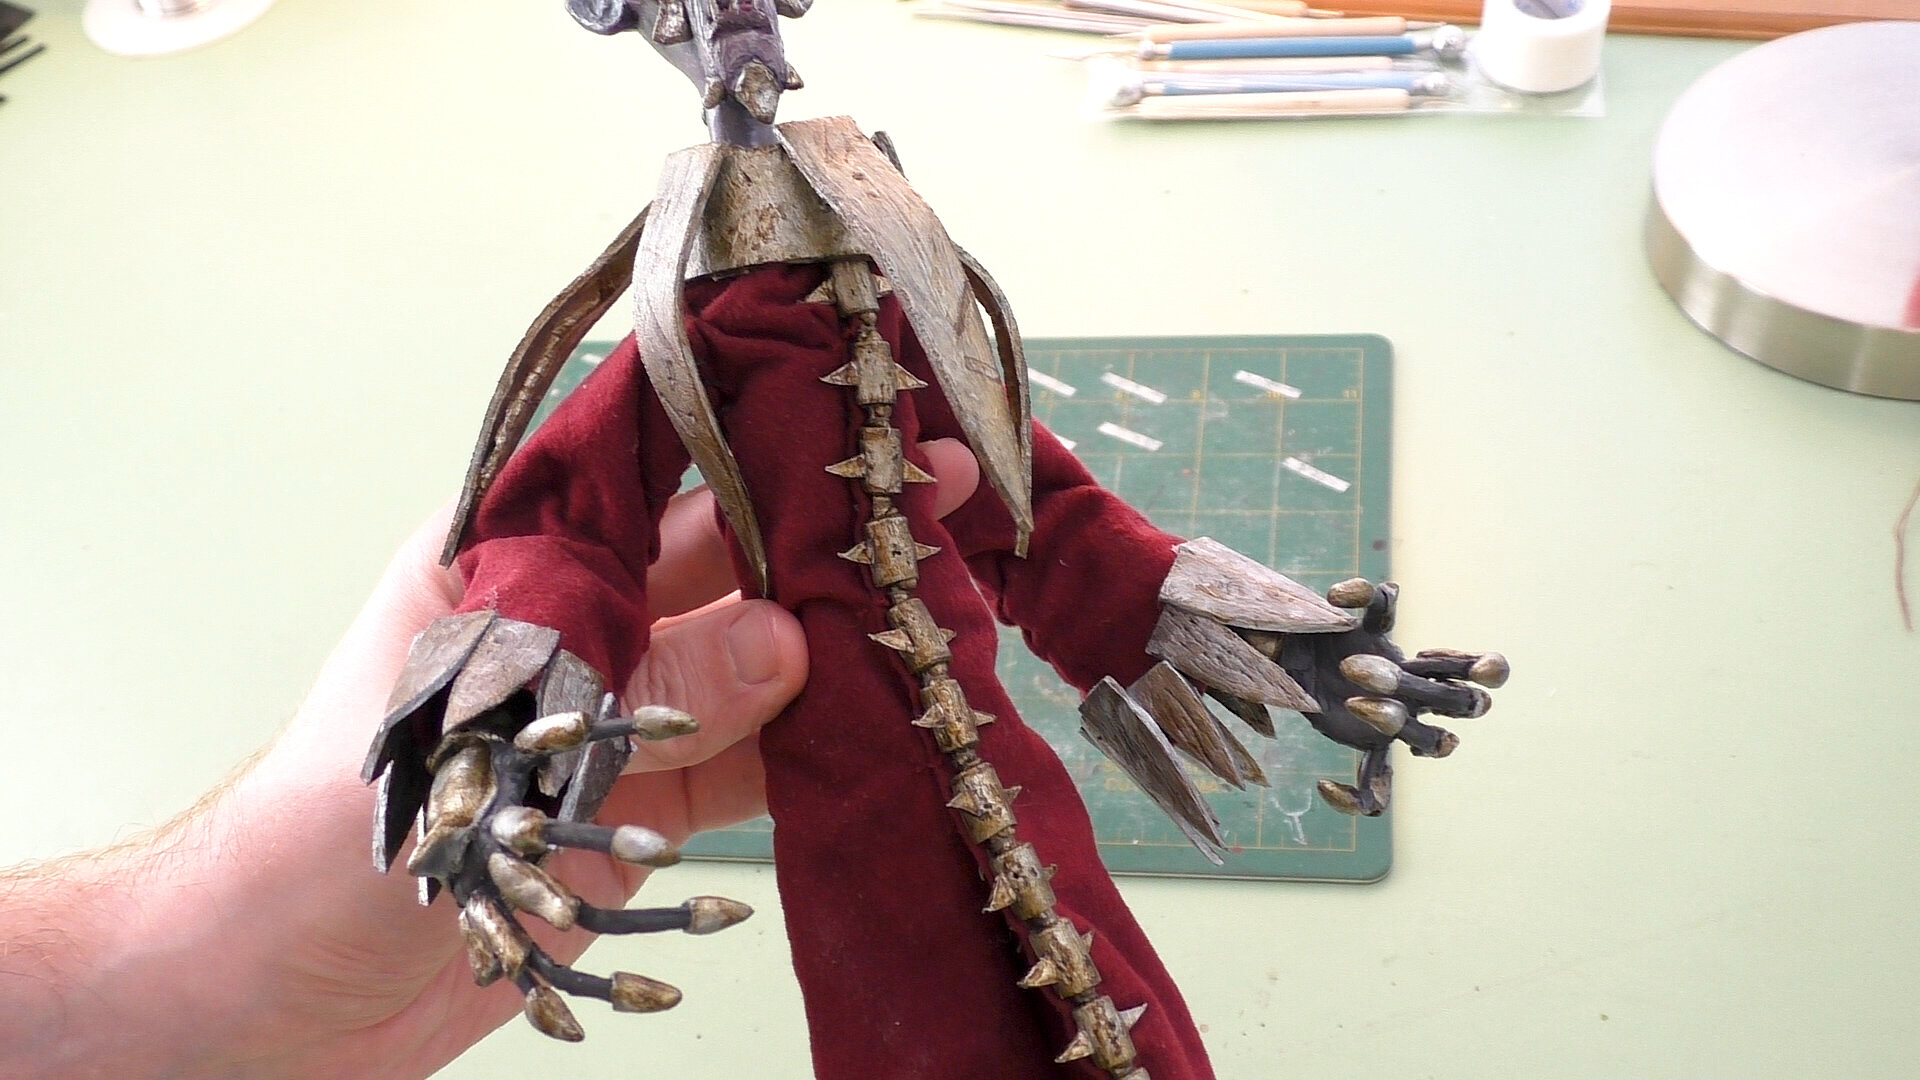
Having made the thing sufficiently cooler, we’ll attach the metal trim by sewing it on with a gray thread that will sort of blend-in with the paint job we’ve done. We’ll sew in from the back, make a loop, tie off our thread a few times, cut it, and repeat that process up the length of the trim. Here you can see what it looks like once it’s all attached.

Lord Bledwall’s also has a faux metal texture bladed mantle that I’ll do a “making of” process blog and video similar to this one if you want to see how that was made. When it’s ready, you’ll be able to click here. If you use techniques you learned from any of my posts, I’d be happy to take a look. You can tag me on whatever social media platform you’re posting to. You can find my links below!

If you would like a print of Lord Bledwall, you can purchase it here.
PRINTS AVAILABLE
A print of the final dimensional illustration’s available through my print shop as an open edition.
Thanks for joining me so far and here’s to the adventures we have in future! To be the first to know when I launch new polymer clay art videos, be sure to subscribe to my YouTube channel and hit the bell icon. Catch all of my videos here: https://www.youtube.com/thedreamsyndicatearts.
You can also find many of the supplies I use in crafting here: https://www.thedreamsyndarts.com/supplies-gear/. And sign-up for my newsletter (in the sidebar) to get the latest studio goings-on! Thanks so much for joining me on this journey and until next time: Make. Believe!